Six Steps to Vectorize Clean and Accurate SVG Results
Step 1. Import your image
Open Super Vectorizer and import the raster image you want to clean up. Drag the file onto the workspace, click Import, or use File › Import (Command + I). PNG, JPG, BMP, GIF, PDF, PSD, TIF and ICO are all supported, on both macOS and Windows.
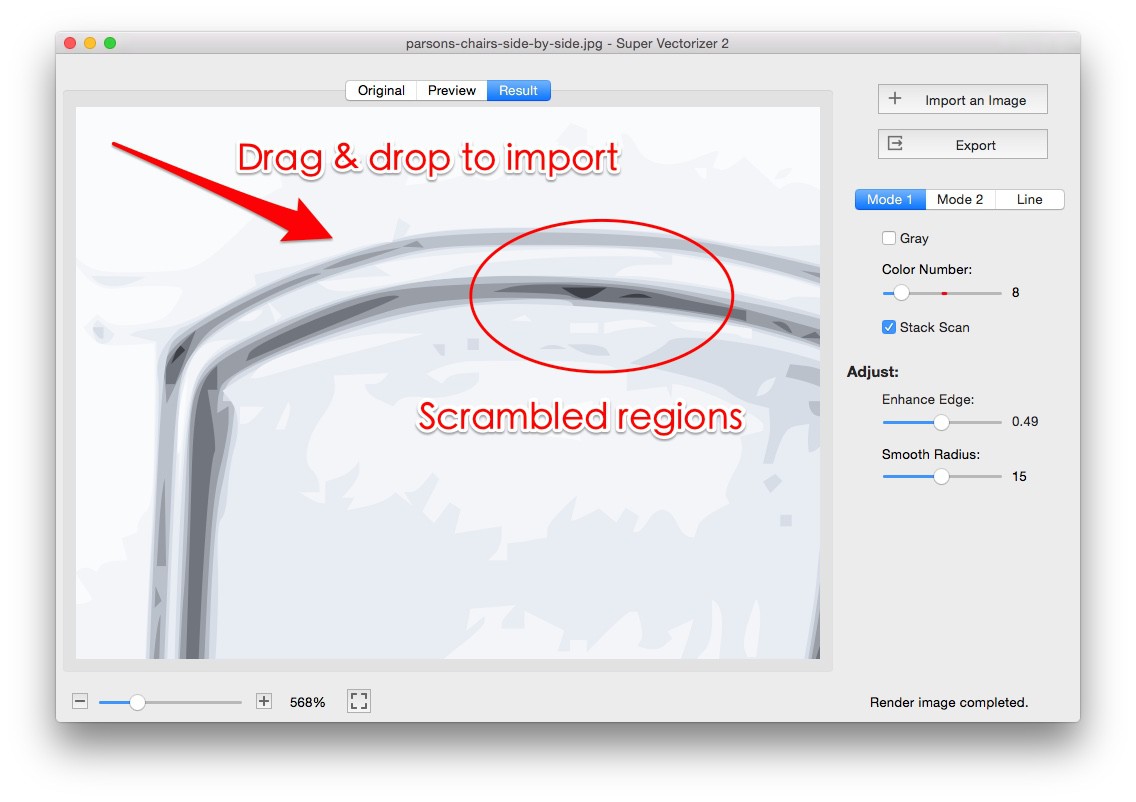
Step 2. Switch to Mode 2 (Color Mode)
Color Mode separates the artwork into clean, distinct color regions instead of following every pixel. For a logo or flat illustration this gives you the tidiest starting point before you fine-tune the result.
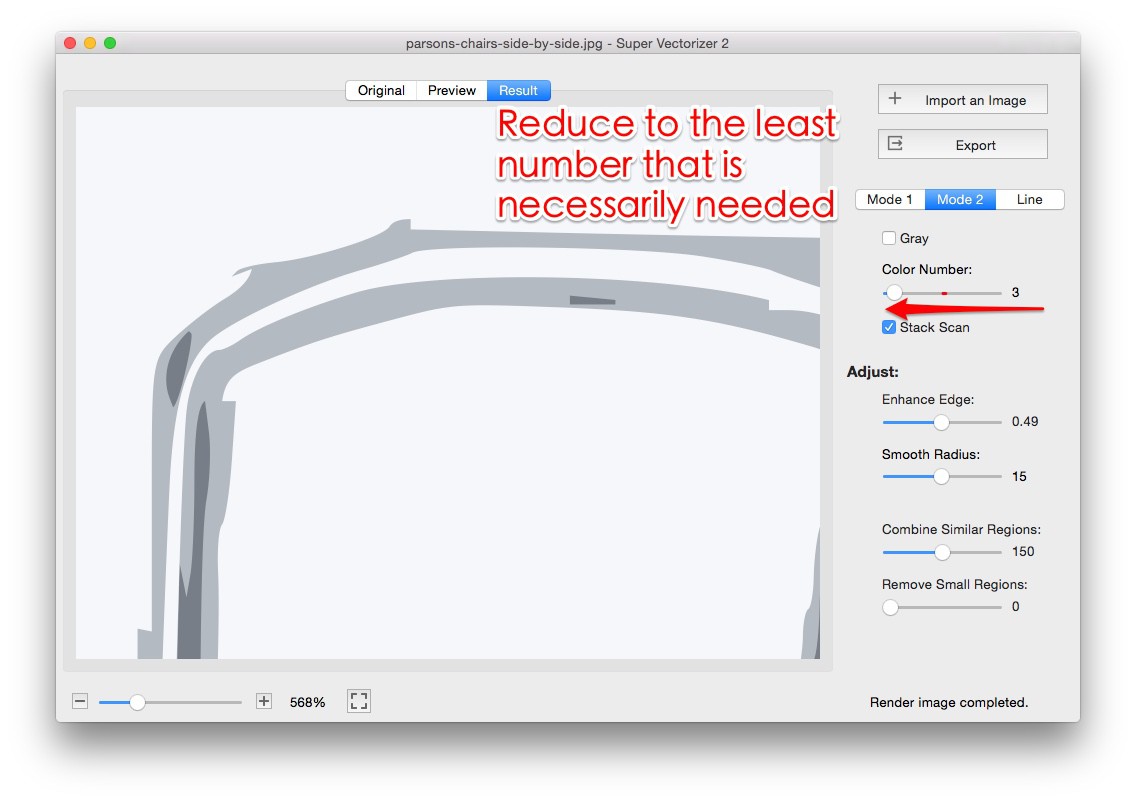
Step 3. Reduce the color number
Set the color count to match your artwork — most logos only need a handful. Reducing the count collapses anti-aliasing halos and background noise into the nearest real color, which is the single biggest step toward a clean vector. The preview updates live as you adjust.
Step 4. Enhance the edge
Use edge enhancement to sharpen traced boundaries and avoid overlapped outlines. Combined with the Smooth Lines control, this keeps crisp, well-defined shapes rather than fuzzy doubled edges, so the exported SVG looks professional.
Step 5. Remove small regions
Turn on Remove Small Regions to delete stray patches, dust and JPEG artifacts below a size threshold you choose. This clears the excrescent color regions automatically without manually editing each path.

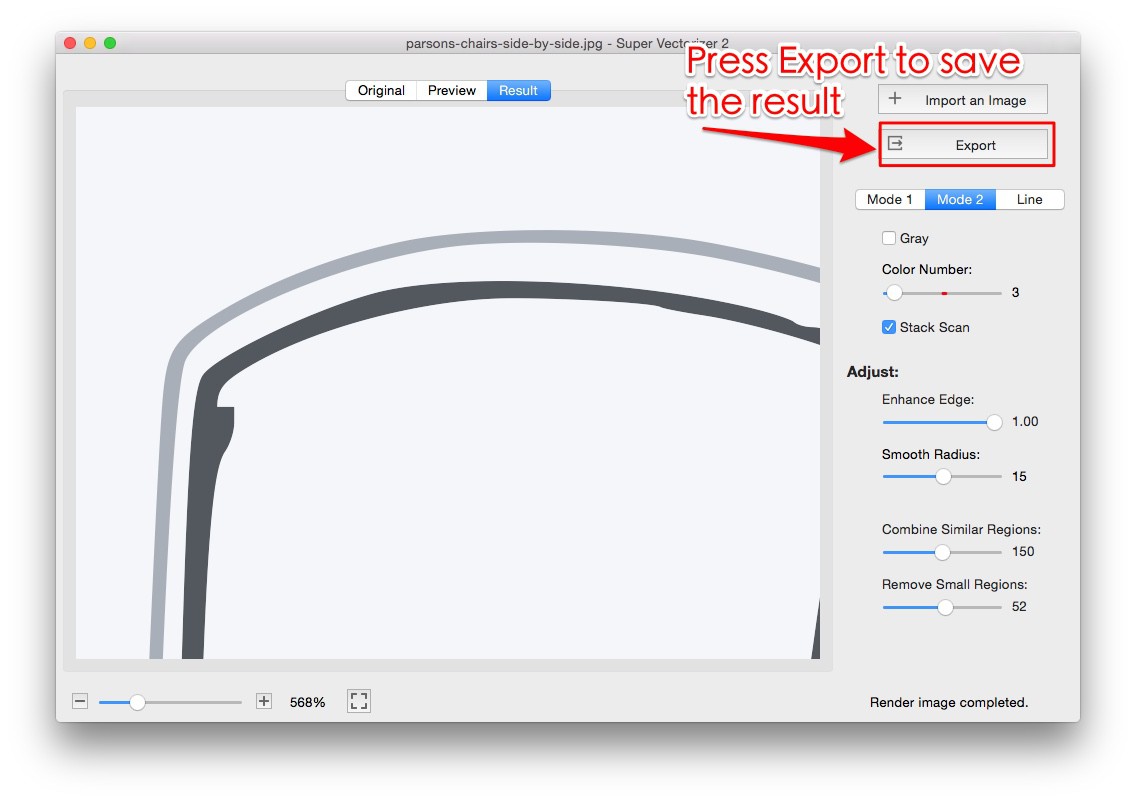
Step 6. Export your clean result
When the result looks right, click Export and save it as SVG, AI, DXF or PDF. The finished file stays fully editable in Adobe Illustrator, a CAD application, or a cutting-machine workflow — ready for Cricut, Silhouette or a laser cutter.
Download Super Vectorizer Pro
One-time purchase $29.99 · Free trial to preview results (export requires a licence) · Mac + Windows
Frequently Asked Questions
What are excrescent color regions in a vectorized result?
Excrescent (superfluous) color regions are small, unwanted patches of color that an auto-trace adds when it follows anti-aliased edges, JPEG noise or a busy background. They make the SVG look messy and bloat the file with extra paths. Super Vectorizer lets you remove them before exporting.
How do I remove excrescent color regions in Super Vectorizer?
After importing the image, reduce the color number to the real count of your artwork, then use the Remove Small Regions control to delete stray patches. Switching to Mode 2 (Color Mode) gives you cleaner separation, and the preview updates live so you can see the excrescent regions disappear.
Does reducing the color number help clean up the trace?
Yes. Most logos and line art only need a handful of colors. Setting the color count to match the artwork collapses anti-aliasing halos and background noise into the nearest real color, which is the single biggest step toward a clean vector result.
What does edge enhancement do for clean SVG results?
Edge enhancement sharpens the traced boundaries and avoids overlapped outlines, so the exported SVG keeps crisp, well-defined shapes instead of fuzzy doubled edges. It works together with smoothing to give a tidy, professional vector.
Can I remove small stray regions automatically?
Yes. The Remove Small Regions control deletes patches below a size threshold that you set. This is the fastest way to clear dust, scan specks and JPEG artifacts without manually editing each path.
Why are there extra colors after auto-tracing a logo or photo?
Raster sources carry anti-aliasing, shadows and compression artifacts that the tracer reads as separate colors. Telling the engine the true color count and using Remove Small Regions tells Super Vectorizer to merge those artifacts back into the artwork instead of keeping them as extra fills.
How many colors can Super Vectorizer output for a clean result?
Super Vectorizer can export vector art of up to 64 colors, so you can keep a detailed, photorealistic trace or dial the count right down for a flat, minimal logo. You control the number to match how clean or how detailed the result needs to be.
Will cleaning the trace lower the quality of my SVG?
No. Cleaning removes artifacts, not real detail. The shapes you intended stay intact while stray colors and noise are merged away, so the final SVG is both smaller and sharper, and still fully editable in Illustrator or a CAD tool.
Can I vectorize clean SVG results on Windows as well as Mac?
Yes. Super Vectorizer Pro runs on both macOS and Windows with the same tracing engine, color controls and edge tools, so the workflow for removing excrescent regions is identical on either platform.
What formats can I export the cleaned vector to?
Once the result is clean you can export it as SVG, AI, DXF or PDF. SVG and DXF are cut-ready for Cricut, Silhouette and laser cutters; AI and PDF open in Illustrator and other design tools without further conversion.