
You shot a logo on your phone, pulled a product photo off a stock site, or scanned a sketch as a JPG — and now you need it as a vector. Canva, which millions of people already use for design, now bundles a JPG to SVG path through its "Vectorify" app, so converting feels like one more menu click rather than a trip to a new tool. For casual users who live in Canva, that is genuinely convenient.
But a JPG is a raster image full of pixels, and an SVG is math — points, lines, and curves. Going from one to the other is an act of interpretation called vectorization, and the quality of that interpretation is where tools diverge. This guide shows exactly how Canva JPG to SVG works, where the auto-trace shines, where it struggles, and how a dedicated desktop Super Vectorizer Pro workflow compares when you need cleaner, editable paths.
Need editable paths and better photo tracing? Try Super Vectorizer Pro free trial to preview vectorization results.
Compatible with macOS 10.10+ (M1/M2/M3) & Windows 7/8/10/11
Our Verdict
Canva's JPG to SVG path is the right pick when you're already designing in Canva and the source is a simple, high-contrast image. For photographs, detailed artwork, or anything you'll recolor and resize repeatedly, a dedicated vector tracing app gives you the control Canva's one-click trace does not.
Canva JPG to SVG Advantages
- Native inside the editor you already use
- One-click Vectorify conversion
- Download straight into a Canva design
- No separate software to learn
Dedicated Vectorizer Advantages
- Adjustable color count and smoothing
- Stronger photo and gradient tracing
- Real layers and named color groups
- Individual settings for each JPG
How to Convert a JPG to SVG in Canva
The conversion lives inside Canva's editor rather than a standalone page, so the steps assume you're in a design. Here's the actual flow:
- Launch Canva. Open the app or web editor and start a new project (or open an existing one).
- Upload the JPG. Drag your JPG onto the page. Canva opens it in the editor with the Vectorify app ready.
- Run Vectorify. Choose full color or black and white, then tap "Convert to vector." Supported JPGs are capped around 10 MB.
- Refine. Move elements, tweak text, apply filters, or make the background transparent.
- Download as SVG. Click Share > Download and pick SVG from the file-type dropdown.
Because the trace is automatic, you don't get to set how many colors or how smooth the paths are — Canva decides. That is perfect for "good enough" graphics and frustrating for precision work.
Canva JPG to SVG vs. a Dedicated Converter
Both routes take a raster JPG to a vector SVG. The difference is what you can do with the result. The table lays it out on the dimensions that usually matter.
| Factor | Canva JPG to SVG | Dedicated Vectorizer | Winner |
|---|---|---|---|
| Learning curve | None if you use Canva | New app to learn | Canva |
| Color / smoothing control | Basic (color vs B&W) | Granular sliders | Vectorizer |
| Photo tracing quality | Decent on simple art | Better on complex photos | Vectorizer |
| Batch processing | One image per design | Folders in one pass | Vectorizer |
| Editor integration | Built into Canva | Standalone | Canva |
When Canva's JPG to SVG Path Is Enough
Don't overthink it if your situation looks like this:
- You're already in Canva. The asset is headed into a Canva design anyway, so converting in place saves a round trip.
- The image is simple. Flat logos, bold icons, and high-contrast line art trace cleanly under auto mode.
- You need one file. A single SVG for a slide, post, or thumbnail doesn't justify a new workflow.
- You won't edit the paths. If the vector is final as-is, you don't need layered control.
When a Dedicated Vectorizer Wins
The moment the artwork gets demanding, the one-click trace shows its limits:
- Photographs. A detailed JPG becomes a posterized, blocky vector under pure auto-tracing. A real vectorization engine lets you choose color depth and preserve soft transitions.
- Recoloring. Canva hands back one merged SVG. A desktop tool gives you separate, named color groups you can restyle instantly.
- Large output. Print, signage, or packaging放大 exposes every rough anchor the auto-trace left behind.
- Volume. Converting a folder of 50 JPGs one design at a time isn't viable — batch mode is.
A Desktop Alternative, Step by Step
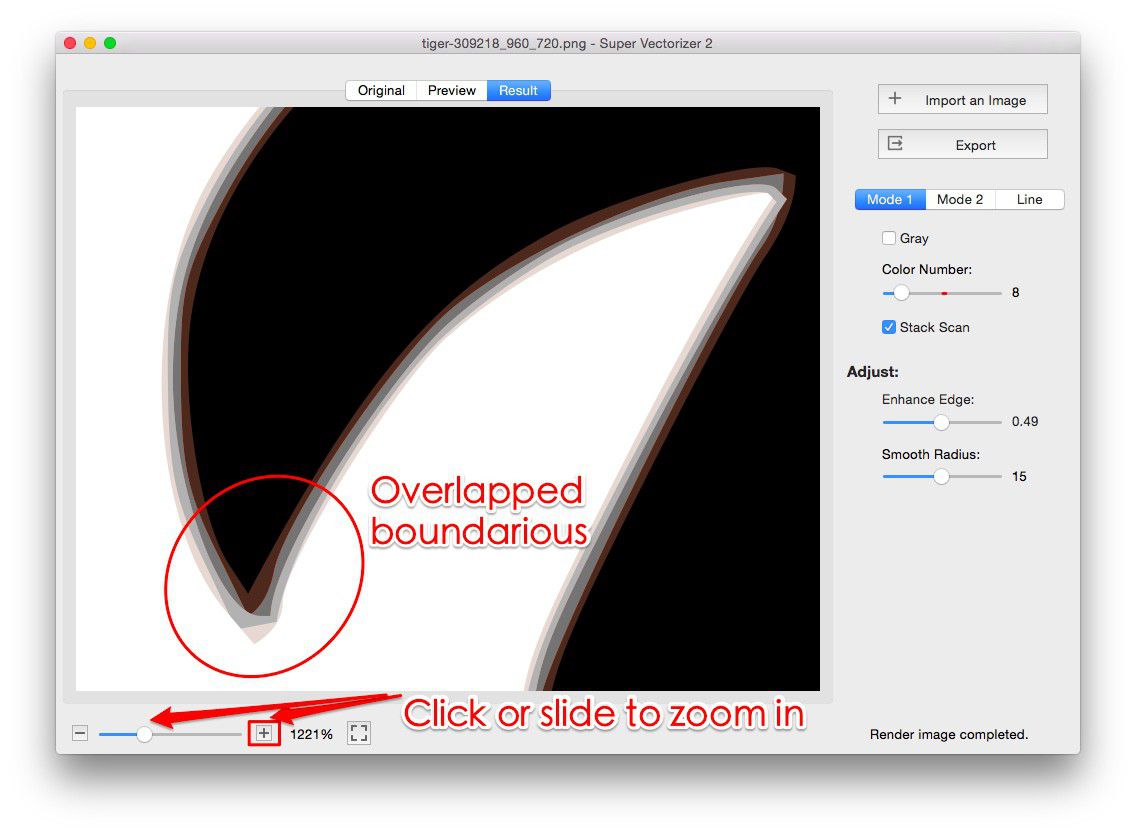
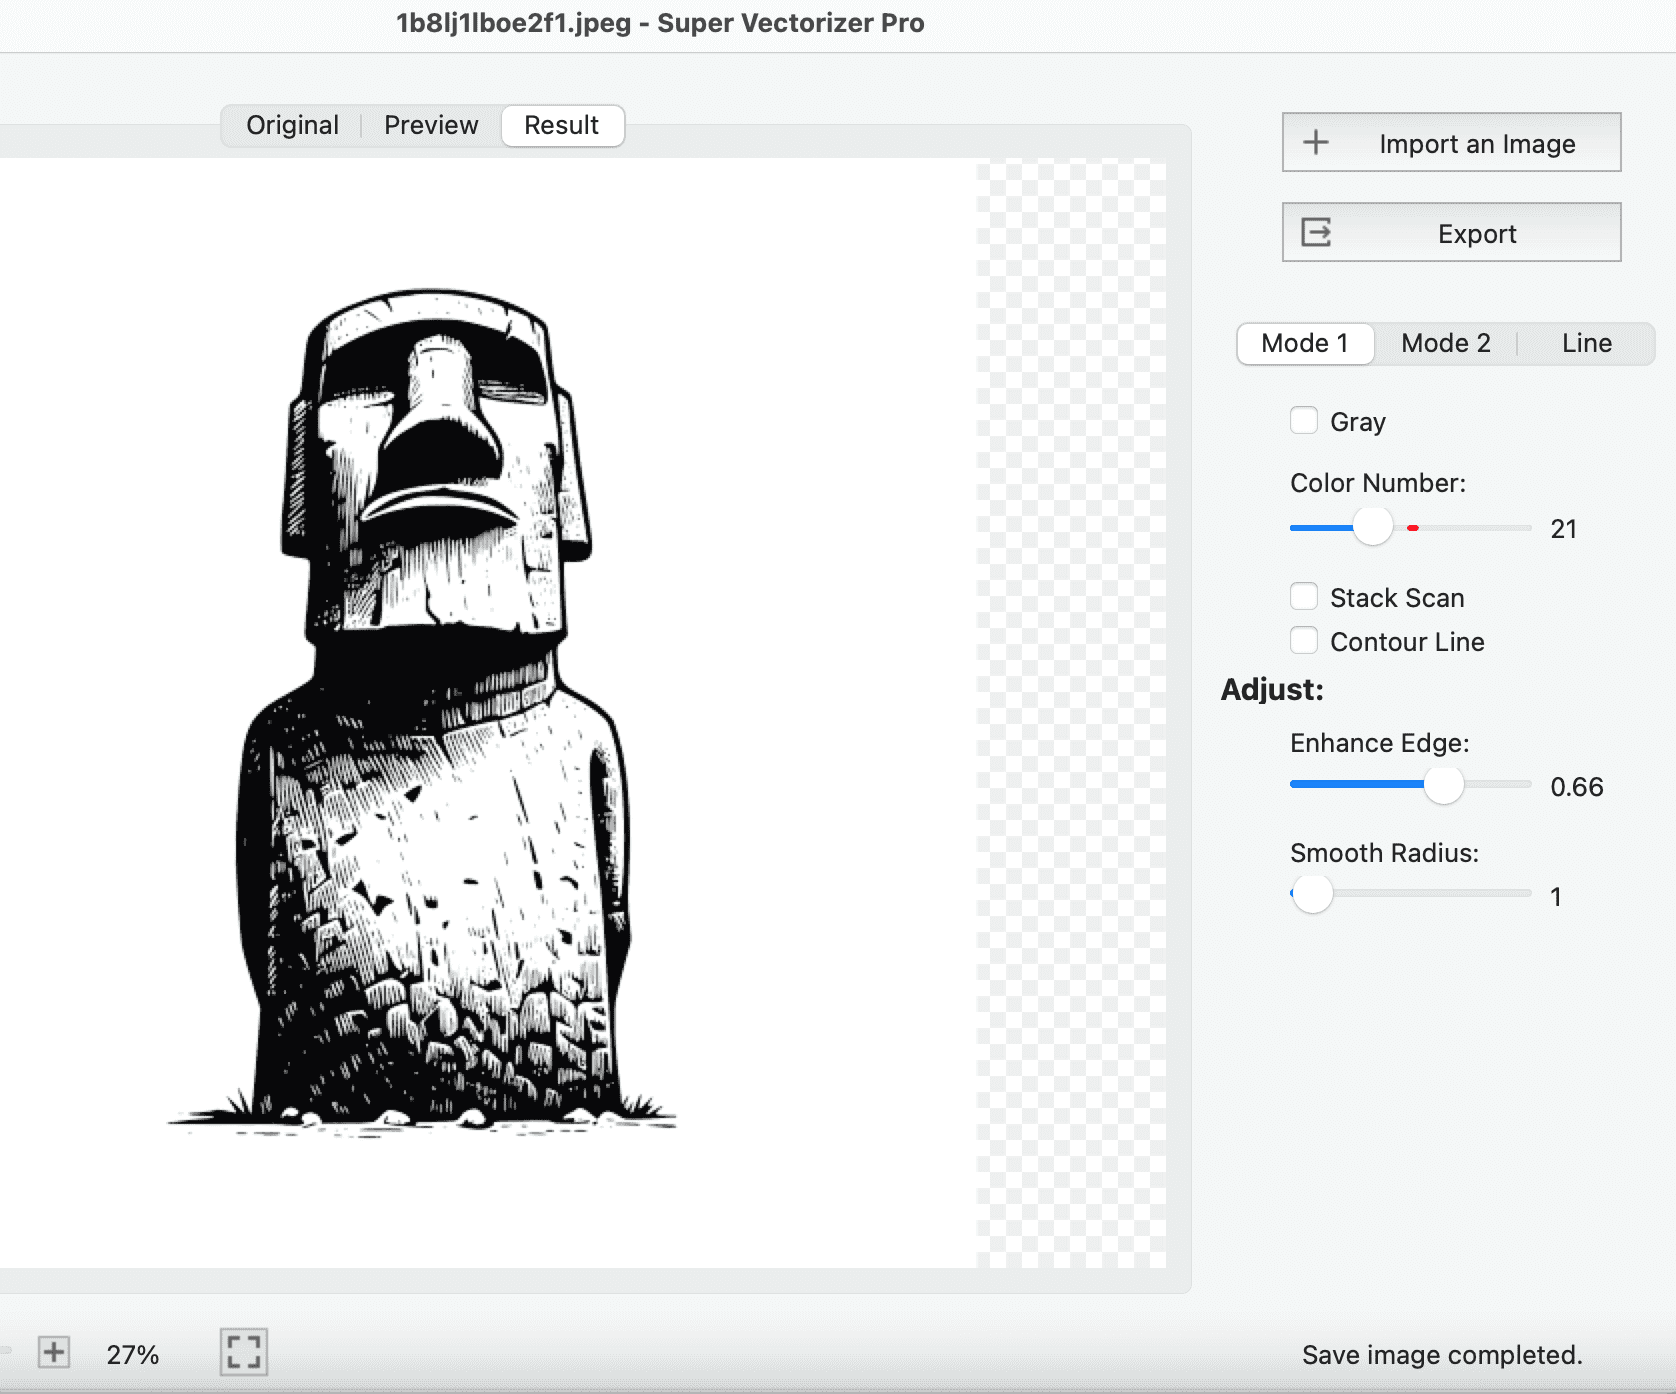
If Canva's trace isn't clean enough, the desktop route gives you a look at every stage — mirroring the "check the result" step shown in the screenshot below:
- Import the JPG. Open the app and drop your file onto the canvas.
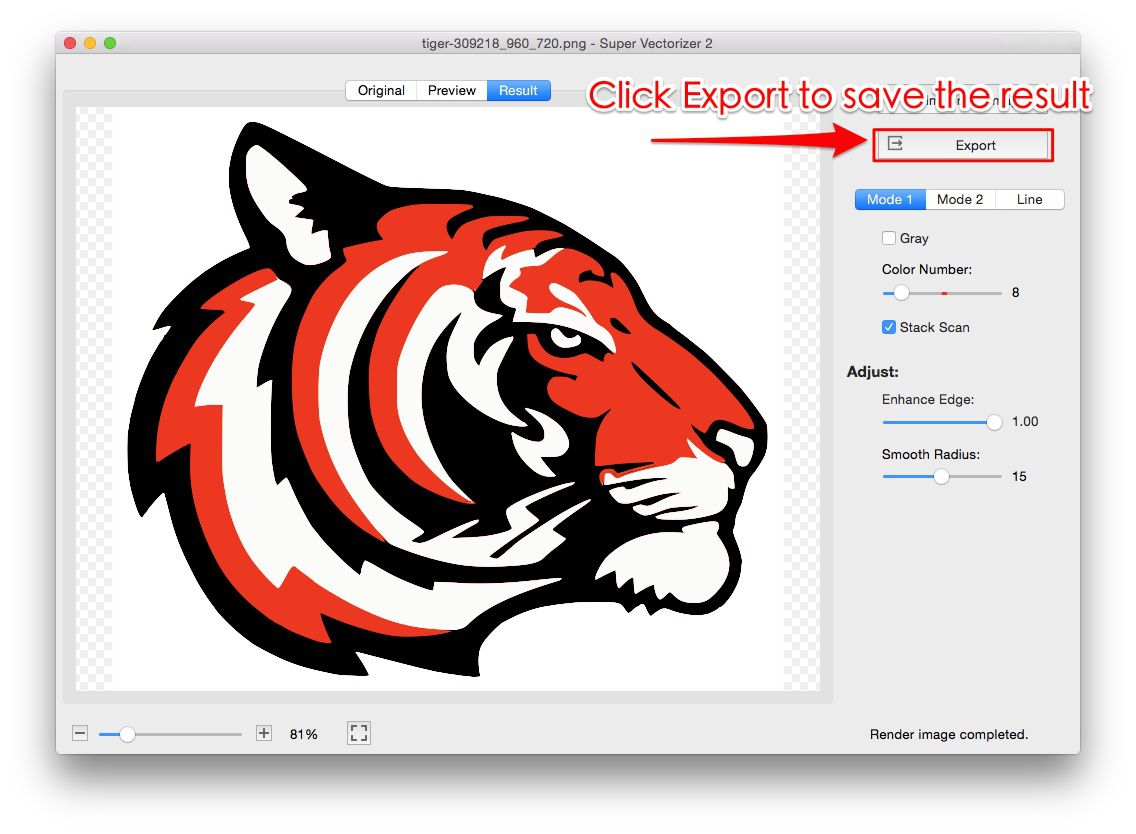
- Preview the vector. The engine traces the bitmap and shows the SVG immediately.
- Tune it. Adjust color count, edge smoothness, and detail until the artwork is right.
- Inspect. Zoom in to confirm strokes are smooth and fills are accurate.
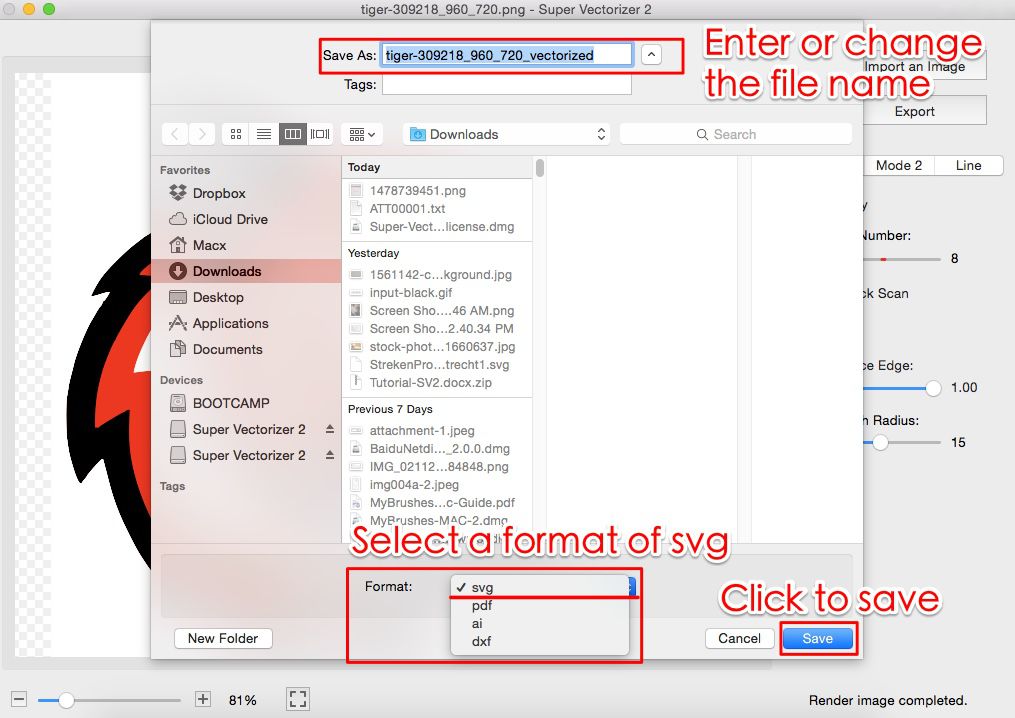
- Export (paid license). Save as SVG and any other formats you need. The free trial previews but does not export.
JPG vs PNG: Does the Source Format Change the Trace?
A question that comes up constantly is whether a Canva JPG to SVG job differs from converting a PNG to SVG. Technically the tracing math is identical — both are raster inputs the engine reinterprets as vector paths. The practical difference is what the format did to your pixels beforehand. JPG uses lossy compression, so photos picked up slight blur and blocky artifacts, especially across smooth gradients and open skies. A tracer can mistake those artifacts for real detail and drop in unnecessary nodes. PNG is lossless, so edges stay crisper and the auto-trace usually yields fewer, cleaner paths. If your source arrived from a phone or a stock site as a JPG, run a quick denoise first or choose a higher color-count setting in a desktop tool so you aren't tracing compression noise. When you have the choice, start from a PNG; when you only have a JPG, budget a little extra cleanup time.
Four Checks Before You Publish the SVG
Whatever tool you use, run these quick checks so your SVG format actually behaves like a vector:
- True paths, not a wrapper. Zoom to 500%. If it pixelates, the tool embedded the JPG instead of tracing it.
- Transparency intact. Open on light and dark backgrounds; some converters fill or drop alpha.
- Reasonable node count. A traced logo shouldn't be megabytes of needless anchors. Optimize after converting.
- Correct color spaces. Confirm brand colors survived the trace, especially in B&W mode.
Frequently Asked Questions
Can Canva convert a JPG to SVG for free?
Canva lets free users use many features, but the JPG to SVG / Vectorify export sits behind a Canva Pro subscription in practice — the help docs note SVG export requires Pro. Even when accessible, the trace is automatic with no control over color count or path smoothing. A free trial of a dedicated vectorizer lets you preview results at no cost, though it does not export the finished file.
Does Canva produce a real vector from a JPG?
Yes. Canva's Vectorify traces the raster JPG into vector paths rather than merely wrapping the image in an SVG file. For simple, high-contrast art the result is a genuine, scalable SVG. For detailed photos or gradients, the automatic trace flattens detail in ways you cannot adjust from inside Canva.
Why would I use a desktop tool instead of Canva?
Choose a dedicated app when you need adjustable color depth, smoother handling of photographs, editable color layers, or batch conversion of many JPGs. The desktop workflow also lets you inspect the vector at high zoom before exporting, which matters for print and large-format output.
What's the best JPG to SVG workflow for beginners?
If you already design in Canva and your image is simple, use Canva's Vectorify — it's the lowest-friction path. If the result looks rough or you need to recolor and resize the artwork, install a desktop vectorizer, run the free trial to preview the trace, and only export once the paths look clean.
Preview Cleaner Vectors From Your Own JPGs
Use the free trial to load a JPG, trace it on your Mac or Windows machine, and inspect every path before you commit to exporting.
Compatible with macOS 10.10+ (M1/M2/M3) & Windows 7/8/10/11
Related Articles
Try These Free Online Tools
No download required — convert, compress & optimize SVGs right in your browser
JPG to SVG Converter
Turn JPEG photos into crisp vector artwork in seconds
JPG to SVG ConverterPNG to SVG Converter
Convert PNG, JPG, BMP images to scalable vector graphics instantly
PNG to SVG ConverterSVG Compressor (Mini)
Reduce SVG file size by up to 80% without losing quality
SVG Compressor OnlineSVG Optimizer
Clean up SVG code, remove redundant data and optimize for web
SVG Optimizer OnlineEPS to SVG Converter
Convert EPS vector files to web-friendly SVG format
EPS to SVG ConverterAll Free Tools
Browse our complete collection of free online conversion tools
Browse All Free Tools