
Whether you are a tattoo artist preparing a stencil, a graphic designer cleaning up a hand-drawn logo, or a hobbyist digitizing your sketches for Cricut cutting, vectorizing line art is a skill you need in your toolkit. Unlike photographs with smooth gradients, line art presents a unique challenge: the lines must stay sharp, the stroke width must be preserved, and fine details must not get lost in the conversion process.
In this guide, we will walk through every major method to vectorize line art — from manual tracing in Adobe Illustrator, to one-click auto-trace with Super Vectorizer Pro on Mac and Windows, to free online tools for quick jobs. By the end, you will know exactly which approach fits your budget, timeline, and quality requirements.
Want to preview vectorization results on your own line art? Try Super Vectorizer Pro free trial — no export, but you can see exactly how your lines will look as vectors.
Compatible with macOS 10.10+ (M1/M2/M3) & Windows 7/8/10/11
What Makes Line Art Different from Other Images?
Line art is defined by high contrast and uniform stroke widths. There are no gradients, no complex color blends, and — ideally — no background noise. This makes line art easier to vectorize in some ways (the shape boundaries are clear) but harder in others (the auto-trace algorithm must not turn a clean 2px stroke into a wobbly path with unnecessary nodes).
When you vectorize line art, your goal is to produce paths that:
- Follow the original stroke centerline as closely as possible
- Use the minimum number of nodes needed for smoothness
- Preserve intentional variation in stroke width (if any)
- Output as clean SVG code with no redundant groups or empty layers
Method 1: Manual Tracing (Adobe Illustrator / Inkscape)
Manual tracing gives you the most control. You place your scanned sketch as a locked background layer, create a new layer on top, and use the Pen tool to draw vector paths over each line. For professional illustration work where every curve matters, this is still the gold standard.
Step-by-step in Adobe Illustrator:
- Scan or photograph your line art at 300 DPI or higher. Clean up the image in Photoshop first — increase contrast so the lines are black and the background is pure white.
- Open Illustrator and place the image (File → Place). Lock the layer.
- Create a new layer. Select the Pen tool (P) and set stroke color to black, fill to none.
- Trace each line with as few anchor points as possible. Use smooth points for curves, corner points for sharp angles.
- Once all lines are traced, delete the background image layer and save as SVG.
Pros: Perfect accuracy, cleanest possible paths, full control over stroke width.
Cons: Extremely time-consuming. A detailed A4 sketch can take 4-8 hours to trace manually.
Method 2: Auto-Trace with Desktop Software (Super Vectorizer Pro)
For most users, manual tracing is impractical. This is where auto-trace software becomes essential. Super Vectorizer Pro is purpose-built for this task — it uses a custom vectorization algorithm that detects lines, curves, and shapes separately, rather than treating the entire image as one flat bitmap.
Step-by-step with Super Vectorizer Pro on Mac:
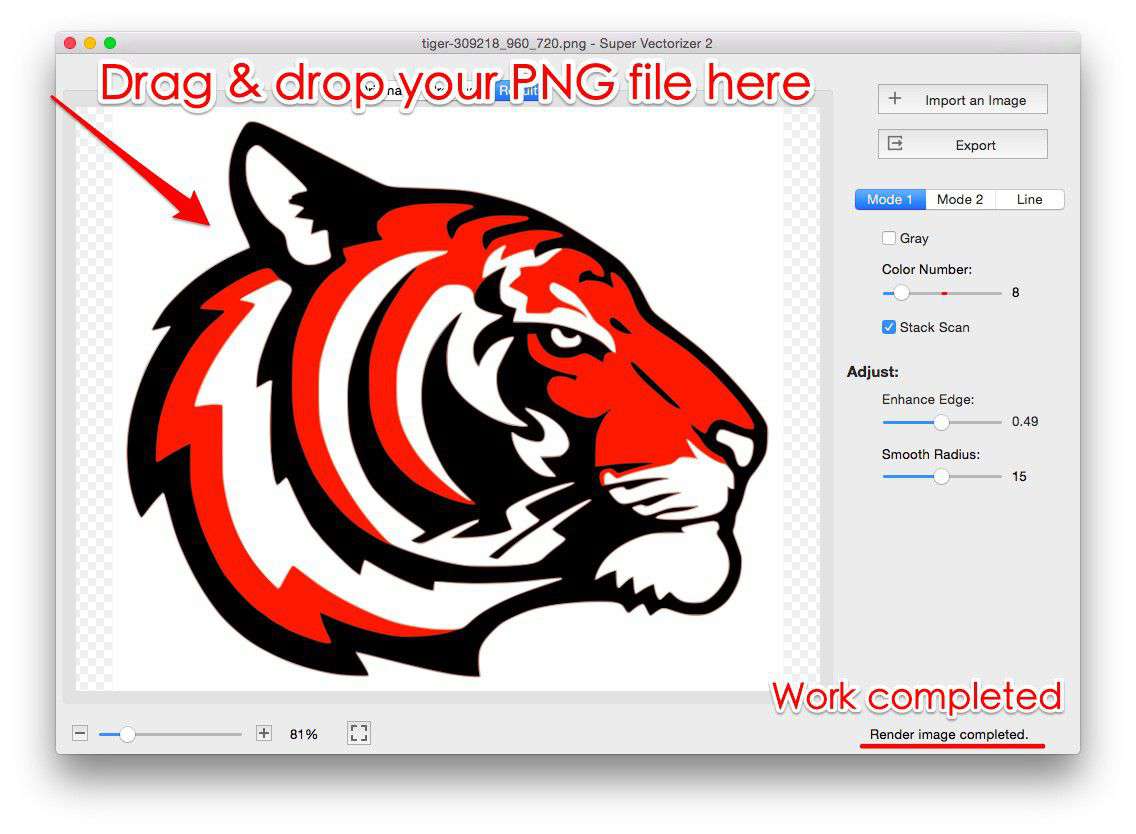
- Open the app and drag your PNG/JPG/BMP line art image into the window.
- The software automatically detects the image type. For line art, select "Line Art / Sketch" mode (this optimizes the tracing for high-contrast strokes).
- Adjust the Detail Slider — move it right for more nodes (closer to original), left for smoother paths.
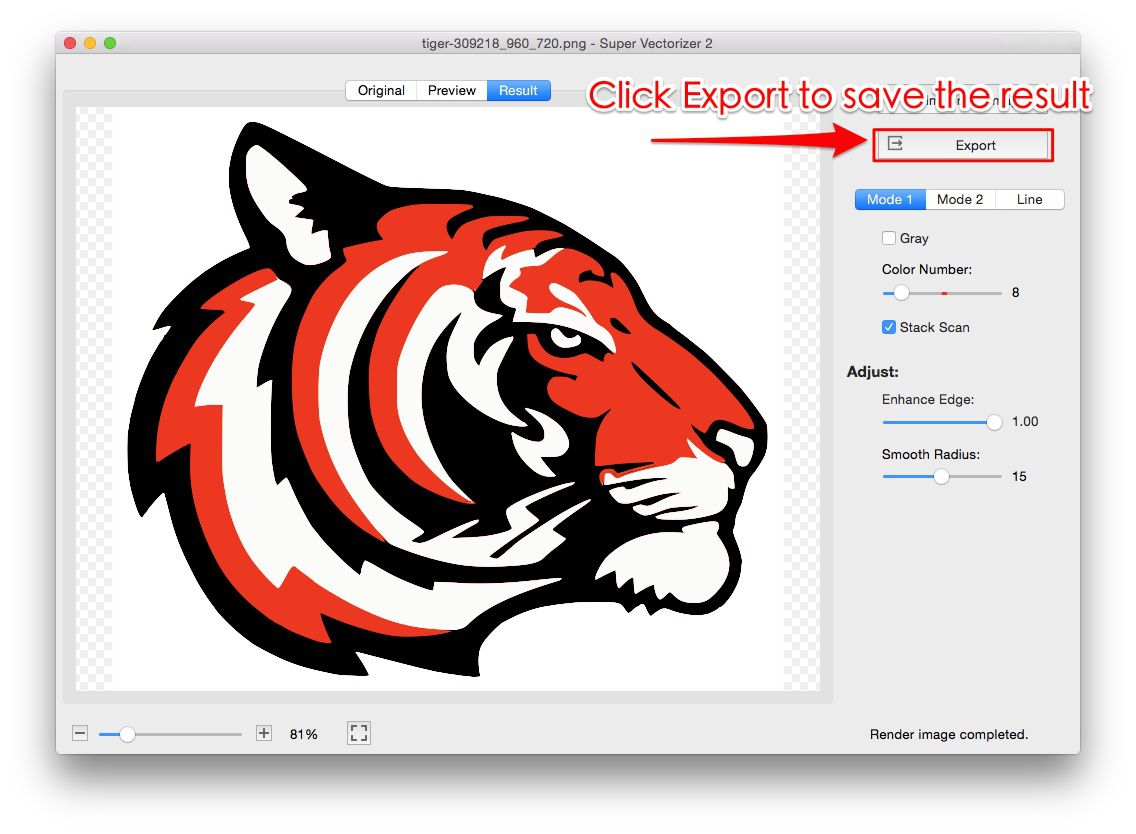
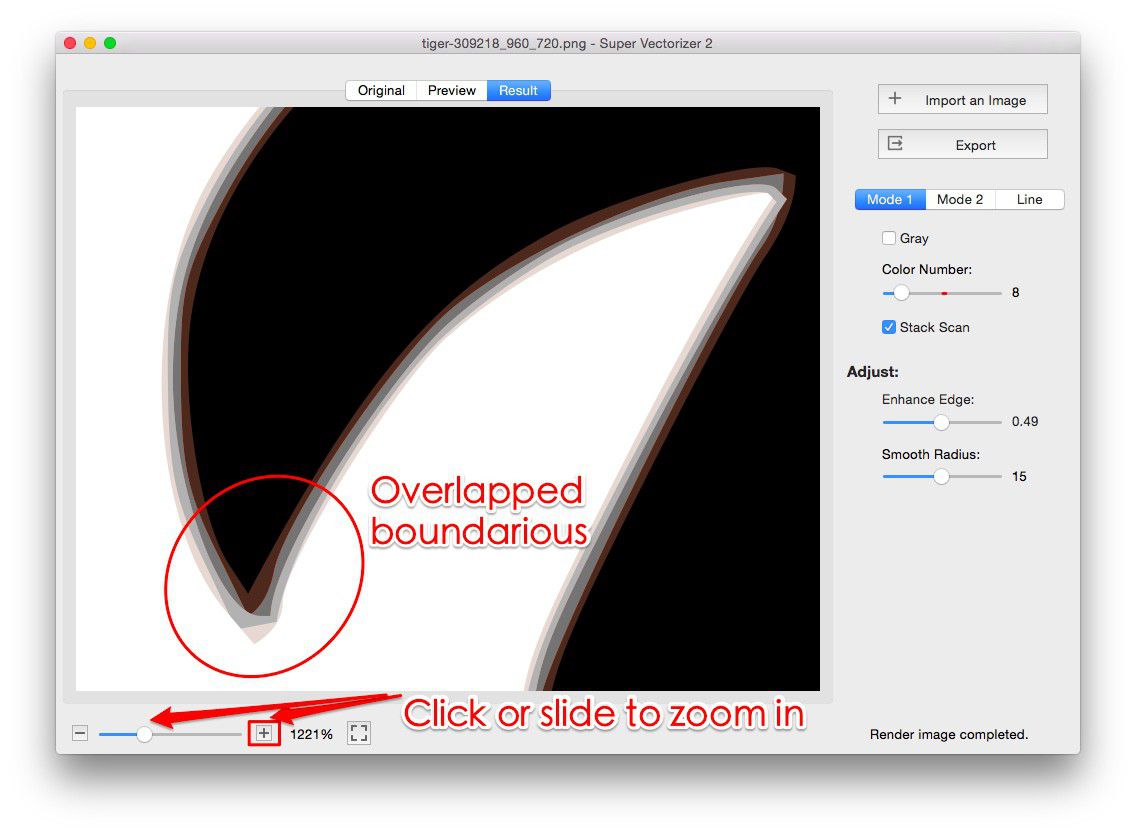
- Click Check Result to preview the vector paths over your original image. Zoom in to verify fine lines are captured.
- Adjust colors if needed (for single-color line art, set output to 1-bit / black-only).
- Use the free trial to preview results. The trial version allows full preview so you can verify quality before purchasing.
Super Vectorizer Pro is available for both macOS (10.10+, including M1/M2/M3) and Windows (7/8/10/11), making it one of the few professional vectorization tools that treat both platforms as first-class citizens.
Method 3: Free Online Auto-Trace Tools
If you only need to vectorize line art occasionally and don't want to install software, free online tools can handle simple line drawings. The trade-off is that you have less control over the output quality, and complex sketches with fine details may not trace cleanly.
Popular free options:
- SVGVector Free Online Converter — Supports PNG, JPG, BMP to SVG. Good for basic line art. Accessible at svgvector.com.
- Vectorizer.ai — AI-powered, produces clean output for simple line drawings. Free tier has resolution limits.
- Inkscape (Trace Bitmap) — Free desktop software. The "Trace Bitmap" feature (Path → Trace Bitmap) works well for high-contrast line art, though the interface is less polished than commercial alternatives.
Comparison: Manual vs Auto-Trace vs Online Tools
| Criteria | Manual Tracing | Super Vectorizer Pro | Free Online Tools |
|---|---|---|---|
| Time Required | 4-8 hours | 30 seconds | 1-2 minutes |
| Accuracy | Perfect | Very High | Medium |
| Line Art Optimized | Yes | Yes (dedicated mode) | Partial |
| Batch Processing | No | Yes | No |
| Cost | Free (your time) | Paid (free trial available) | Free (limited) |
| Best For | Final production art | Daily workflow, agencies | One-off simple sketches |
Tips for Better Line Art Vectorization Results
1. Start with a Clean Scan
The quality of your source image determines the quality of the vector output. Scan at 300 DPI minimum. If you are photographing your sketch, use natural daylight (not yellow indoor lighting) and make sure the paper is flat. Increase contrast in Photoshop or GIMP before vectorizing — pure black lines on a pure white background give the best results.
2. Choose the Right Trace Mode
Not all line art is the same. A technical drawing with uniform stroke widths needs a different tracing approach than a hand-drawn sketch with expressive line weight variation. Super Vectorizer Pro offers multiple modes — experiment with "Sketch / Line Art" vs "Technical Drawing" to see which preserves your artistic intent better.
3. Simplify Paths After Tracing
Auto-traced SVG files can contain hundreds of unnecessary nodes, especially along straight lines. After vectorizing, use Object → Path → Simplify in Illustrator, or the built-in simplify function in Super Vectorizer Pro, to reduce node count without visibly changing the shape. This makes the SVG file smaller and easier to edit later.
4. Preserve Stroke Width (Don't Just Outline)
One common mistake: converting line art into filled shapes instead of stroked paths. While this works for some applications (like Cricut Design Space), it makes the file much harder to edit later. Whenever possible, keep lines as strokes with a defined width rather than expanding them into outlines.
Common Use Cases for Vectorized Line Art
- T-shirt printing: Vector line art separates cleanly for screen printing. Each color becomes its own separations layer.
- Cricut / Silhouette cutting: Cut machines follow vector paths. Raster images cannot be cut directly — they must be vectorized first.
- Tattoo stencils: Tattoo artists scan their drawings and vectorize them to print clean stencils that transfer accurately to skin.
- Logo design: Client logos often start as hand-drawn sketches. Vectorizing converts them into scalable files for business cards, billboards, and web.
- Technical documentation: Engineering diagrams and architectural sketches benefit from vector format for annotation and scale adjustments.
Our Verdict: Best Way to Vectorize Line Art in 2026
For professional work, Super Vectorizer Pro offers the best balance of speed, accuracy, and cost. Manual tracing delivers perfection but takes 10x longer. Free online tools work for simple one-offs but struggle with detailed sketches. If line art vectorization is part of your regular workflow, a dedicated desktop app pays for itself within the first week.
Super Vectorizer Pro Advantages
- Line-art-optimized tracing algorithm
- Mac (M1/M2/M3) and Windows support
- Per-sketch tuning of trace settings
- Free trial to preview results before buying
- Multiple export formats (SVG, PDF, DXF, AI)
When to Use Manual Tracing Instead
- Final production art for high-end clients
- Artwork with intentional brush texture
- When stroke-width variation MUST be preserved exactly
- Simple shapes that take <10 minutes to trace
Frequently Asked Questions
Can I vectorize line art for free without downloading software?
Yes. Free online converters like the one at svgvector.com can handle basic line art. Upload your PNG or JPG, and the tool will output an SVG file. However, free tools offer limited control over node count and path simplification. For professional results, desktop software like Super Vectorizer Pro gives you much finer control.
Why do my vectorized lines look jagged or wobbly?
This usually happens when the source image has low contrast or when the tracing algorithm uses too many nodes trying to match every pixel. Increase the contrast of your source image (make lines blacker, background whiter) and use the "simplify" or "smoothing" setting in your vectorization software to reduce unnecessary nodes along straight lines.
What file format should I use for vectorized line art?
SVG is the best choice for web use and most modern design tools. If you are sending the file to a print shop or using it in Adobe Illustrator, AI or PDF format may be preferred. For CAD or laser cutting, DXF is the standard. Super Vectorizer Pro can export to all of these formats from the same traced result.
Can Super Vectorizer Pro handle scanned pencil sketches?
Yes, but with a caveat. Pencil sketches have gray lines rather than pure black, and the background may have paper texture. For best results, increase the contrast in Photoshop first (Image → Adjustments → Levels) to make the lines black and the background white. Then load the cleaned image into Super Vectorizer Pro for tracing.
Ready to Vectorize Your Line Art?
Preview your results instantly with Super Vectorizer Pro free trial. Available for Mac and Windows — see how your sketches look as scalable vectors before you commit.
Compatible with macOS 10.10+ (M1/M2/M3) & Windows 7/8/10/11
Related Articles
Try These Free Online Tools
No download required — convert, compress & optimize SVGs right in your browser
PNG to SVG Converter
Convert PNG, JPG, BMP images to scalable vector graphics instantly
PNG to SVG ConverterSVG Compressor (Mini)
Reduce SVG file size by up to 80% without losing quality
SVG Compressor OnlineSVG Optimizer
Clean up SVG code, remove redundant data and optimize for web
SVG Optimizer OnlineJPG to SVG Converter
Turn JPEG photos into crisp vector artwork in seconds
JPG to SVG ConverterEPS to SVG Converter
Convert EPS vector files to web-friendly SVG format
EPS to SVG ConverterAll Free Tools
Browse our complete collection of free online conversion tools
Browse All Free Tools