
The Brother ScanNCut is the only home cutting machine with a built-in 600 DPI scanner — you can drop a hand-drawn sketch on the mat, hit scan, and the machine cuts around the lines. That's the magic. The catch is that for anything more complex than a single shape, you almost always want to start from a vector file. Clean SVG files for Brother ScanNCut cut faster, look sharper, and avoid the "machine slowed to a crawl" problem that comes from too many nodes.
The other catch is model compatibility. SDX-series (DX, DX2, SDX) machines read SVG natively through Canvas Workspace. Older CM-series machines (CM650W, CM350, CM900) need the SVG converted to Brother's FCM format first. This guide covers both paths: model compatibility, Canvas Workspace setup, the SVG format rules that actually matter for clean cuts, and the troubleshooting steps that fix 90% of "my file won't cut" problems.
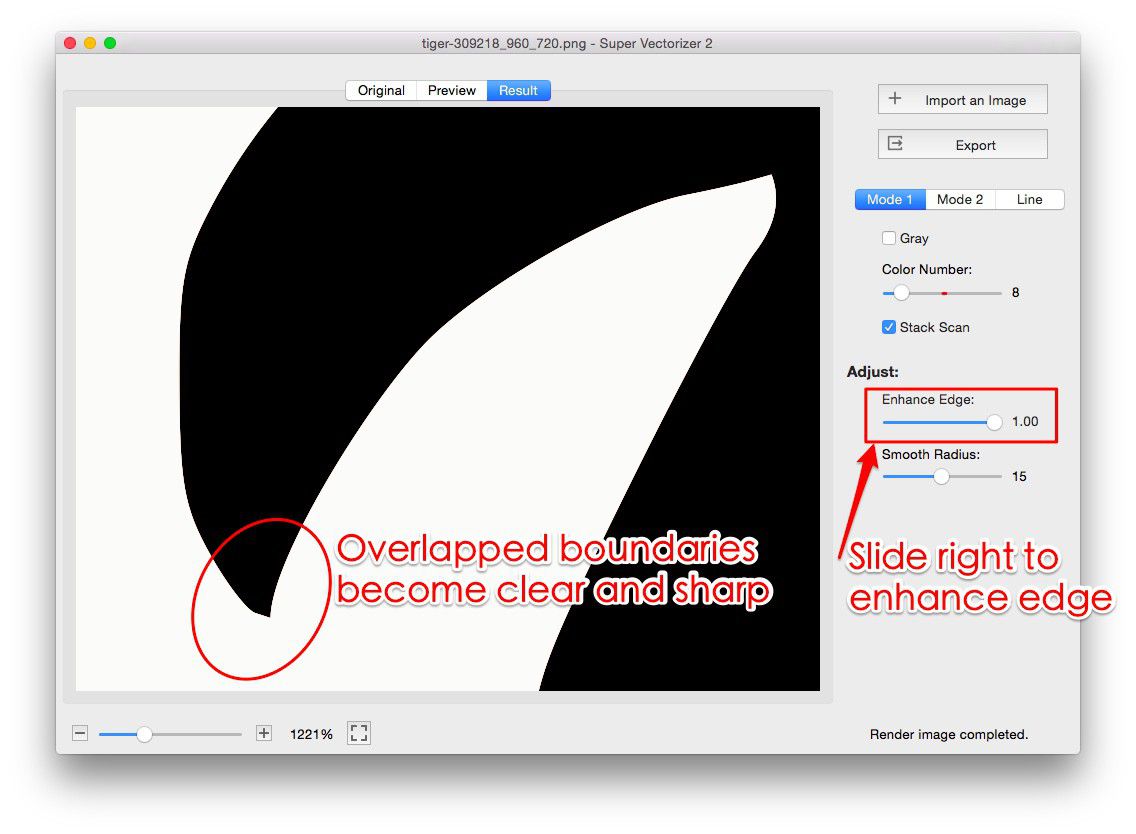
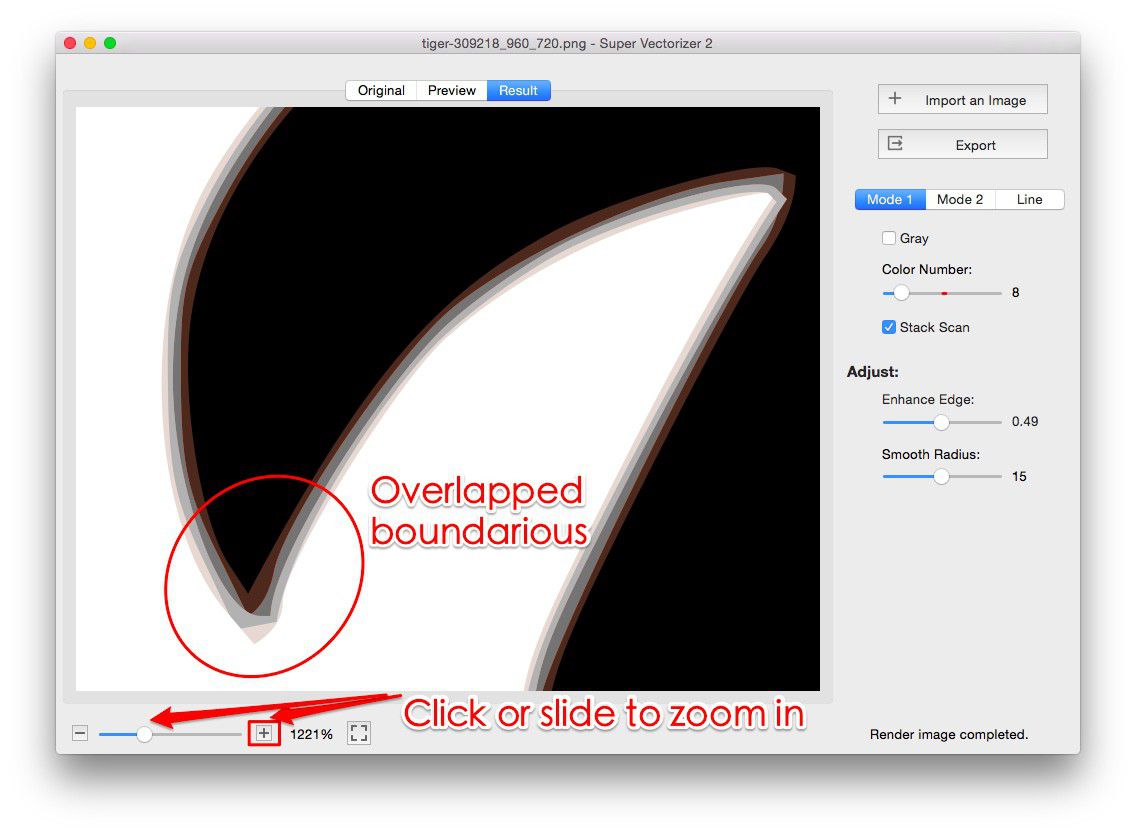
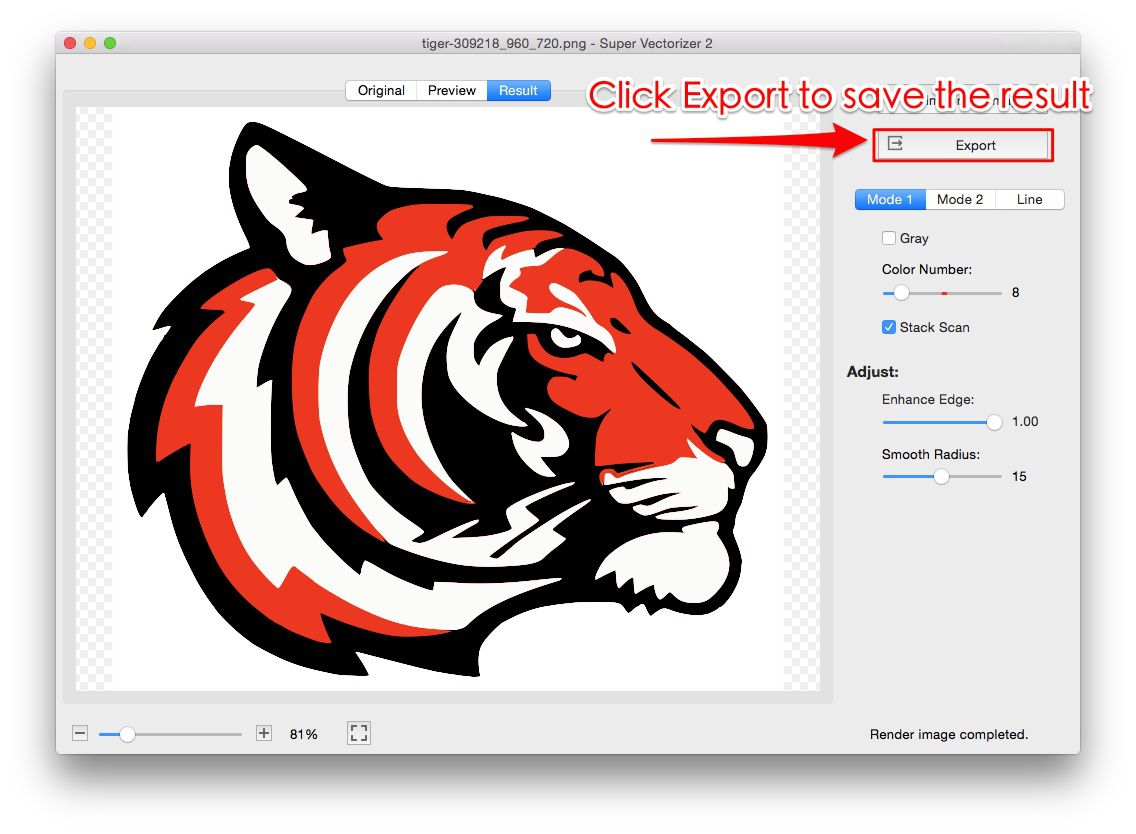
Need to convert a PNG, JPG, or hand-drawn sketch into a clean cutting SVG? Try Super Vectorizer Pro free trial to preview vectorization results.
Compatible with macOS 10.10+ (M1/M2/M3) & Windows 7/8/10/11
Our Verdict
Brother ScanNCut uses proprietary DX/CM formats, but SVG is the most universal source format. The key is clean, single-layer paths that import without errors.
Best for ScanNCut: Super Vectorizer Pro
- Produces clean, single-layer SVG ideal for DX/CM conversion
- Color separation for multi-piece designs
- Free trial to preview results
- Works offline for privacy
Best Free: Inkscape + CanvasWorkspace
- Free vector editing with Inkscape
- Import SVG into Brother CanvasWorkspace
- Manual path cleanup needed
- Two-step workflow
ScanNCut Model Compatibility at a Glance
Before anything else, identify your machine. Brother's model names follow a pattern: SDX (the current line, including DX, DX2, SDX230D, SDX330D) and CM (older models like CM650W, CM350, CM900). The key difference is whether the machine reads SVG directly, or only after you convert to FCM.
SDX (DX, DX2, SDX series) accepts SVG natively through Canvas Workspace and USB, supports Wi-Fi transfer, includes the Auto Blade, and allows on-screen editing of imported designs. CM models (CM650W, CM350, CM900) don't read SVG directly — convert to FCM in Canvas Workspace first, then transfer via USB. They also lack Wi-Fi on most models and use manual blade depth instead of the Auto Blade. If you have an SDX machine, you can skip the FCM conversion step. If you have a CM machine, the SVG → FCM conversion is a one-time step in Canvas Workspace that adds about a minute to the workflow.
Setting Up Canvas Workspace
Canvas Workspace is Brother's free design platform and the gateway between your SVG files and the cutting machine. It runs in two places: a web app at canvasworkspace.brother.com and a desktop application you can install on Windows or macOS. Either works; the web app is more convenient and the desktop app is more reliable for large files.
- Create a free Brother account if you don't already have one.
- Sign in to Canvas Workspace on the web or open the desktop app.
- For Wi-Fi transfer (SDX models only): open the ScanNCut's settings menu, note the machine ID, then register it inside Canvas Workspace.
- For USB transfer: skip the registration step; you can drag-and-drop files to a USB drive and load them on the machine.
The free tier of Canvas Workspace includes SVG import, FCM export, basic editing, and wireless transfer. That's all most home crafters need.
Importing Your SVG
Once you're signed in, the import flow is identical on web and desktop:
- Click the SVG import icon in the toolbar (or File → Import SVG).
- Browse to your SVG file and select it.
- Canvas Workspace renders the design on a virtual cutting mat, scaled to the mat dimensions.
- Resize, rotate, or duplicate the design as needed.
- Send it to the machine (Wi-Fi) or export to USB (FCM for CM models, SVG for SDX models).
SVG Format Requirements That Actually Matter
Not every SVG is a great cutting file. The ScanNCut's firmware and Auto Blade work best when the SVG follows a few simple rules.
1. Use Closed Paths
Every shape you want cut must be a closed path. Open paths may not cut at all, or may cut as a straight line between the endpoints regardless of the curve in between.
2. Convert Text to Paths
The ScanNCut does not load fonts. Convert all text to outlines in your design tool (Illustrator: Type → Create Outlines; Inkscape: Path → Object to Path) before exporting.
3. Inline Attributes Over CSS Classes
Some firmware versions ignore <style> blocks and class attributes. Use inline fill="#000000" stroke="none" on each shape instead.
4. No Embedded Rasters, Reasonable Node Count, Mat-Fit Dimensions
The ScanNCut can't trace raster images embedded in an SVG, so trace the raster to vector first. The Auto Blade handles thousands of nodes, but the machine slows as node count climbs — use Path → Simplify in your editor before exporting. The standard mat is 12×12 in (305×305 mm) and the long mat is 12×24 in (305×610 mm); Canvas Workspace auto-rescales anything that exceeds the mat, so set explicit width and height in the SVG so the import shows the correct size.
Transfer Methods: USB, Wi-Fi, and Canvas Workspace
Once your SVG is in Canvas Workspace, you have three ways to get it onto the cutting mat.
Wi-Fi (SDX models): with your ScanNCut on the same Wi-Fi network, open the design in Canvas Workspace, click Transfer, and select your registered machine. The file arrives in seconds.
USB direct (SDX): format a USB drive as FAT32 (not NTFS or exFAT), copy the SVG to the root of the drive, insert it into the machine, and tap Retrieve Data → USB → select your file.
USB via Canvas Workspace (CM models): import the SVG, click Download and choose FCM, save the FCM to a USB drive, then load it on the machine the same way as above.
Material & Cut Settings
The Auto Blade on SDX machines detects material thickness automatically, but a manual override usually improves the result. These starting points cover the most common materials. Always do a test cut on a scrap piece first.
| Material | Pressure | Speed | Notes |
|---|---|---|---|
| Adhesive vinyl | 0 to −1 | 3 | Standard grip mat; weed after cutting |
| HTV (heat-transfer) | 0 to −1 | 3 | Mirror the design first |
| Cardstock (65–100 lb) | 0 to +2 | 2 | Light grip mat; test cut first |
| Sticker paper | 0 to +1 | 3 | Consider print-and-cut workflow |
| Felt / fabric | +1 to +3 | 2 | Always use stabilizer |
| Thin wood veneer | +4 to +6 | 1 | Deep-cut blade required; multi-pass |
Troubleshooting Common Problems
Most cutting problems trace back to one of a handful of root causes. Run through this checklist before assuming the machine is broken.
SVG Won't Load From USB
Three usual suspects: the USB drive is formatted NTFS or exFAT instead of FAT32; the file is in a subfolder instead of the root; the SVG was saved by a tool that produced invalid XML. Reformat as FAT32, move the file to the root, and re-export the SVG from a different tool (Inkscape, Illustrator, or an online vectorizer).
CM Machine: "Where Is the SVG Option?"
CM models don't read SVG directly. Use Canvas Workspace to convert the SVG to FCM format, then transfer via USB. There's no workaround for direct CM SVG import.
Design Looks Different on the Machine
The ScanNCut's screen is low-resolution, so the preview is a simplified rendering. The cut result will match the original SVG. To verify the cut paths, view the design at 100% in Canvas Workspace before transferring.
Wi-Fi Transfer Fails
Confirm both devices are on the same network and the machine is registered inside Canvas Workspace. Restart the machine's Wi-Fi connection if it still fails.
Machine Slows Down or Stalls Mid-Cut
The most common cause is a path with too many nodes. Open the SVG in Inkscape or Illustrator, run Path → Simplify, and re-export. A 200-node path cuts in seconds; a 10,000-node path can take minutes.
Verdict: SDX vs CM Workflow
If you already own a machine, you don't get to choose — but understanding the difference helps you plan your workflow.
SDX vs CM for SVG Cutting
Both workflows work; one is more direct, the other needs a single extra conversion step.
SDX (DX, DX2, SDX)
- Direct SVG import via Canvas Workspace and USB
- Wi-Fi transfer supported
- Auto Blade adjusts depth automatically
CM (CM650W, CM350, CM900)
- Needs SVG → FCM conversion (one click)
- USB transfer only on most models
- Manual blade depth adjustment
Conclusion
Clean SVG files for Brother ScanNCut turn the machine from a basic sticker cutter into a precision craft tool. SDX models read SVG directly; CM models need a one-time FCM conversion. The SVG itself matters more than the transfer method — closed paths, outlined text, inline attributes, no embedded rasters, and a sane node count are the difference between a perfect cut and a wasted sheet of vinyl. If you start from a raster source, run it through a vectorizer first to produce clean paths the machine can follow. Super Vectorizer Pro is a good fit for that step.
Turn Any Raster Into a Cut-Ready SVG
Photos, sketches, and screenshots — vectorize them into clean SVG paths ready for Canvas Workspace and the ScanNCut.
Compatible with macOS 10.10+ (M1/M2/M3) & Windows 7/8/10/11
Frequently Asked Questions
Can Brother ScanNCut use SVG files?
Yes, but the workflow depends on the model. SDX machines (DX, DX2, SDX series) import SVG directly through Canvas Workspace or USB. CM models (CM650W, CM350, CM900) require converting the SVG to Brother's FCM format inside Canvas Workspace first, then transferring the FCM file via USB. Either way, the conversion is a one-time step per file.
What is Canvas Workspace?
Canvas Workspace is Brother's free design platform for the ScanNCut. It runs as a web app at canvasworkspace.brother.com and as a desktop application on Windows and macOS. It handles SVG import, FCM export, basic editing, and wireless transfer on supported models. The free tier is enough for most home crafters and small businesses.
How do I convert SVG to FCM for older CM models?
Open Canvas Workspace, import your SVG via File → Import SVG, then click Download and choose FCM as the export format. Save the FCM file to a USB drive (formatted as FAT32) and plug it into the ScanNCut. The machine reads FCM files the same way it reads its own native designs.
Can I send SVG files to the ScanNCut over Wi-Fi?
SDX models with Wi-Fi support wireless transfer. Open the SVG in Canvas Workspace, click the Transfer button, and select your registered machine. The file arrives in seconds. CM models generally don't support Wi-Fi transfer — USB is the standard path for those machines.
What's the maximum cut size on the ScanNCut?
The standard cutting mat is 12×12 inches (305×305 mm); the optional long mat extends one dimension to 24 inches (610 mm). With the deep-cut blade, SDX machines can cut materials up to 3 mm thick. Designs larger than the mat will be auto-resized to fit when imported, so size your SVG to the actual cut dimensions when you create it.
Related Articles
Try These Free Online Tools
No download required — convert, compress & optimize SVGs right in your browser
PNG to SVG Converter
Convert PNG, JPG, BMP images to scalable vector graphics instantly
PNG to SVG ConverterSVG Compressor (Mini)
Reduce SVG file size by up to 80% without losing quality
SVG Compressor OnlineSVG Optimizer
Clean up SVG code, remove redundant data and optimize for web
SVG Optimizer OnlineJPG to SVG Converter
Turn JPEG photos into crisp vector artwork in seconds
JPG to SVG ConverterEPS to SVG Converter
Convert EPS vector files to web-friendly SVG format
EPS to SVG ConverterAll Free Tools
Browse our complete collection of free online conversion tools
Browse All Free Tools