
Silhouette Cameo is the second most popular desktop cutting machine after Cricut, and like its rival it runs on SVG cut files. But here is the catch that trips up thousands of beginners: Cricut Design Space and Silhouette Studio handle SVG very differently. Silhouette Studio has specific rules about fill colours, compound paths, and stroke visibility — and the free version of the software cannot even open an SVG directly. This guide walks through everything you need to make clean, cut-ready Silhouette SVG files for Cameo 4 and Cameo 5, from creating them to importing and cutting without missing cut lines.
Turn any PNG or JPG into a cut-ready vector. Try Super Vectorizer Pro free trial to preview vectorization results.
Compatible with macOS 10.10+ (M1/M2/M3) & Windows 7/8/10/11
Our Verdict
Silhouette Cameo reads SVG files directly, but cut-ready SVGs need clean paths, proper layering, and correct sizing. The right conversion tool saves hours of weeding.
Best for Cameo: Super Vectorizer Pro
- Traces images into cut-ready SVG paths
- Color-separated layers for multi-color designs
- Free trial to preview results
- Mac and Windows native apps
Best Free: Silhouette Studio + Inkscape
- Silhouette Studio imports SVG (free tier)
- Inkscape for path cleanup
- Manual workflow required
- Limited to Studio's free features
What Are Silhouette SVG Files?
A Silhouette SVG file is simply a standard SVG vector file that is structured so Silhouette Studio can read its shapes as cut lines. The machine itself does not "print" an SVG — it reads the vector paths and drags a blade along them. That means every element you want cut must be a real vector path, and how Studio groups those paths depends almost entirely on the fill colour assigned to each shape. Get the structure right and your design cuts perfectly; get it wrong and you end up with missing lines, ungrouped shapes, or artwork that won't cut at all.
Does Silhouette Studio Import SVG? (Edition Matters)
This is the single most important fact for newcomers: the basic (free) edition of Silhouette Studio cannot import SVG files natively. To open an .svg directly you need Silhouette Studio Designer Edition, Designer Edition Plus, or Business Edition. If you are on the free tier, you must instead use the built-in Trace feature on a PNG or JPG — a slower, less precise workflow.
| Studio Edition | Price | SVG Import | Best For |
|---|---|---|---|
| Basic (free) | $0 | No — Trace PNG only | Trying the machine |
| Designer Edition | ~$50 one-time | Yes | Hobbyists using downloaded SVGs |
| Designer Edition Plus | Higher tier | Yes + extra import | Cross-format workflows |
| Business Edition | Top tier | Yes + robust tools | Shops & high volume |
How Silhouette Studio Reads an SVG
Understanding Studio's import behaviour prevents most failures. Three rules dominate:
- Fill colours create cut groups. Each unique fill colour in your SVG becomes a separate cut group in Studio's Line & Fill panel. Want three layers cut from three materials? Give each a distinct fill colour.
- Stroke-only paths may not register. Studio derives cut lines from the outline of filled shapes, not from stroke definitions. A path that is "drawn" with no fill (just a coloured stroke) can import with no cut line. Always use filled paths, not stroke-only outlines.
- Compound paths can ungroup. Studio sometimes breaks SVG compound paths apart on import. Test a simple file first to confirm your path structure survives the round trip.
How to Create Silhouette-Ready SVG from Any Image
If you have a raster logo, sketch, or photo (PNG/JPG) rather than an existing vector, you need to convert the image to SVG first. Here is a reliable pipeline:
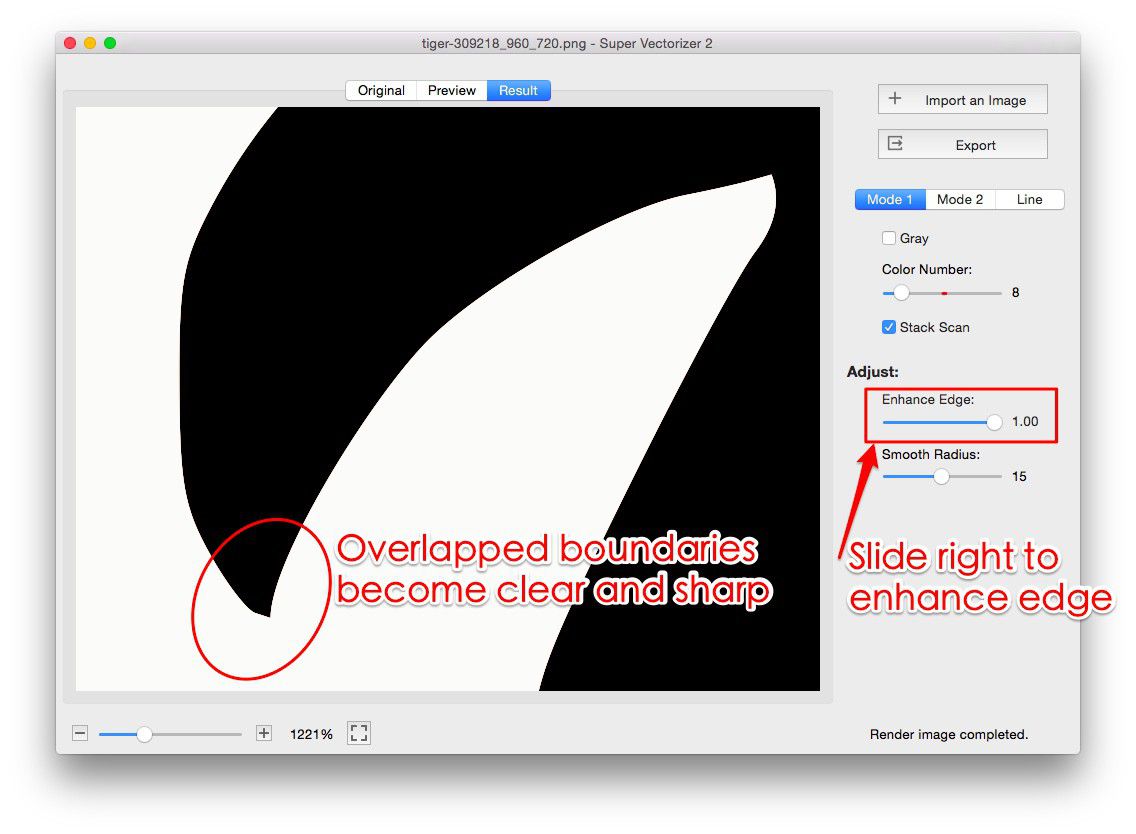
- Upload your PNG or JPG to a PNG-to-SVG converter and produce a vector.
- Open the result in a vector editor (Inkscape or Illustrator) and confirm every shape you want cut has a fill colour, not just a stroke.
- Convert all text to outlines (Inkscape: Text → Object to Path) so Studio can't substitute a missing font.
- Remove hidden/off-canvas elements and stray points.
- Save as Plain SVG (not Inkscape SVG or Illustrator SVG) to avoid proprietary metadata.
- In Silhouette Studio: File → Open, select the SVG, and verify cut lines in the Send panel.
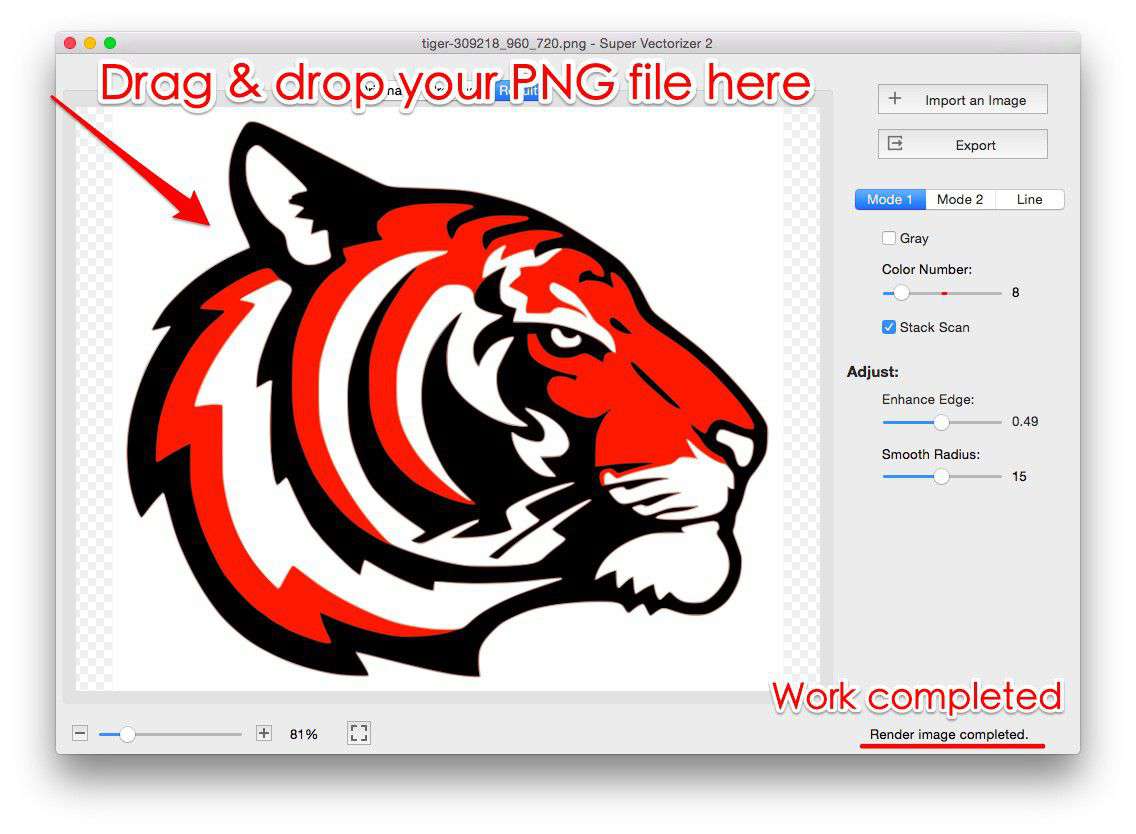
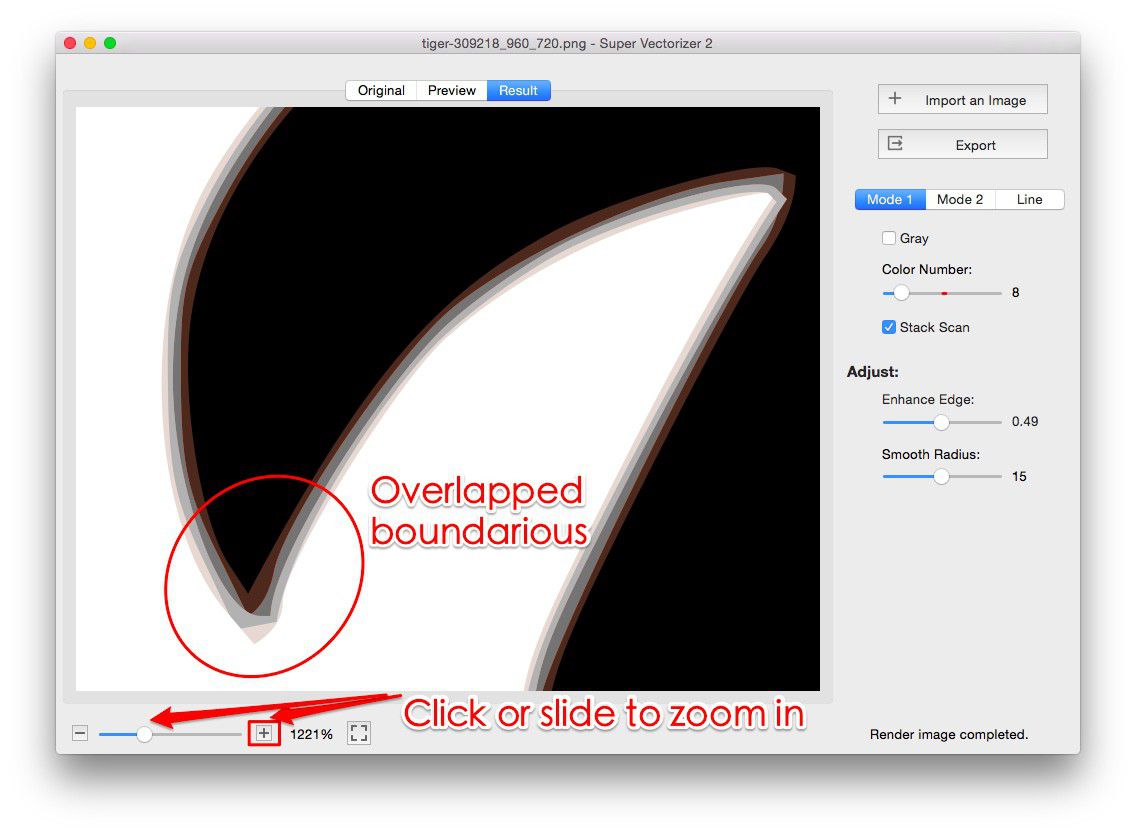
A desktop vectorizer such as Super Vectorizer Pro can automate step 1 — the free trial lets you preview the vectorization results so you can confirm the cut paths look right before buying.
Step-by-Step: Import & Cut SVG in Silhouette Studio
- Open Silhouette Studio (Designer Edition or higher).
- Go to Edit → Preferences → Import Options and tick Centered so SVGs land in the middle of the mat.
- Choose File → Open and select your SVG. Do not import it into the Library — open it into the workspace.
- Resize if needed, but whenever possible keep the original dimensions (SVG cut files are usually sized correctly by design).
- Open the Send panel and confirm every shape shows a cut line. Adjust blade, force, and speed per material.
- Load your material on the mat, then run a small test cut before the full production run.
Common Mistakes That Break Silhouette SVG Files
- Stroke-only artwork. Lines that have no fill won't cut. Convert them to filled shapes or add a fill.
- Embedded raster images. Studio wants pure vectors. Raster embedded in an SVG is ignored at cut time.
- Too-fine detail. Cameo 4/5 have 0.1 mm accuracy and 2000g of force, but detail under ~1 mm can tear lightweight vinyl or paper.
- Wrong colour mode. Build in RGB, not CMYK, to match Studio's expectations.
- Importing into the Library. This breaks SVG behaviour — always open into the workspace.
Organising Multi-Colour Designs by Fill Colour
Because each unique fill colour becomes its own cut group, fill colour is your primary organising tool for multi-material projects. Plan your palette before you draw: assign red to the vinyl layer, blue to the cardstock layer, and so on. When you import into Studio, the Line & Fill panel lists each colour as a separate group you can send to a different material, blade, or speed without re-selecting shapes by hand. Keep the palette tight — three to five colours is plenty for most crafts — because every extra colour is an extra setup step on the machine. If two shapes must cut from the same material, give them the same fill so Studio groups them automatically.
Cameo 4 / 5 Specs & Material Tips
The Cameo 4 and newer Cameo 5 share the same practical envelope: roughly 2000g of cutting force and 0.1 mm accuracy, with mat sizes of 12×12 in, 12×24 in, and a bypass track for Smart Cutting Material up to 60 ft long. For best results, match blade depth and speed to the material (vinyl, cardstock, heat-transfer, sticker paper), and always use the Offset tool if you plan to add a sticker border. Group related shapes before cutting so nothing shifts mid-run.
Designing Multi-Color SVG for Cameo
Multi-color designs require careful layering in the SVG file so that Silhouette Studio can assign each color to a separate cut job. Each color group should be on its own layer or grouped path set with no overlapping cut lines. When two colors share a boundary, add a small gap (0.5 mm) between them to prevent the blade from cutting into the adjacent piece.
For print-then-cut projects, embed the raster image within the SVG and include cut paths as vector overlays. The cut paths should be a distinct stroke color (typically red, #FF0000) with no fill. Silhouette Studio's registration mark system handles alignment automatically, but the SVG must have the correct page size matching your material dimensions.
Test complex designs with a pen tool before cutting. This dry run reveals path ordering issues, double cuts, and alignment problems without wasting vinyl or cardstock. Most Cameo users develop a personal checklist: verify cut order, check for tiny pieces that will scatter, confirm material size matches page size, and always mirror designs for heat-transfer vinyl.
Frequently Asked Questions
Can the free Silhouette Studio open SVG files?
No. The basic free edition cannot import SVG directly — you would have to trace a PNG instead. You need Designer Edition, Designer Edition Plus, or Business Edition to open an .svg file. If you regularly use downloaded or自制 SVG cut files, the one-time Designer Edition upgrade is well worth it.
Why are some of my cut lines missing after import?
The usual culprit is stroke-only artwork. Silhouette Studio derives cut lines from the outlines of filled shapes, not from strokes. Open the SVG in a vector editor and give every path you want cut a fill colour (or convert strokes to filled paths), then re-save as Plain SVG and re-import.
Should my Silhouette SVG be RGB or CMYK?
Build and save your SVG in RGB colour mode. Studio reads fill colours to assign cut groups, and RGB keeps colours consistent with what you see on screen. CMYK profiles can shift colours and cause confusion when you are organising multi-material cuts by colour.
How detailed can a Silhouette SVG be?
Cameo 4/5 hold about 0.1 mm accuracy, but in practice detail smaller than ~1 mm risks tearing lightweight materials like vinyl or thin paper. Keep the finest features above that threshold, run a test cut first, and consider simplifying extremely intricate designs before sending them to the machine.
Make Cut-Ready Vectors in Minutes
Turn any raster design into a clean SVG, check the cut paths, then send it to your Cameo. Download Super Vectorizer Pro free trial to preview vectorization results.
Compatible with macOS 10.10+ (M1/M2/M3) & Windows 7/8/10/11
Try These Free Online Tools
No download required — convert, compress & optimize SVGs right in your browser
PNG to SVG Converter
Convert PNG, JPG, BMP images to scalable vector graphics instantly
PNG to SVG ConverterSVG Compressor (Mini)
Reduce SVG file size by up to 80% without losing quality
SVG Compressor OnlineSVG Optimizer
Clean up SVG code, remove redundant data and optimize for web
SVG Optimizer OnlineJPG to SVG Converter
Turn JPEG photos into crisp vector artwork in seconds
JPG to SVG ConverterEPS to SVG Converter
Convert EPS vector files to web-friendly SVG format
EPS to SVG ConverterAll Free Tools
Browse our complete collection of free online conversion tools
Browse All Free Tools