
Dye-sublimation is unforgiving about artwork. The ink turns into gas and bonds with polyester, so any soft edge, low-resolution pixel, or stray background ends up printed on a mug, shirt, or tumbler forever. That is why the SVG format is the professional's friend for sublimation: it is a true vector, so your design stays crisp at the size of a phone case or a full 20" × 16" heat-press tile. This guide walks through exactly how to create SVG for sublimation printing — taking a blurry photo or raster logo, turning it into a clean vector, and exporting a file your Sawgrass or Epson workflow will love. If you are starting from a bitmap, Super Vectorizer Pro can trace it into editable vector paths.
Have a raster logo or sketch you want to sublimate? Try Super Vectorizer Pro free trial to preview vectorization results.
Compatible with macOS 10.10+ (M1/M2/M3) & Windows 7/8/10/11
Our Verdict
Sublimation SVGs need correct color profiles, proper scaling, and clean paths to avoid jagged edges on fabric. Desktop tools give you the control needed for production work.
Best for Production: Super Vectorizer Pro
- Clean, smooth paths ideal for sublimation printing
- Color-separated output for multi-layer designs
- Free trial to preview results
- Mac and Windows native apps
Best Free Alternative: Inkscape
- Free and open source
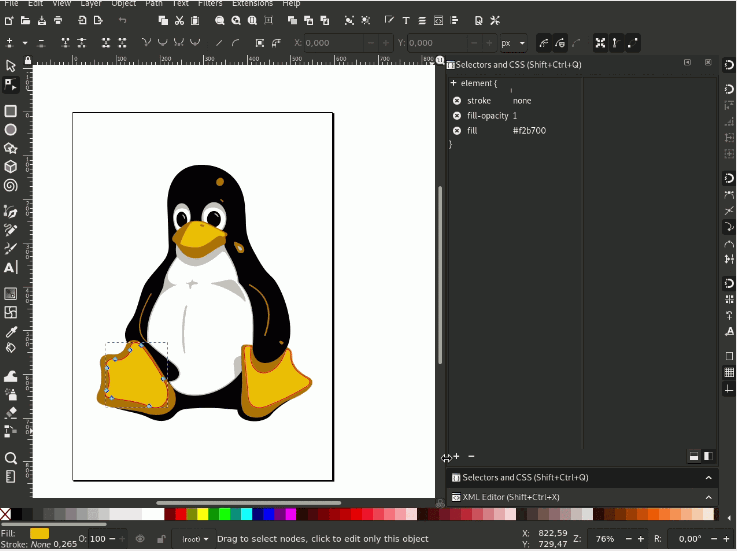
- Manual path cleanup for sublimation-ready files
- Supports ICC color profiles
- Steeper learning curve
What Makes SVG Ideal for Sublimation Printing
Sublimation printers are really high-resolution inkjets. They print whatever pixel grid you hand them, so a 72 DPI PNG becomes a blocky transfer. An SVG, by contrast, describes shapes with math. When the print software rasterizes it at 300 DPI for a specific substrate size, the curves are recomputed cleanly — no jaggies, no blur. For line art, text, and logos, vectorization is the single biggest quality upgrade you can make before pressing.
SVG is also easy to recolor. Sublimation inks are CMYK-ish and somewhat limited, so you often tweak a design's colors to survive the heat press. With paths instead of pixels, swapping a fill is a one-click job rather than a painstaking manual selection.
Step 1: Get or Create Real Vector Artwork
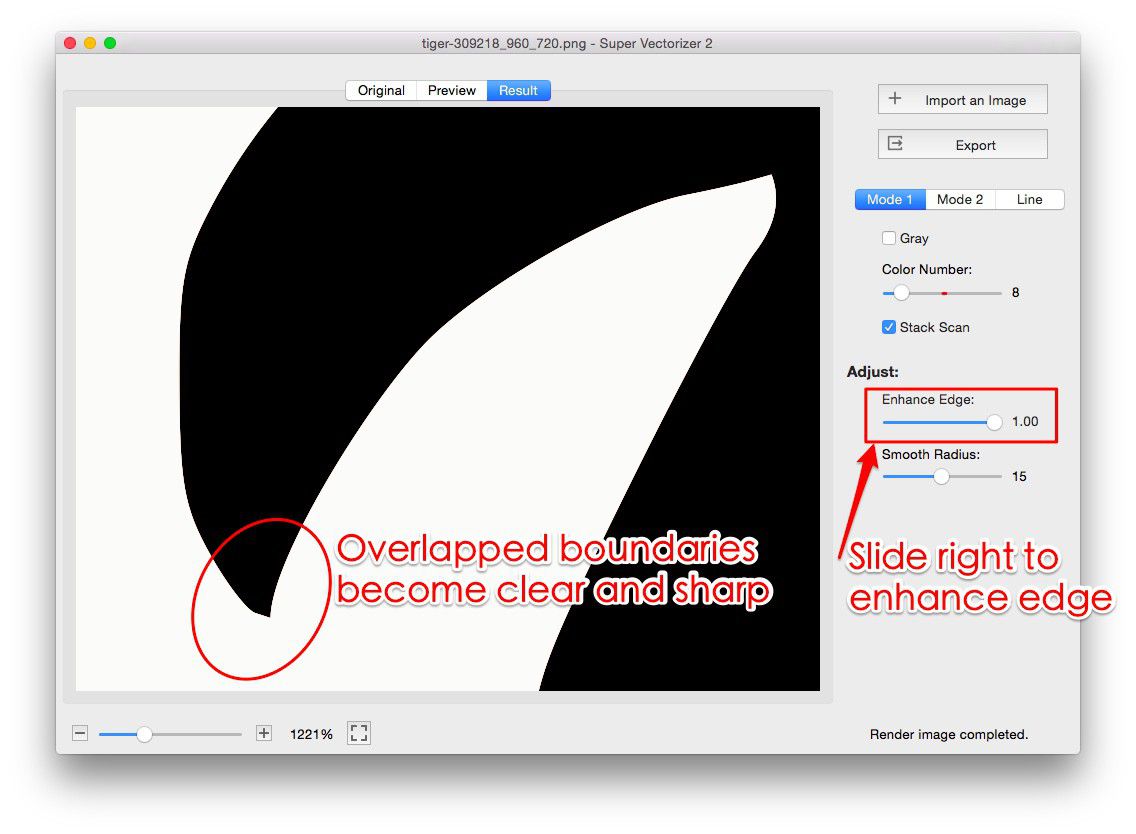
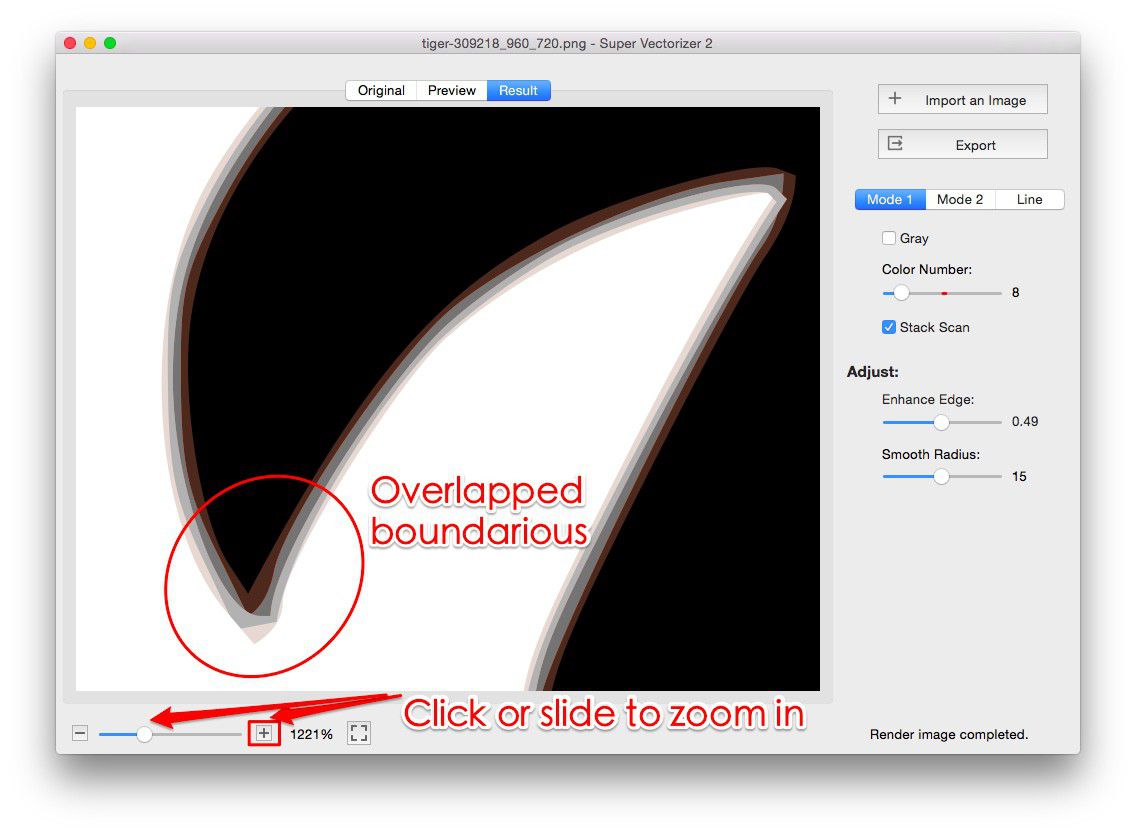
If your source is already an SVG, AI, EPS, or PDF with vectors, you are most of the way there. If it is a PNG, JPG, BMP, or a screenshot, you must vectorize the image first. Super Vectorizer Pro traces the bitmap into editable paths on Mac and Windows; the free trial lets you preview vectorization results so you can confirm the trace looks right before you buy the licensed version for export. Aim for clean, closed paths with as few nodes as the detail allows — a simpler path prints more predictably.
Step 2: Set the Correct Dimensions (and DPI)
Sublimation is physical, so size matters. Measure your blank — a 11 oz mug wrap is about 8.5" × 3.5", a standard tumbler 9.3" × 3", a tile 20" × 16". Build your SVG at that size and target 300 DPI at export. A tidy way to think about it:
| Substrate | Print size | SVG dimensions to set |
|---|---|---|
| Mug wrap | 8.5" × 3.5" | 2550 × 1050 px @ 300 DPI |
| Tumbler | 9.3" × 3" | 2790 × 900 px @ 300 DPI |
| Polyester shirt | 12" × 12" | 3600 × 3600 px @ 300 DPI |
| Large tile | 20" × 16" | 6000 × 4800 px @ 300 DPI |
Setting the SVG canvas to these exact dimensions means the print software does not have to guess — what you design is what gets pressed.
Step 3: Use Solid Colors (Be Careful With Gradients)
Vector shapes print beautifully, but understand how sublimation handles color. Flat, solid fills reproduce with the most punch. Smooth gradients can print, yet they may show subtle banding on some printers and inks. If your design relies on a gradient, preview a test print on scrap polyester before committing to a real blank.
Step 4: Add Bleed and a Safe Margin
Sublimation transfers are cut or wrapped to a blank, and heat presses are not perfectly aligned. Build in a bleed — extend background colors or patterns past the trim edge by roughly 0.125"–0.25" — and keep important details (faces, text, logos) inside a safe margin away from the edges. Your SVG makes this easy: draw a bleed rectangle behind the artwork and size the art board accordingly, then the print shop trims to the final dimensions.
Step 5: Export a Clean SVG for Your Software
Most sublimation pipelines route the SVG through design software (Sawgrass CreativeStudio, Epson Print Layout, or a cutter like Silhouette/Cricut if you are layering vinyl first). When you export:
- Save as plain SVG with embedded colors; avoid font dependencies by converting text to paths.
- Strip hidden layers and stray guide lines so nothing extra prints.
- Keep the file lightweight — a tidy vector exports faster and avoids renderer glitches.
If your pipeline prefers a raster for printing, export the SVG to a high-resolution PNG at 300 DPI from the same dimensions you set. The vector guarantees the PNG is sharp rather than upscaled from a blurry source.
Desktop App vs Online Tool for Sublimation Prep
You only need a vector once, but the workflow differs depending on whether your source is already a vector.
Super Vectorizer Pro (Desktop)
- Turns photos, scans, and logos into clean vectors
- Sets exact mm / inch canvas for any substrate
- Free trial to preview vectorization results before buying
- Fine-tune each product image for clean transfers
Online Converter (Quick)
- Good when the source is already a vector file
- No install, works on any OS
- Faster for a single simple trace
- Limited control over dimensions and detail
SVG vs Raster for Sublimation
| Need | SVG (vector) | PNG/JPG (raster) | Winner |
|---|---|---|---|
| Scale to any blank size | Crisp at any size | Blurs when enlarged | SVG |
| Recolor for sublimation inks | Edit fills directly | Manual selection needed | SVG |
| File weight | Tiny for simple art | Large at 300 DPI | SVG |
| Photo-realistic images | Needs tracing | Native format | Raster |
Common Sublimation SVG Mistakes
- Pressing a low-res PNG "as SVG." Renaming a JPG to .svg does not vectorize it. The result still prints blurry. Trace it first.
- Wrong canvas size. Designing at screen size then stretching to a mug wrap distorts the art. Set the real dimensions up front.
- No bleed. White edges appear where the transfer did not reach. Extend backgrounds past the trim.
- Live text. If the print software lacks the font, text reflows or drops. Convert text to paths.
Color Management for Sublimation
Sublimation printing is unforgiving with color. The ink turns to gas under heat and bonds with polyester-coated substrates, and the color shift between screen and final product can be dramatic. SVG files used for sublimation should use the sRGB color space and be tested on the actual substrate before final production runs.
A common issue is that bright, saturated colors in SVG look vivid on screen but reproduce muddy on fabric. This happens because sublimation ink has a narrower gamut than a monitor. To compensate, increase saturation by 10 to 15 percent in the SVG before printing, and avoid very dark colors (below 10 percent luminance) which may appear nearly black on polyester.
For designs that span multiple substrates (mugs, shirts, metal panels), create separate SVG files for each substrate with appropriate sizing and bleed. A 15 oz mug wraps differently than a 20 oz mug, and a design that fits a 10-inch tile will distort if stretched to fit a 12-inch panel. Each file should be exported at 300 DPI at the exact physical dimensions of the target product.
Frequently Asked Questions
Can I use SVG files for sublimation printing?
Absolutely. SVG is one of the best source formats for sublimation because it is a true vector — your design rasterizes cleanly at 300 DPI for any substrate size. Most workflows import the SVG into Sawgrass CreativeStudio or Epson Print Layout, or convert it to a high-res PNG at the exact blank dimensions before pressing.
Do I need to vectorize my design first?
Only if your source is a photo, scan, or low-res raster. If you already have vector artwork (SVG, AI, EPS), you can size and export it directly. If you are starting from a bitmap, use a vector tracer — desktop or online — to create the SVG before you print.
What size should my sublimation SVG be?
Match the blank at 300 DPI. A mug wrap is roughly 2550 × 1050 px, a 12" shirt panel 3600 × 3600 px. Setting the SVG canvas to the true print size removes guesswork and prevents distortion during the press.
Should sublimation designs use gradients?
Flat, solid colors print with the most vibrancy and reliability. Gradients can work but may show banding on certain inks and printers. If a design depends on a gradient, run a test print on scrap polyester first to confirm it looks acceptable.
Does the free trial of Super Vectorizer Pro let me export?
The free trial is for previewing vectorization results — it shows you the trace so you can confirm quality before buying. The licensed version handles the final SVG export. It is the right tool when you need to turn a raster logo or sketch into clean sublimation-ready vector art.
Turn Raster Art Into Sublimation-Ready Vectors
Start with Super Vectorizer Pro free trial to preview vectorization results, then export clean SVGs sized for any mug, shirt, or tile.
Compatible with macOS 10.10+ (M1/M2/M3) & Windows 7/8/10/11
Related Articles
Try These Free Online Tools
No download required — convert, compress & optimize SVGs right in your browser
PNG to SVG Converter
Convert PNG, JPG, BMP images to scalable vector graphics instantly
PNG to SVG ConverterSVG Compressor (Mini)
Reduce SVG file size by up to 80% without losing quality
SVG Compressor OnlineSVG Optimizer
Clean up SVG code, remove redundant data and optimize for web
SVG Optimizer OnlineJPG to SVG Converter
Turn JPEG photos into crisp vector artwork in seconds
JPG to SVG ConverterEPS to SVG Converter
Convert EPS vector files to web-friendly SVG format
EPS to SVG ConverterAll Free Tools
Browse our complete collection of free online conversion tools
Browse All Free Tools