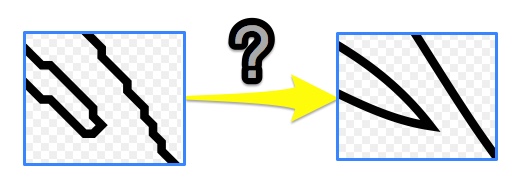
Three Steps to Smooth Jagged Edges in Image Tracing
Step 1. Import your image
Start Super Vectorizer and import a raster image into the preview pane. If you have not installed it yet, download Super Vectorizer first. System compatibility: Windows 7, 8, 10, 11 and Mac OS X 10.10+, with native support for Apple Silicon M1, M2 and M3 chips.
Assuming you are using Line Mode, load the image in any of these ways: drag the file onto the workspace, click Import, or open the File menu and choose Import (Command + I). JPG, GIF, PNG, BMP, TIFF, PDF, PSD, TIF and ICO are all supported.
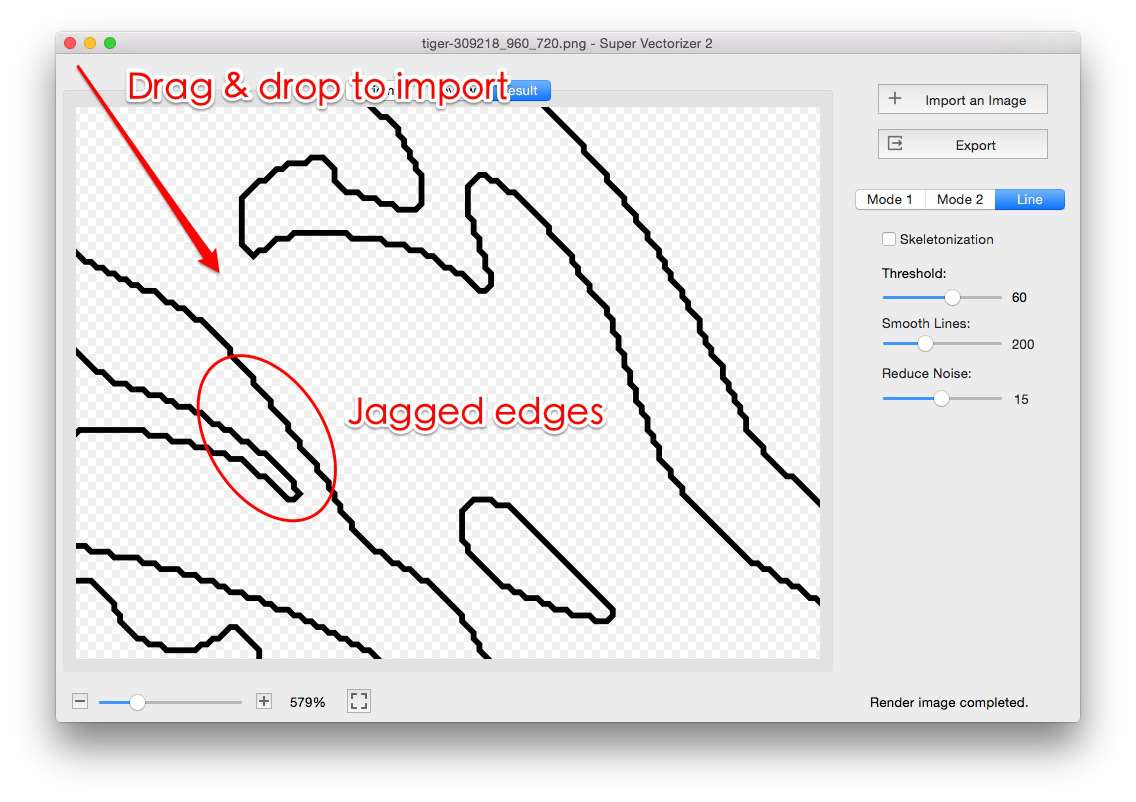
Step 2. Adjust the Smooth Lines control
After the image is traced, open the settings panel and raise the Smooth Lines (edge-smoothing) slider. The preview updates live, so you can watch the stair-step edges round off into clean curves. Higher values remove more jaggedness; lower values keep the trace closer to the original pixels.
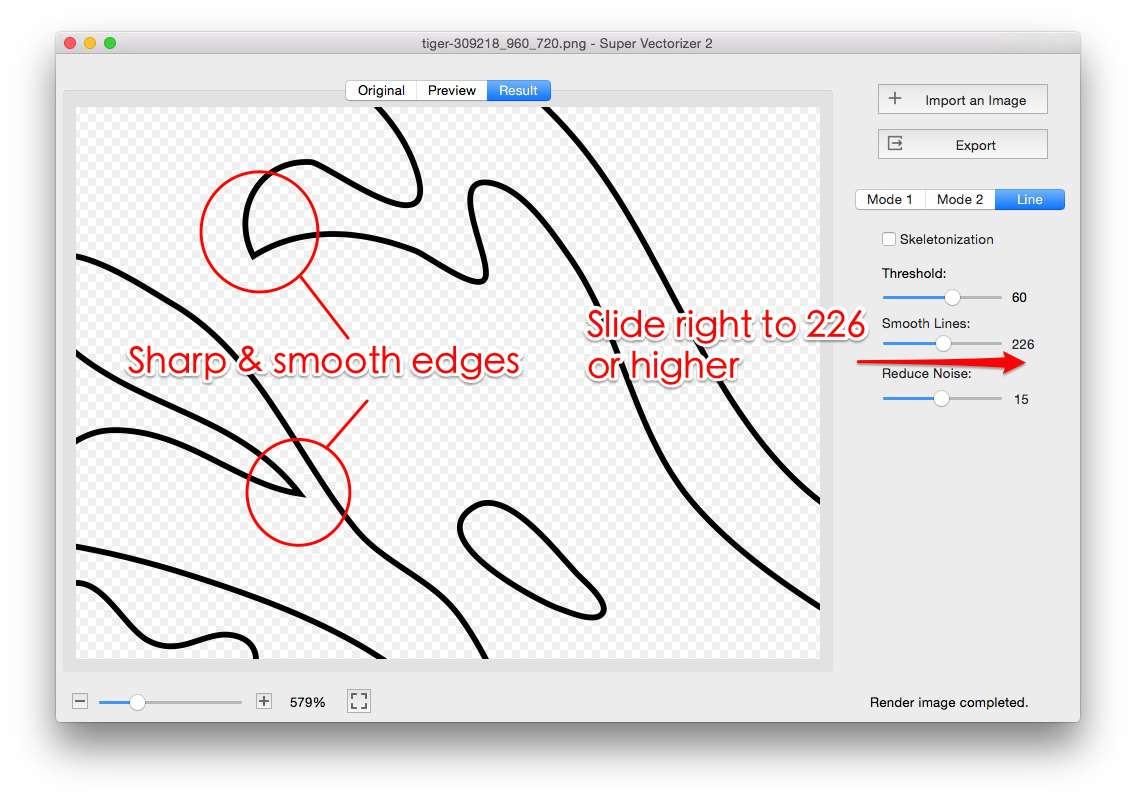
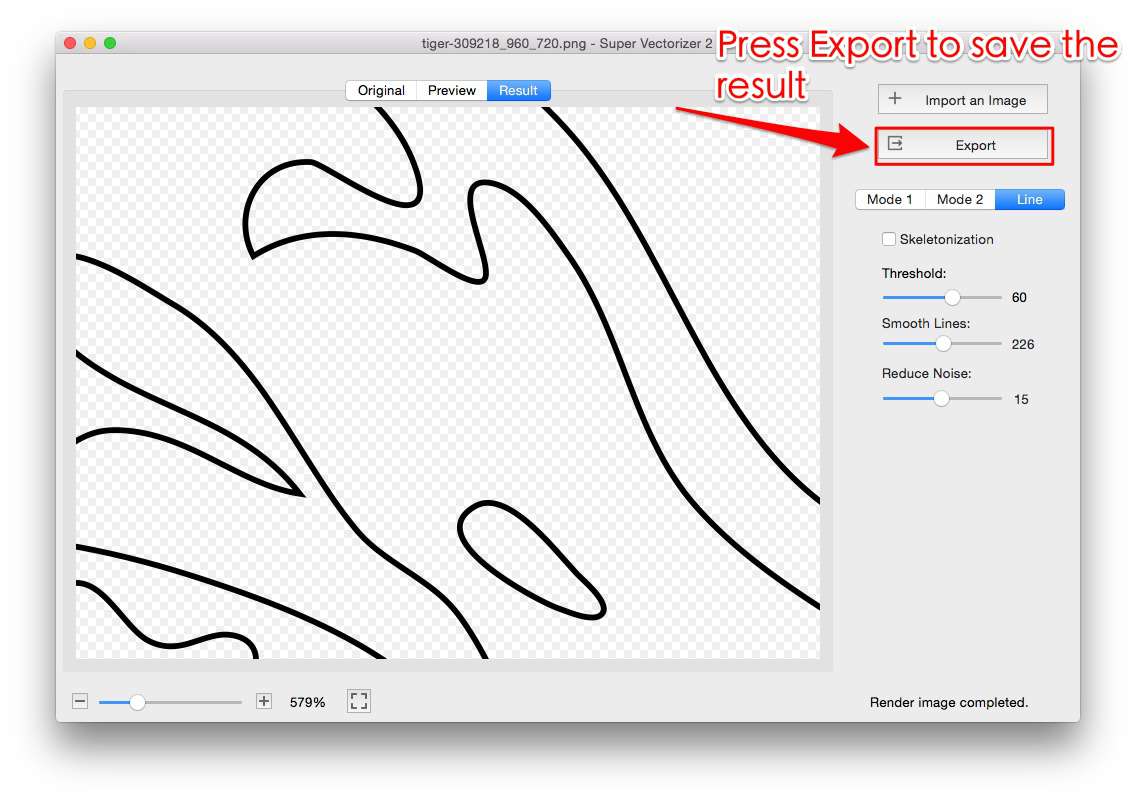
Step 3. Export your smoothed result
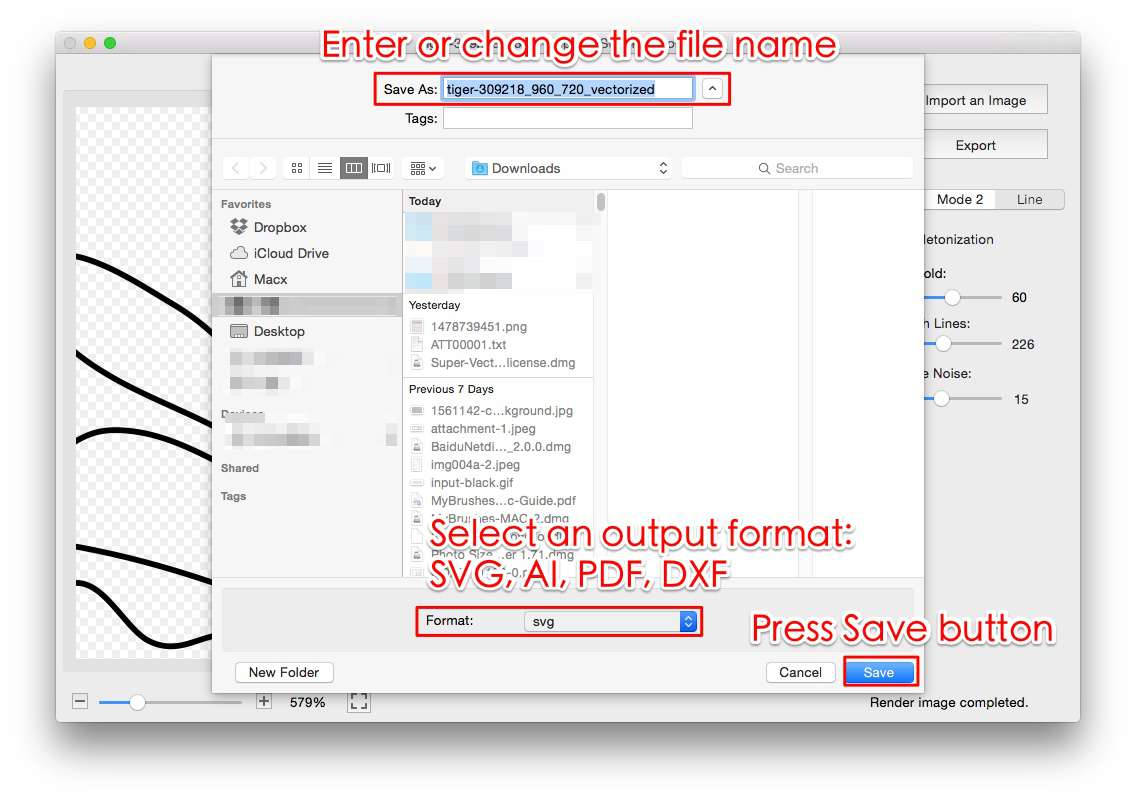
When the edges look right, click Export to save the vector graphic as SVG, AI, DXF or PDF on Mac or Windows. The finished file stays fully editable in Adobe Illustrator, a CAD application, or a cutting-machine workflow.
Download Super Vectorizer Pro
One-time purchase $29.99 · Free trial to preview results (export requires a licence) · Mac + Windows
Frequently Asked Questions
Why do vector traces produce jagged edges, and how do I smooth them?
Raster-to-vector conversion follows the pixel boundaries of your source, so low-resolution or anti-aliased images create stair-step (jagged) edges. Super Vectorizer's Smooth Lines control rounds those steps off into clean curves after the auto-trace.
Where is the Smooth Lines control in Super Vectorizer?
In Line Mode, open the settings panel and raise the Smooth Lines (edge-smoothing) slider. The vector preview updates live, so you can dial in exactly how round the edges become before exporting.
Does smoothing jagged edges lower the quality of the vector?
No. Smoothing simplifies the path geometry and removes stair-stepping while preserving the overall shape. You control the amount, so the result stays faithful to the original artwork.
What is the difference between smoothing lines and simplifying paths?
Smoothing rounds corners and steps into curves; simplifying reduces the total number of anchor points. Both are available in Super Vectorizer and can be combined for the cleanest output.
Can I smooth edges on a scanned bitmap line drawing?
Yes. Scanned line art benefits the most from smoothing, because it removes scan noise and jaggies. Raise the Smooth Lines control after importing the scan in Line Mode.
Will smoothing help with low-resolution source images?
It visibly reduces stair-stepping, but it cannot invent detail that is missing from a tiny source. Start with the highest-resolution version you have, then apply smoothing for the best result.
Does Super Vectorizer run offline when smoothing traces?
Yes. It is a desktop application that processes everything locally on your Mac or Windows machine. Your images never leave your device, which makes it a private alternative to cloud-based vectorizers.
Can I adjust smoothing differently for different color regions?
Yes. You can set the color count and adjust per-region handling before smoothing, so a detailed logo and a simple background can be treated with different levels of edge smoothing.
How do I export the smoothed result as SVG, AI, DXF or PDF?
After smoothing, click Export and choose the format. The finished file opens in Adobe Illustrator, a CAD application, or a cutting-machine workflow without further conversion.
Can I use the smoothed SVG with Cricut, Silhouette or a laser cutter?
Yes. SVG is the standard cut-ready format for Cricut, Silhouette Cameo and most laser and CNC cutters. Export as SVG, or DXF for CAD-driven cutters, and import it directly into your cutting software.