How to Quickly Vectorize Images on Mac and PC?
Step 1. Open Super Vectorizer. Import image files to the preview pane of Super Vectorizer.
Download Super Vectorizer here if you Haven't installed it yet.
Download Super Vectorizer first if you haven't installed it yet.
System Compatibility: Windows 7, 8, 10, 11 & Mac OSX 10.10+ Silicon M1, M2, M3 Chips.
3 ways to import your image:
Method 1: Directly drag your image to Super Vectorizer for Mac or PC workplace;
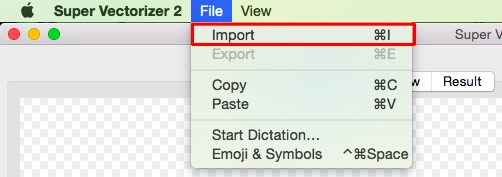
Method 2: Click "Import" to open an Image in the app's preview pane;
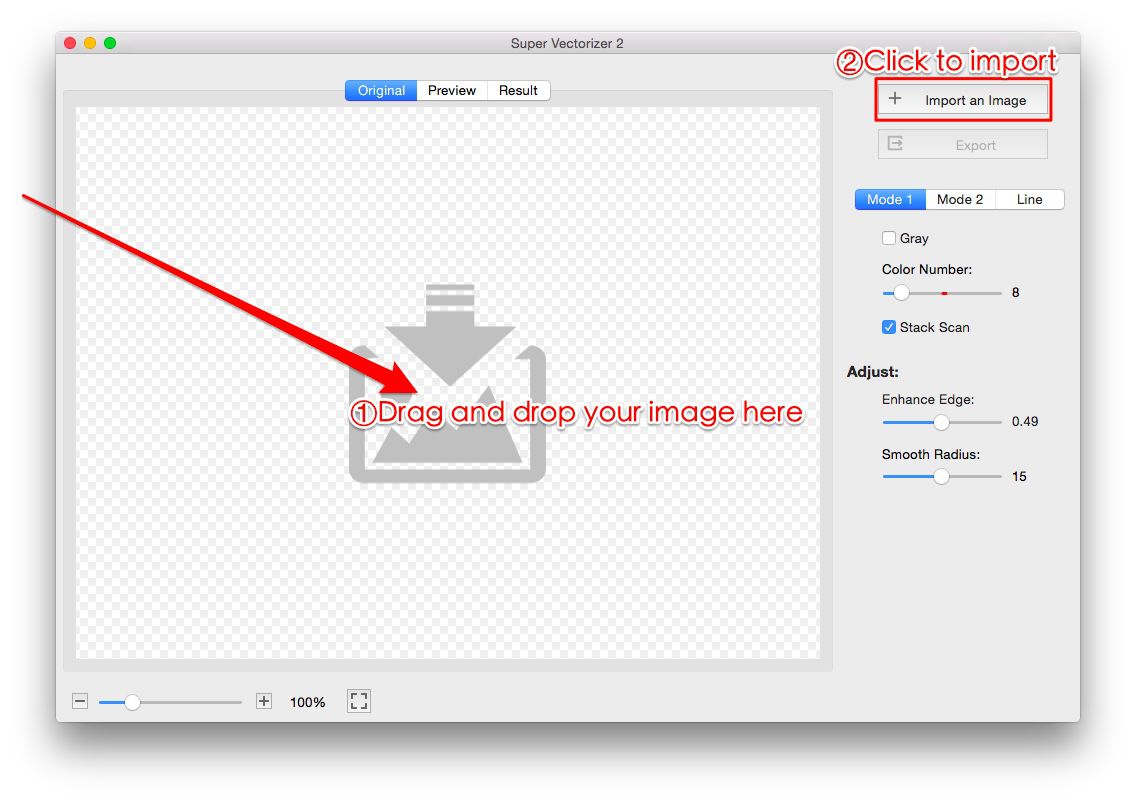
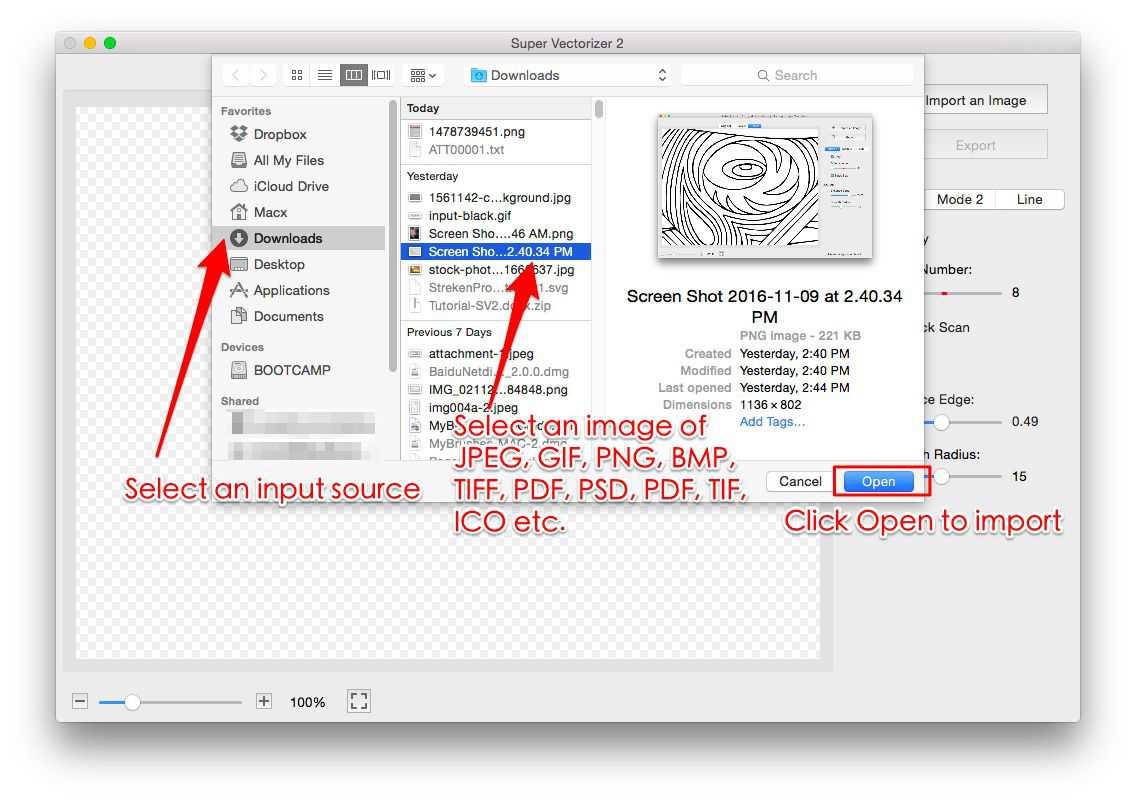
Method 3: Click File menu, then click Import or press Command & I to open an image of JPEG, GIF, PNG, BMP, TIFF, PDF, PSD, PDF, TIF, ICO etc.
Step 2. Export the image vectorized result to your Mac or PC.
Once you import your image, the vectorizing workflow will begin automatically and you may review the image vectorized result immediately. The last step is to export the result after image vectorizing completion.
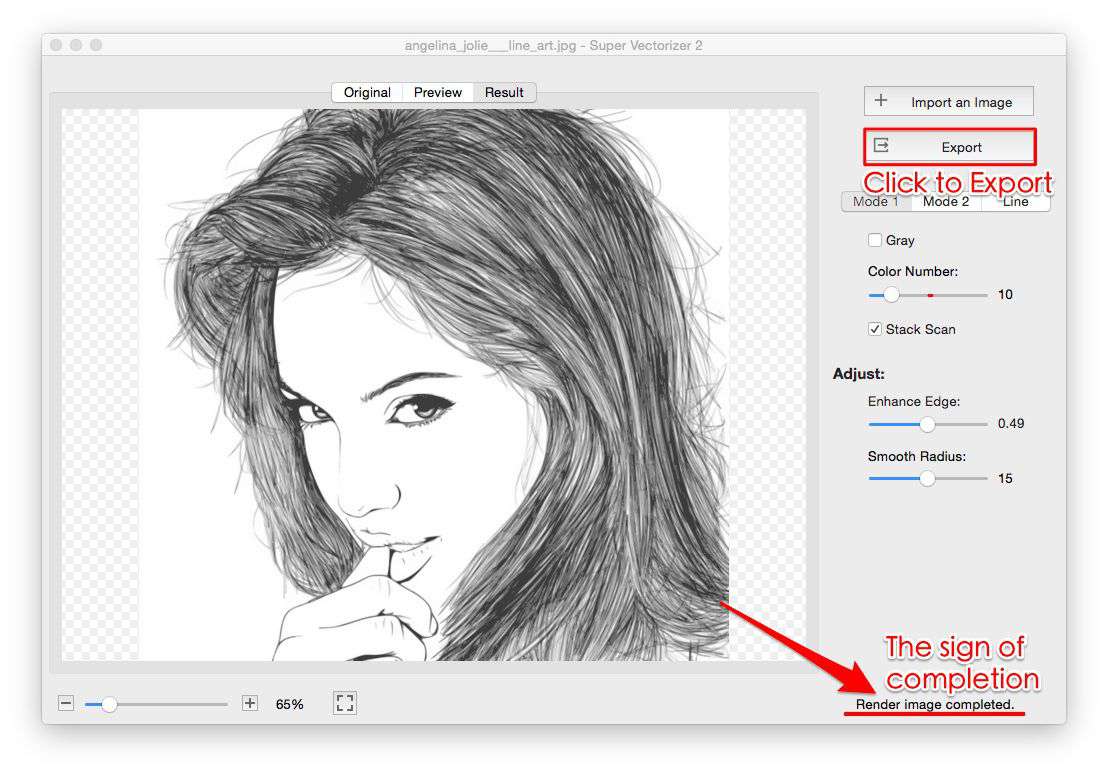

Click "Export" to save vector image as Ai, SVG, DXF or PDF on Mac or PC.
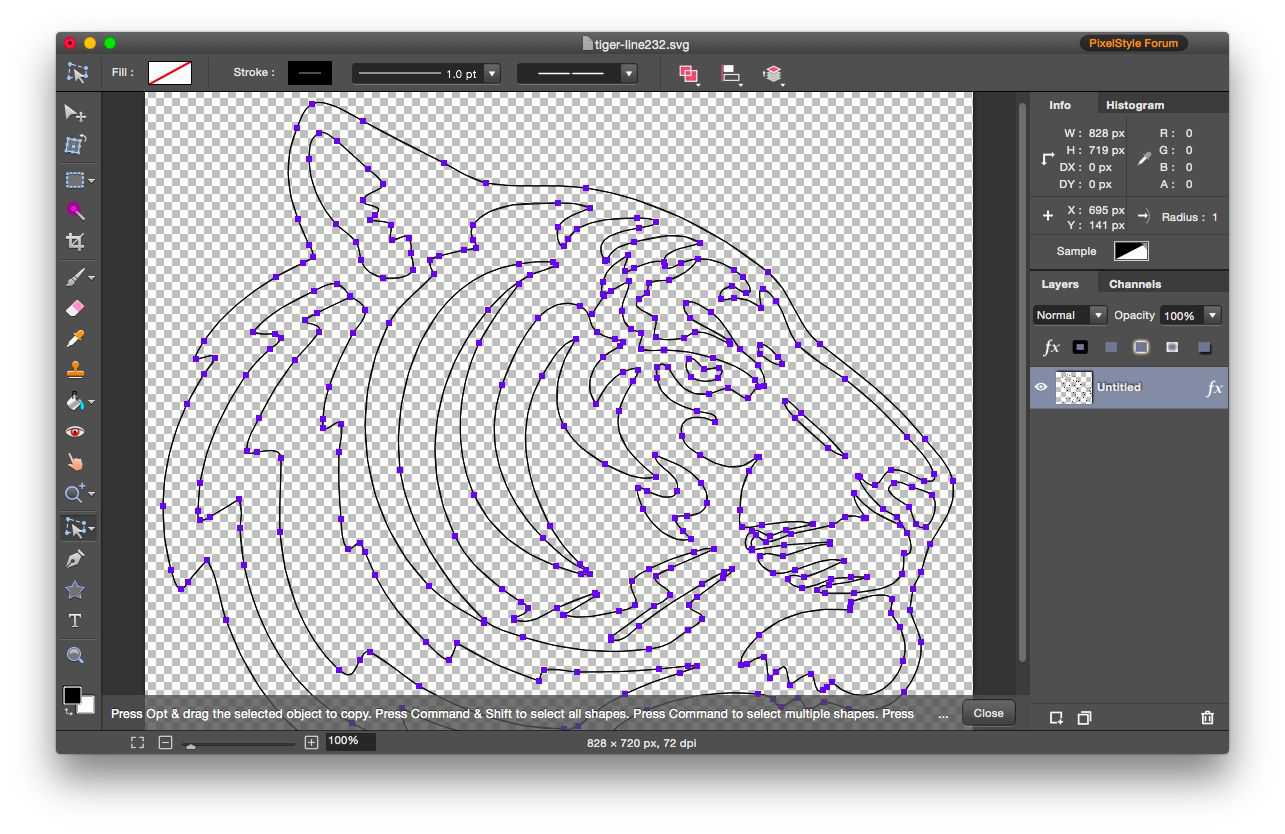
Step 3. Reopen vector image for further editing
Reopen your vector image for further editing in Windows or Mac application such as Adobe Illustration, CAD, PixelStyle Photo Editor…