
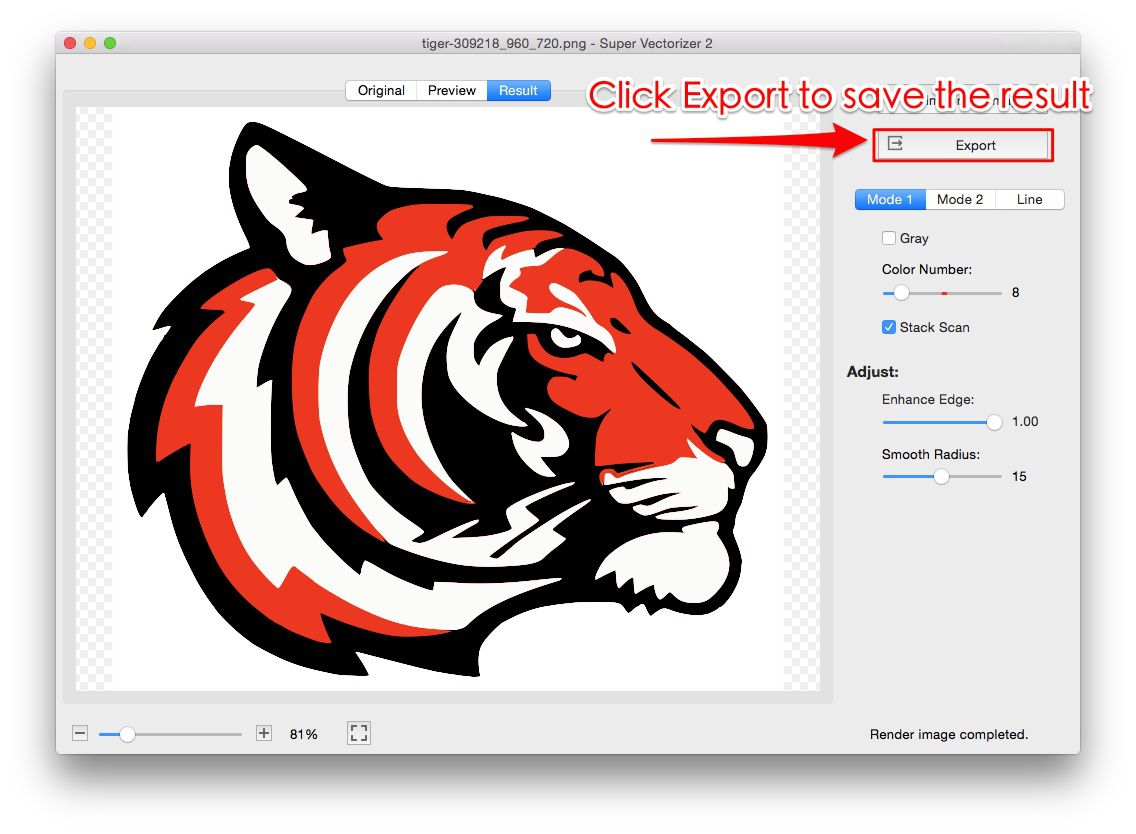
If you have ever peeled a fresh stencil off the cutting mat only to watch the dot of an "i" or the hole in an "e" flutter to the floor, you already know the hard truth about stencil design: a stencil is not a normal graphic. It is a physical template with holes, and those holes have to stay connected to the surrounding sheet or the piece falls out. That is the whole game of an SVG for stencils. The file has to describe not just the shape you want painted, but the bridges that hold the negative space together. The good news is that once you understand a few structural rules, any image — a hand-drawn doodle, a logo PNG, a quote — becomes a reliable stencil. Super Vectorizer Pro handles the tracing; you handle the bridges.
Ready to turn a sketch or logo into clean vector paths you can bridge into a stencil? Try Super Vectorizer Pro free trial to preview vectorization results.
Compatible with macOS 10.10+ (M1/M2/M3) & Windows 7/8/10/11
Our Verdict: Desktop App vs Online Tool for Stencil SVGs
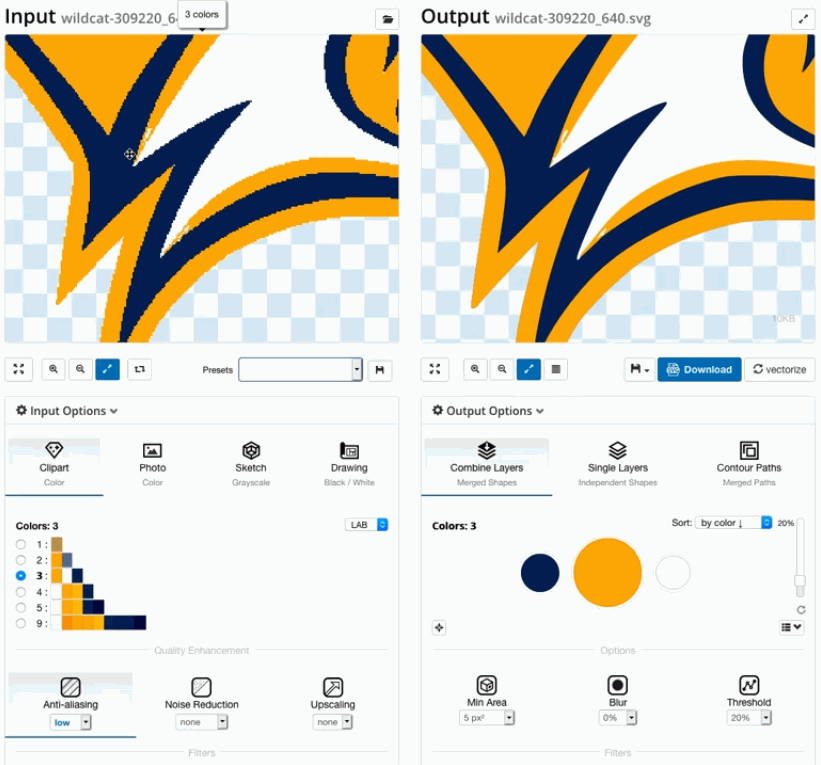
You can make a stencil SVG two ways: trace your source in a desktop vectorizer and refine the bridges in an editor, or use a quick browser tool. If the source is a finished image — a font sample, a logo, a sketch photo — desktop conversion is faster and gives you editable paths you fully control. Online tools are great for a one-off simple shape but rarely let you fine-tune bridges.
Convert with Super Vectorizer Pro
- Turns a sketch, PNG, or JPG into editable vector paths in one pass
- Preserves the exact proportions of your original artwork
- Free trial available to preview the tracing before you commit
- Exports SVG you open in any editor to add bridges and stencil joints
- Best when the source art is already a finished design
Quick Online Stencil Maker
- No install — works in the browser
- Fine for a simple single-word stencil
- Limited control over bridges and islands
- Hard to refine complex art afterward
- Best for throwaway, low-detail shapes
What Makes an SVG a Good Stencil
A normal SVG just describes shapes. A stencil SVG describes a sheet with holes, and the holes must stay attached. In stencil terms the painted openings are "islands" and the webbing that connects them to the frame are "bridges." If you cut the letter "O," the inner ring is an island — without at least one bridge connecting it to the rest of the sheet, it drops out and your stencil is ruined. The defining skill of stencil design is placing bridges so the islands survive the cut and the paint, while staying thin enough that you barely see them in the finished work.
The second rule is stroke width. A stencil cut from vinyl or Mylar needs walls thick enough to be rigid and to block paint. Hairline details that look great on screen become flimsy, paint-bleeding gaps in real life. As a starting point, keep bridges and the thinnest strokes at roughly 1.5–2 mm (about 1/16 inch) for hand-painting stencils, a touch less for machine-precision work on rigid Mylar.
The Stencil Structural Rules
Before you send any file to the cutter, run through these checks:
- Every island needs a bridge. The hole in "A," "B," "D," "O," "P," "Q," "R," and "e" must connect to the frame. Add a small bridge across the opening.
- Use open paths for bridges. A bridge is just a short line (stroke, no fill) drawn across the gap. The cutter slices it; the island stays put.
- Mind internal counters. Decorative cutouts inside a letter (like the negative space of a serif) also need bridging or they fall free.
- Keep it one color for single-layer stencils. The cutter only cares about the outline; fill color is irrelevant. Reserve multi-color for layered stencils (below).
- Outline your fonts. Convert live text to curves so the cutter reads exact paths, then add bridges to enclosed counters.
Step-by-Step: Build a Single-Layer Stencil SVG
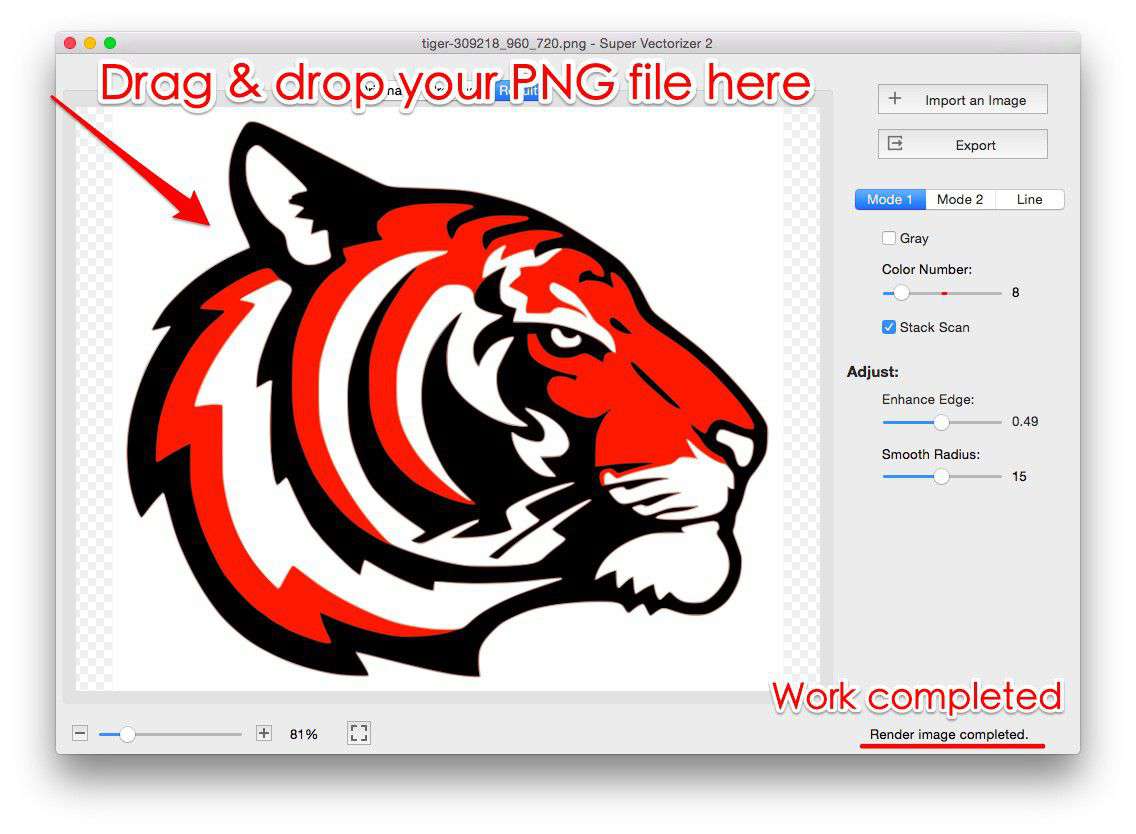
- Get a clean vector. Convert your sketch or logo with Super Vectorizer Pro, or type the wording and outline the font in a vector editor.
- Simplify the paths. Close open shapes and remove stray specks so the cutter never wanders.
- Add a stencil frame. Draw a rectangle or shape around the design so the islands have something to attach to.
- Place bridges. Draw thin open strokes across every enclosed counter, connecting the island to the frame or to a neighboring stroke.
- Thicken weak walls. Bump the thinnest strokes to at least ~1.5 mm so they cut cleanly and block paint.
- Set as a cut file. In your cutter software, mark the whole thing as a Cut image, size it, and send to stencil vinyl, Mylar, or card.
Multi-Layer Stencils for Multi-Color Work
When you want a two- or three-color stencil (say, a red heart on a blue banner), you build one SVG per color layer, each a complete single-color stencil on its own sheet. The trick is registration: every layer must align perfectly on the surface. The standard approach is to include identical registration marks — small crosses or a common outer rectangle — on each layer so you can line them up by eye or with tape hinges. Because SVG scales cleanly, you author the artwork once and export each color as its own bridged stencil. Paint dries between layers, and the result is a crisp multi-color image with no overspray between regions.
Materials & When to Use Each
The right blank changes how rigid your stencil is and how many times you can reuse it. Here is a quick map:
| Material | Best for | Reusable? | Note |
|---|---|---|---|
| Stencil vinyl | Walls, wood, curved surfaces | Low (single use) | Repositionable, conforms to curves |
| Mylar / acetate | Repeated craft projects | High | Rigid, bridges hold up to many paints |
| Card / 200–300gsm | One-off kids' crafts | Low | Cheap, but warps with wet paint |
| HTV / adhesive vinyl | Fabric, shirts as iron-on | Single | Doubles as the design, not just a mask |
Cutting & Painting Tips That Save the Day
- Mirror for fabric. If the stencil is an iron-on, mirror it before cutting so the letters read correctly on the shirt.
- Use a tacky mat. Thin bridges lift on a loose mat. A well-adhered mat keeps islands seated through the cut.
- Weed gently. Peel the negative space with a hook, supporting fragile bridges so they do not tear.
- Seal the edges. A light spray of repositionable adhesive on the back stops paint creeping under thin walls.
- Build up coats. Several light passes beat one heavy flood, which is what pushes paint under bridges.
Common SVG for Stencils Mistakes to Avoid
- Missing bridges. The #1 ruin. Audit every enclosed counter before cutting.
- Bridges too thin. They snap during weeding or let paint bleed. Thicken to ~1.5 mm minimum.
- Live font text. Convert to outlines or the cutter may substitute a different font or fail the counters.
- No registration marks. Multi-layer stencils drift without them; add common crosses to every layer.
- Embedded bitmaps. An SVG that hides a PNG is not a true vector and won't cut. Re-trace or remove it.
| Need | Single-Layer Stencil | Multi-Layer Stencil |
|---|---|---|
| SVG files | One cut file | One per color |
| Complexity | Simple | Higher (registration) |
| Color result | One color | Multi-color |
| Best for | Quotes, single motifs | Logos, detailed art |
Frequently Asked Questions
Can I turn any image into a stencil SVG?
Almost any clean, high-contrast image works — a logo, a quote, a simple illustration. You convert it to vector with Super Vectorizer Pro, then add bridges to any enclosed counters so the islands stay attached. Highly detailed photos with soft edges make poor stencils because they need too many tiny bridges; bold, simple art is ideal.
What is the minimum bridge thickness?
For hand-painted stencils cut from vinyl or Mylar, aim for about 1.5–2 mm (1/16 inch). Thinner and the bridge may snap during weeding or let paint seep under it; thicker and it leaves a visible gap you must touch up. Rigid Mylar can tolerate slightly thinner bridges than flexible vinyl.
Do I need special software to make the SVG?
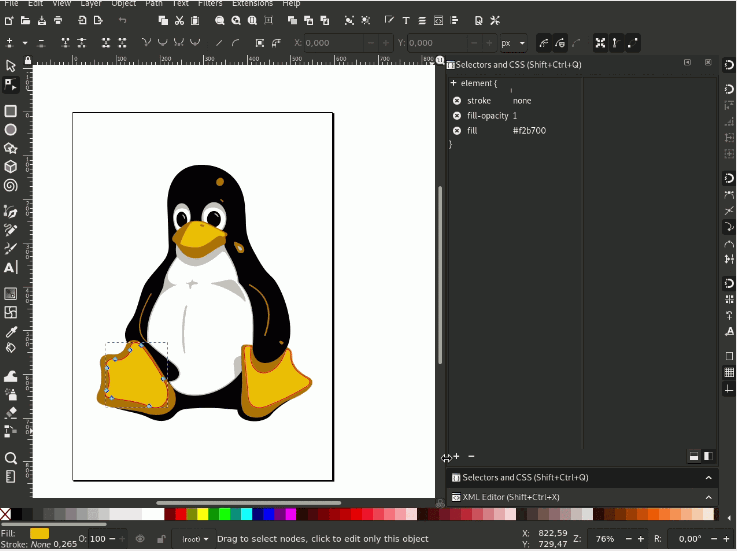
No. Convert a sketch or logo with Super Vectorizer Pro to get the base paths, then open the SVG in any free editor (Inkscape is plenty) to add bridges and a frame. You only need your cutter's software at the end to mark it as a cut image and send the job.
Why do my stencil islands keep falling out?
Because they have no bridge connecting them to the frame. Every enclosed counter — the holes in O, A, D, B, P, Q, R, and e — needs at least one thin bridge across the opening. Audit the file in your editor: temporarily hide the frame and confirm no island is floating free before you cut.
Turn Your Artwork Into a Cut-Ready Stencil
Start from a clean vector: convert your raster sketch or logo with Super Vectorizer Pro and preview the tracing with the free trial, then add bridges in any editor before you cut.
Compatible with macOS 10.10+ (M1/M2/M3) & Windows 7/8/10/11
Related Articles
Try These Free Online Tools
No download required — convert, compress & optimize SVGs right in your browser
PNG to SVG Converter
Convert PNG, JPG, BMP images to scalable vector graphics instantly
PNG to SVG ConverterSVG Compressor (Mini)
Reduce SVG file size by up to 80% without losing quality
SVG Compressor OnlineSVG Optimizer
Clean up SVG code, remove redundant data and optimize for web
SVG Optimizer OnlineJPG to SVG Converter
Turn JPEG photos into crisp vector artwork in seconds
JPG to SVG ConverterEPS to SVG Converter
Convert EPS vector files to web-friendly SVG format
EPS to SVG ConverterAll Free Tools
Browse our complete collection of free online conversion tools
Browse All Free Tools