
There is a reason so many crafters search for "SVG for wood signs" before they ever open their machine: the design file decides whether a $3 sheet of birch plywood becomes a farmhouse porch sign or a smoking pile of scrap. A wood sign is not a sticker and it is not a t-shirt. It is usually made one of two ways — you cut adhesive vinyl and apply it to the wood, or you run the wood itself through a laser that cuts and engraves the shape. Both paths start with the same thing: a clean, well-structured SVG. The good news is that you do not need to be a graphic designer. Whether you are tracing a hand-drawn sketch, cleaning up a bitmap logo, or building type from scratch, Super Vectorizer Pro plus a basic vector editor gets you to a press-ready file in minutes.
Ready to turn a raster sketch or logo into clean, scalable vector paths for your wood sign? Try Super Vectorizer Pro free trial to preview vectorization results.
Compatible with macOS 10.10+ (M1/M2/M3) & Windows 7/8/10/11
Our Verdict: Two Ways to Get a Wood-Sign SVG
Every wood sign starts from one of two places: you already have a finished raster image (a sketch photo, a PNG logo, a JPG), or you are building the artwork from nothing. If you have a finished image, converting it to vector is dramatically faster than redrawing it by hand — you spend your effort refining the paths, not recreating the shape.
Convert with Super Vectorizer Pro
- Turns a sketch, PNG, or JPG into editable vector paths in one pass
- Preserves the proportions of your original artwork exactly
- Free trial available to preview the tracing before you commit
- Exports SVG you open in any editor to add bridges, score lines, or text
- Best when the source art is already a finished design
Draw Natively in Illustrator / Inkscape
- Total control over every node and curve
- Ideal for brand-new artwork built from scratch
- No tracing artifacts to clean up afterward
- Slower — every letter and shape is drawn by hand
- Best when no usable source file exists
What an SVG for Wood Signs Actually Needs
The first decision is which making method you will use, because it changes the file. For a vinyl-on-wood sign, your SVG is a cut file: the machine follows the outline of each letter or shape and cuts it from adhesive vinyl, which you then transfer to the board. For a laser-cut or laser-engraved sign, the SVG is the instruction set for the laser — some paths are "cut" (the beam burns all the way through), some are "score" (a light line), and some are "engrave" (a filled area the beam darkens). A single SVG can carry all three as separate colored layers, which is why vector format is perfect for wood signage.
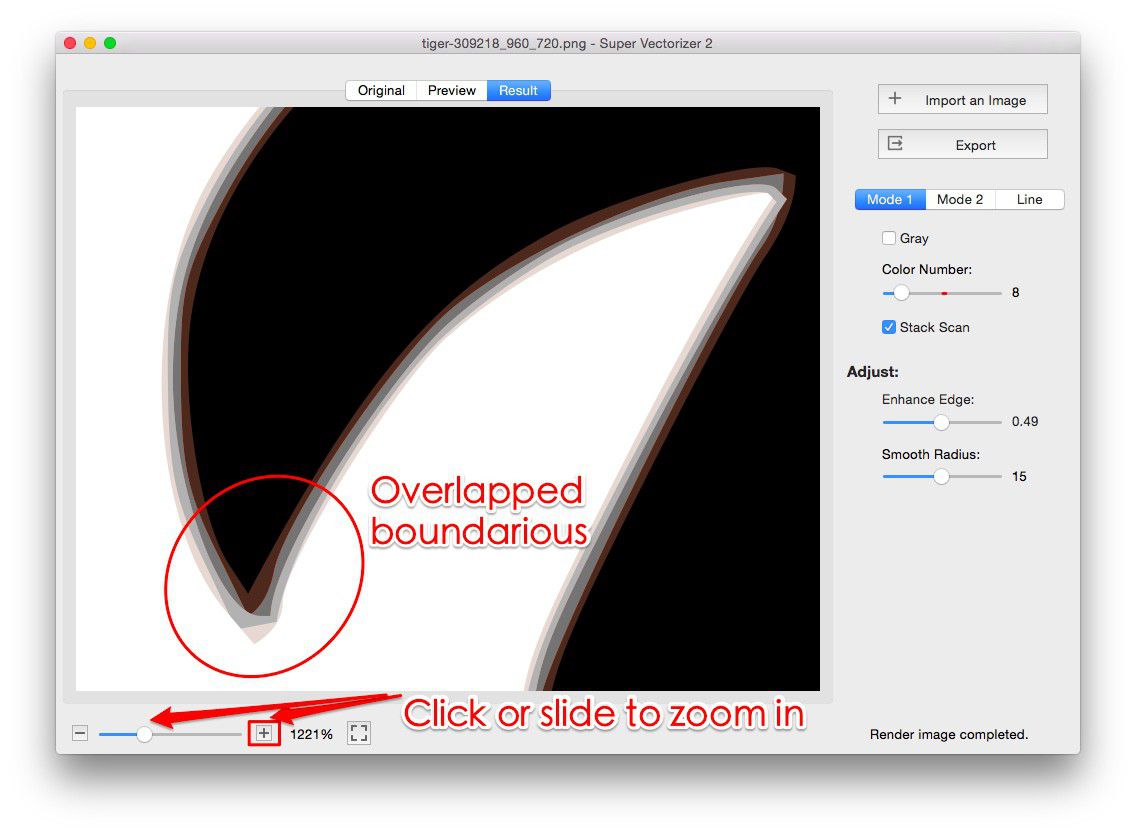
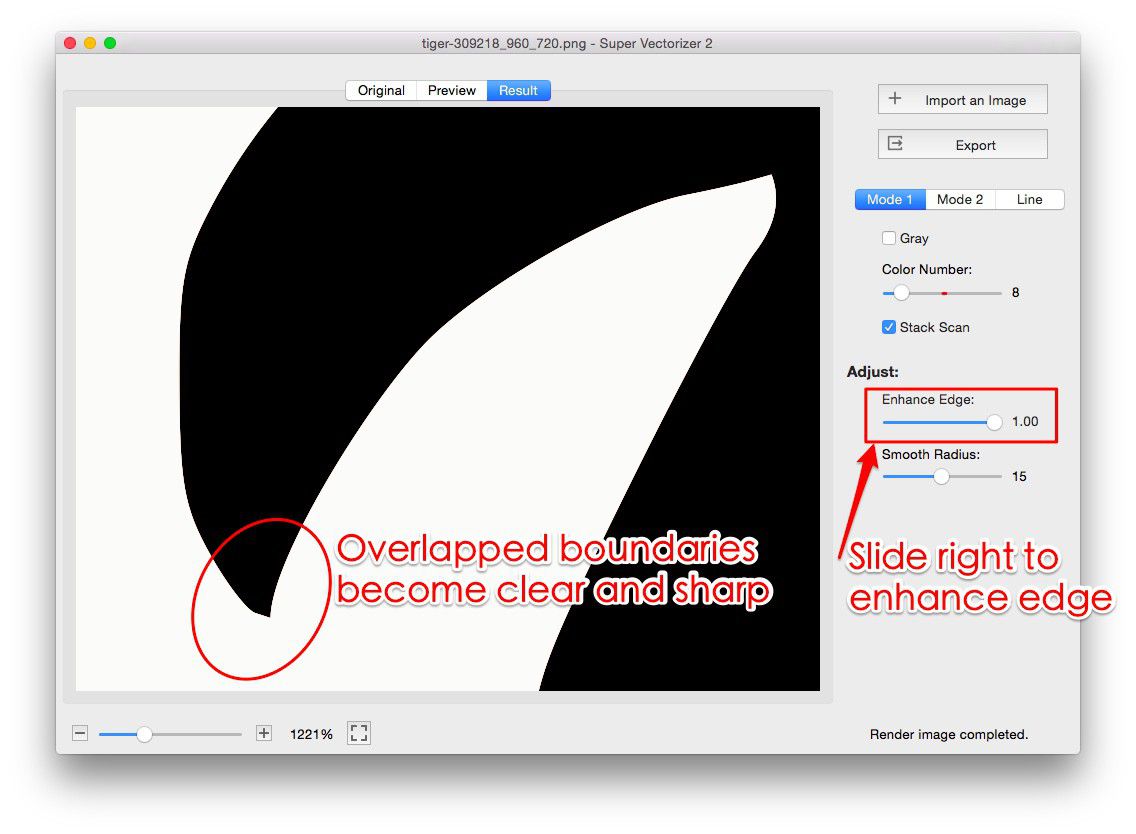
In both cases the golden rule is the same as for any cut file: closed, clean paths with no stray fragments. A vinyl cutter that hits an open path will either skip the cut or wander. A laser that hits a hairline crack in a shape will leave an unwanted notch in your sign. After converting raster art, simplify the paths so each element is a single tidy closed shape.
Method 1 — Vinyl Decal Signs (Cricut, Silhouette, ScanNCut)
This is the classic "welcome sign" approach. You design or trace your wording, cut it from permanent adhesive vinyl (Oracal 651 is the go-to), weed the excess, and transfer it onto a stained or painted board. The SVG here only needs to be a clean cut outline — fill color does not matter to the cutter, only the path. Keep letter spacing generous so thin strokes do not tear during weeding, and group entire words so they transfer as one piece.
A common mistake is designing the text as a font and forgetting to outline it. Cutting software reads live font text differently across machines; convert every letter to outlines (curves) so the path is self-contained. If you traced a hand-lettered sign from a photo, Super Vectorizer Pro gives you those outlines directly — just check the joins are closed before cutting.
Method 2 — Laser Cut & Engrave Signs (Glowforge, xTool, Atomstack)
This is where SVG for wood signs gets powerful. A laser accepts an SVG with multiple layers, each assigned a different action in your laser software: cut, score, or engrave. You might cut the outer rounded rectangle of the sign, score a decorative inner border, and engrave a family name in the center. Because SVG scales without quality loss, you can resize the same file for a 6-inch tag or a 24-inch porch sign with zero redraw.
The trick is organizing the file by color. Most laser software maps each stroke color to an action: red = cut, blue = score, black fill = engrave. Build your SVG with that convention from the start and your setup time drops to almost nothing. After converting raster art, separate the elements onto the right colored layers and set stroke widths to hairline (0.001 in) so the laser reads them as vectors, not fills.
Step-by-Step: Build a Cut-Ready Wood Sign SVG
- Get a clean vector. Convert your sketch or logo with Super Vectorizer Pro, or type the wording in a vector editor and outline the font. Aim for the fewest anchor points that still hold the shape.
- Fix the joins. Zoom in on every letter. Close any open paths and delete stray specks from the auto-trace so the cutter never wanders.
- Add a backing shape (optional). Many wood signs look better with a solid shape behind the text — a circle, a plaque outline, or a banner. Draw or trace it as its own closed path.
- Space for weeding. Widen letter gaps slightly and keep internal counters (the hole in an "o") large enough to survive weeding and transfer.
- Size to the board. Set the overall height to your sign dimensions and lock the aspect ratio so nothing distorts.
- Export clean SVG. Save with paths intact and no embedded raster preview, then send to Design Space, Silhouette Studio, or CanvasWorkspace.
Step-by-Step: Build an Engrave-Ready Laser Sign
- Convert or draw the art. Start from a clean vector of your illustration and text.
- Split into action layers. Outer shape on a "cut" layer (red hairline), border on a "score" layer (blue hairline), artwork/name on an "engrave" layer (black fill).
- Set hairline strokes. Cut and score paths must be 0.001 in so the laser treats them as vectors, not filled shapes.
- Preview the burn map. Most laser software shows which color does what. Confirm cut/score/engrave before you press go.
- Mind the grain. On plywood, engraving across the grain looks even; along the grain it can looks blotchy. Rotate the artwork if needed.
- Do a scrap test. Burn the file on a offcut at your final settings to confirm depth and contrast before committing the good board.
Layered Wood Signs (Stacked Plywood)
A hot trend is the layered sign: three to seven thin plywood pieces stacked with foam spacers to create depth, like a layered landscape or a monogram with a shadow. Each layer is its own SVG cut path, and the magic is in the spacing and alignment. When you design these, keep each layer's shape distinct and make registration foolproof — a small notch or the outer rectangle can act as a jig so every layer drops into place. Because SVG is resolution-independent, you author once and cut every layer at the same scale.
Materials & Machine Settings
The file is only half the battle; the material decides your cut/engrave settings. Here is a quick reference for common wood-sign setups:
| Method / Material | File type | Typical setting | Watch out for |
|---|---|---|---|
| Vinyl on stained pine | Cut SVG (outline) | Fine-point blade, default vinyl pressure | Rough grain can lift edges — seal the wood first |
| Laser cut 1/8" plywood | SVG, red hairline cut layer | ~1000–1500 speed / 10–20 power (machine-dependent) | Burn marks — mask the wood with paper tape |
| Laser engrave 1/4" MDF | SVG, black fill engrave layer | Lower power, higher speed for light etch | MDF dust is messy — ventilate |
| Stacked layered sign | One SVG per layer | Cut all layers at identical scale | Misalignment — add a registration jig |
Common Wood-Sign SVG Mistakes to Avoid
- Open paths. A cutter or laser hitting a gap will skip or notch. Always close and inspect every shape.
- Too thin strokes. Below about 1 mm, vinyl tears on weeding and laser-cut wood snaps. Bolden fine details.
- Live text instead of outlines. Convert fonts to curves so every machine reads the exact same path.
- Embedded bitmaps. An SVG hiding a PNG is not a true vector and will not cut or engrave. Re-trace or remove it.
- Forgetting the grain. On laser engrave, grain direction changes contrast. Rotate or mask to keep it even.
| Need | Vinyl Decal Sign | Laser Cut / Engrave Sign |
|---|---|---|
| SVG structure | Single cut outline | Layered cut + score + engrave |
| Machine | Cricut / Silhouette / ScanNCut | Glowforge / xTool / diode laser |
| Setup speed | Fast | Moderate (layer mapping) |
| Best for | Painted/stained boards, quotes | Depth, intricate art, names |
Frequently Asked Questions
Can I use a PNG for a wood sign instead of an SVG?
You can print a PNG onto transfer paper, but you cannot cut or laser-engrave it cleanly. A PNG is a fixed-resolution bitmap, so scaling blurs and it carries no cut or engrave paths. Convert the PNG to an SVG first — that gives you scalable, machine-readable vectors you can cut on a Cricut or map to laser actions.
What file does a Glowforge need for a wood sign?
A Glowforge reads SVG, PDF, PNG, and JPG, but SVG is best because it preserves vector paths and lets you assign cut, score, and engrave by color. Set cut and score paths to hairline strokes and put engraved areas as black fills on their own layers.
Do I need special software to make the SVG?
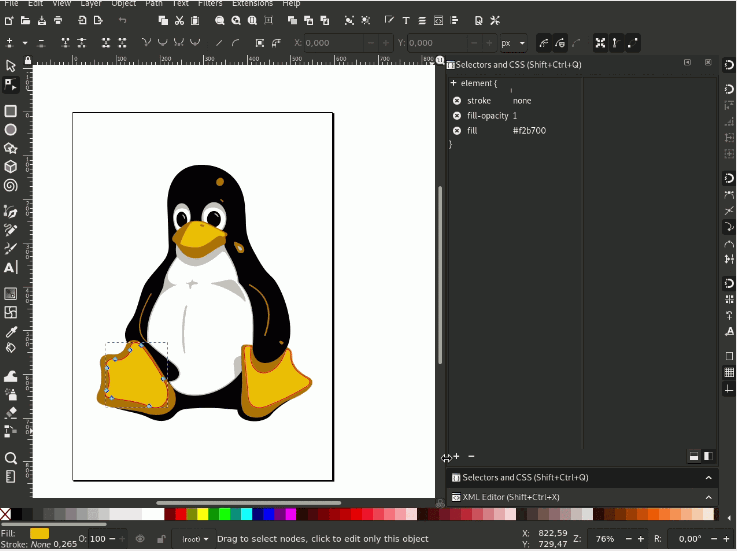
No. Convert a sketch or logo with Super Vectorizer Pro to get the base paths, then open the SVG in any free editor (Inkscape works well) to add text, bridges, or score lines. You only need the laser or cutter's own software at the very end to assign actions and send the job.
Why are my vinyl letters tearing when I weed the sign?
Almost always the strokes are too thin or the letter spacing too tight for the material. Bolden the type, widen the gaps between letters, and use a slightly stickier transfer tape. Also make sure the SVG paths are closed — open paths can cause the cutter to lift the vinyl mid-stroke.
Turn Your Sketch Into a Wood-Sign-Ready Vector
Start from a clean vector: convert your raster sketch or logo with Super Vectorizer Pro and preview the tracing with the free trial, then assign cut and engrave layers in any editor.
Compatible with macOS 10.10+ (M1/M2/M3) & Windows 7/8/10/11
Related Articles
Try These Free Online Tools
No download required — convert, compress & optimize SVGs right in your browser
PNG to SVG Converter
Convert PNG, JPG, BMP images to scalable vector graphics instantly
PNG to SVG ConverterSVG Compressor (Mini)
Reduce SVG file size by up to 80% without losing quality
SVG Compressor OnlineSVG Optimizer
Clean up SVG code, remove redundant data and optimize for web
SVG Optimizer OnlineJPG to SVG Converter
Turn JPEG photos into crisp vector artwork in seconds
JPG to SVG ConverterEPS to SVG Converter
Convert EPS vector files to web-friendly SVG format
EPS to SVG ConverterAll Free Tools
Browse our complete collection of free online conversion tools
Browse All Free Tools