
Turning a photo into a clean line drawing used to mean hours of manual tracing with a pen tablet in Photoshop. Today, converting an image to outline SVG is a two-click job. Whether you want a coloring-page outline, a laser-engraving contour, a sticker cutline, or a minimal logo mark, modern vectorization tools can detect the edges of any picture and export them as scalable, editable SVG paths. In this guide we’ll show you exactly how image-to-outline conversion works, the settings that control line quality, and when a desktop app like Super Vectorizer Pro beats a quick browser tool for serious work.
Ready to turn your photos into clean outline vectors? Try Super Vectorizer Pro free trial to preview vectorization results.
Compatible with macOS 10.10+ (M1/M2/M3) & Windows 7/8/10/11
What Does “Image to Outline SVG” Actually Mean?
A normal photo is a bitmap (or raster) image: a fixed grid of pixels. When you scale it up, the pixels stretch and the edges turn jagged. An image to outline SVG conversion ignores those pixels and instead finds the boundaries between regions — the contours — and redraws them as mathematical curves. The result is a single-color line drawing that stays razor-sharp at any size and can be edited, recolored, or sent to a cutter or engraver.
This is a specific flavor of raster to vector tracing. A full-color vectorization tries to reproduce every hue of the original; an outline conversion throws away the fills and keeps only the edges. That simplification is exactly why outlines are so useful: fewer paths, smaller files, and a look that reads instantly as a drawing rather than a photograph.
How Edge & Contour Extraction Works (Raster to Vector)
Under the hood, an outline converter runs a small pipeline. Understanding the steps helps you get better results:
- Pre-process (desaturate & blur). The image is turned grayscale and lightly blurred so tiny textures — skin pores, fabric weave, JPEG noise — don’t become a thousand stray edges.
- Edge detection. An algorithm (often a Sobel or Canny filter) scans for places where brightness changes sharply. Those sharp changes are your outline.
- Threshold & cleanup. A threshold decides what counts as an edge; a “turd size” (speck-removal) setting deletes isolated dots below a certain area.
- Vectorization. The surviving contours are approximated with Bézier curves and exported as SVG
<path>data — true vector tracing, not a pixel wrapped in an SVG tag. - Smoothing. Curve tolerance reduces the number of anchor points so the line is clean and easy to edit in design software.
Step-by-Step: Convert an Image to Outline SVG
You have three practical routes. Here’s how they compare so you can pick the right one:
| Approach | Browser Outline Tool | Super Vectorizer Pro (Desktop) | Illustrator Image Trace |
|---|---|---|---|
| Cost | Free, no install | Paid (free trial to preview results) | Adobe subscription |
| Best for | Quick one-off outlines | Batch, high-res, print/CNC ready | Designers already in CC |
| Edge controls | Basic (blur, threshold) | Detailed (mode, detail, smoothing) | Advanced (paths, corners) |
| Private / offline | Varies by tool | 100% local Best | Local |
| Output quality | Good for simple art | Clean, layered, editable Best | Excellent |
Method A — Online outline converter (fastest)
- Open a browser-based outline tool and upload your JPG, PNG, or WebP.
- Switch the preset to “Photo edge” or “Line art” rather than full color.
- Raise blur until interior texture disappears, then nudge threshold to keep only the main shape.
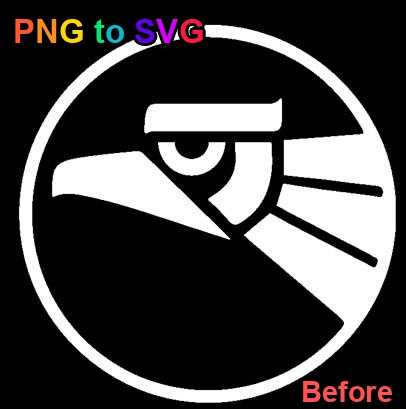
- Download the SVG. The example below shows a typical raster source flowing into a clean vector result.
Method B — Super Vectorizer Pro (Desktop, best for production)
- Drag your image into the app and pick an outline / line-art style.
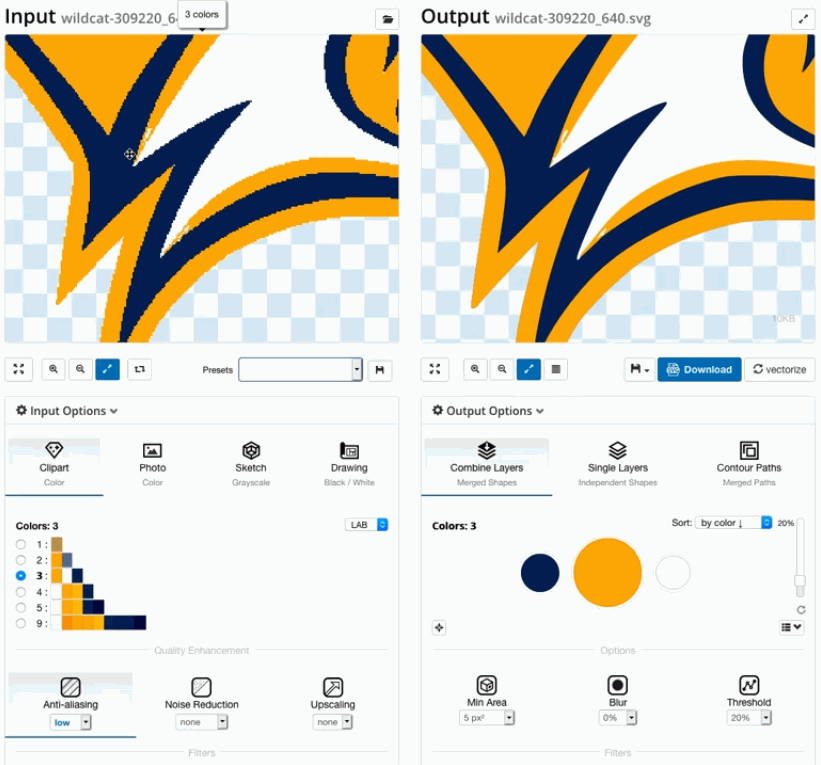
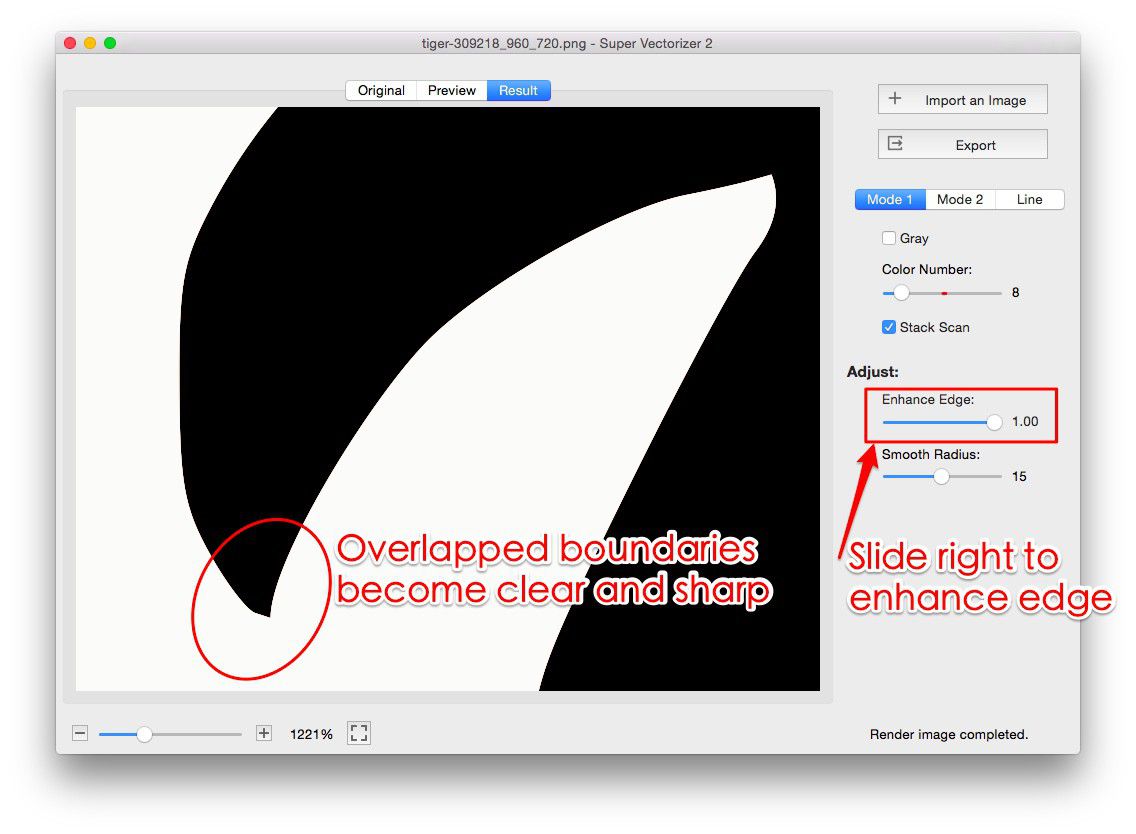
- Use the detail and smoothing sliders to balance fidelity against path count.
- Preview the result, then export the SVG. (The trial lets you preview the vectorization fully; export is enabled in the licensed version.)
Our Verdict: Desktop App vs Online Tool
For a one-off doodle, a free browser tool is plenty. For batch jobs, high-resolution photos, or artwork that has to cut or engrave cleanly, a desktop app gives you finer control and keeps your files fully local.
Super Vectorizer Pro (Desktop) — Advantages
- Runs 100% offline; your images never leave the device
- Fine-grained detail, smoothing and color controls
- Handles large, high-DPI images without a browser limit
- Per-file tuning of trace settings
Online Outline Tool — Advantages
- Zero install, works on any device with a browser
- Free for casual, low-volume use
- Great for a quick preview before committing to a desktop workflow
Best Settings for Clean Outlines
The same photo can look great or terrible depending on four sliders. Start here:
- Blur / smoothing: Higher for busy photos (skin, grass, fabric). Lower for logos on plain backgrounds.
- Threshold: Raise it to keep only strong contours; lower it if important edges are missing.
- Speck removal (turd size): Increase to delete random dots and isolated blobs.
- Curve tolerance: Increase to reduce anchor points and get smoother, easier-to-edit lines.
A strong-contrast subject on a plain background — a product shot, a pet on a sofa, a logo mark — gives the cleanest outlines every time. Flat lighting beats dramatic shadows, which the edge detector reads as extra “edges.”
Common Problems & Fixes
- “The outline looks hairy / has thousands of tiny lines.” Your source has too much texture. Raise blur and speck removal before tracing.
- “Key parts of my subject are missing.” Threshold is too high. Lower it slightly, or switch to a “strong edges” preset.
- “The SVG is huge and slow to open.” Too many anchor points. Increase curve tolerance and re-export.
- “Lines look wobbly.” Increase curve tolerance a touch so the tracer groups nearby points into smooth curves.
Conclusion
Converting an image to outline SVG is one of the most practical tricks in modern design: it turns any photo, logo, or sketch into a scalable, editable line drawing you can sticker, engrave, screen-print, or recolor in seconds. Start with a free browser tool for quick jobs, and reach for a desktop app like Super Vectorizer Pro when you need privacy, powerful one-at-a-time tracing, or print-ready quality. Master the blur → threshold → cleanup → smooth pipeline above, and you’ll get clean outlines from even the busiest photos.
Advanced Outline Refinement Techniques
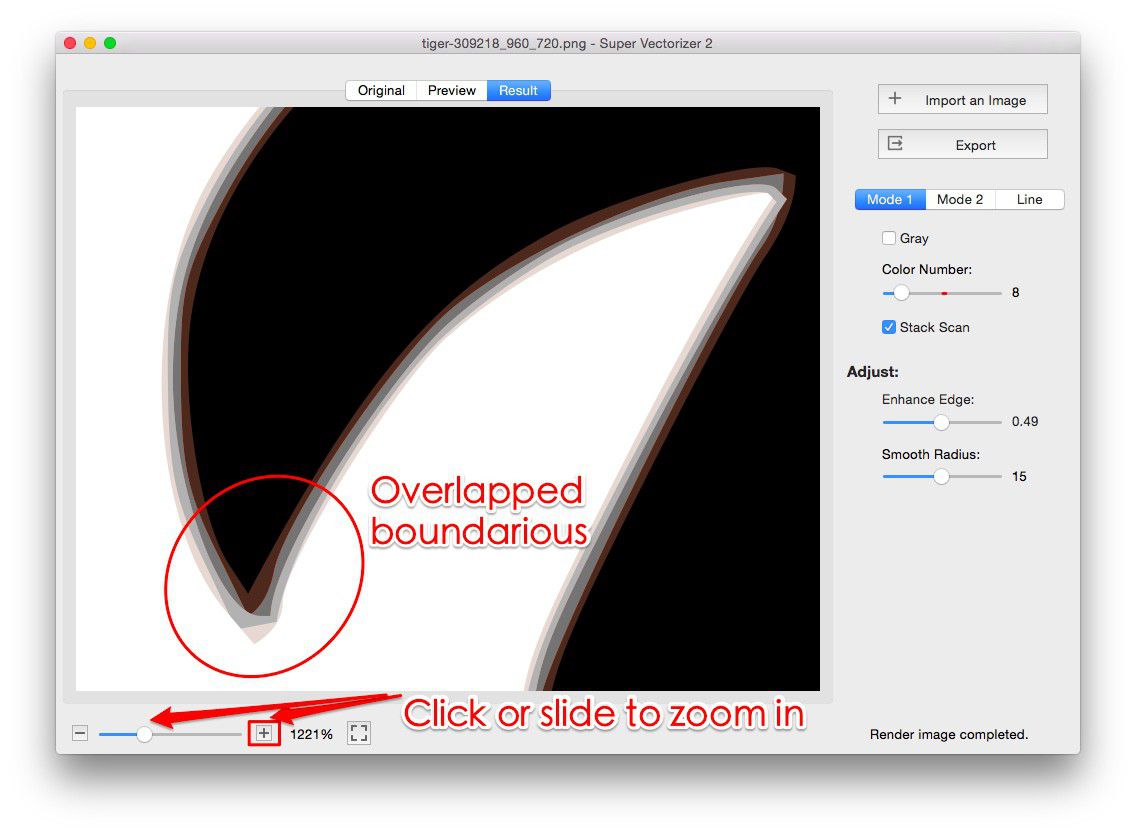
After the initial auto-trace, outline quality often needs manual refinement. The most common issues are double lines (where the tracer creates both inner and outer edges of a stroke), fragmented paths, and excessive node density along smooth curves. In Super Vectorizer Pro, adjusting the corner threshold and curve smoothing settings before tracing reduces these issues significantly.
For photos with complex backgrounds, pre-processing the source image yields better outlines than any tracing setting. Increase contrast, convert to grayscale, and apply a threshold or edge-detection filter. This creates a cleaner boundary for the tracer to follow and dramatically reduces the number of stray paths in the output.
When working with hand-drawn sketches, scan at 300 DPI minimum and clean up pencil artifacts before tracing. Erase stray marks and fill in broken lines. The tracer performs best when the source has clear, continuous edges with good contrast against the background.
Frequently Asked Questions
Can I convert a photo to an outline SVG for free?
Yes. Several browser-based outline converters are free for casual use and need no install. Upload a JPG, PNG, or WebP, switch to a photo-edge or line-art preset, and download the SVG. For batch work or high-resolution photos, a desktop app gives cleaner control, but a free tool is a fine place to start.
What’s the difference between an outline and full-color vectorization?
Full-color vectorization reproduces the hues of the original as filled shapes; an outline conversion discards the fills and keeps only the edges as a single-color line. Outlines produce fewer paths, smaller files, and a drawing-like look that’s ideal for stickers, coloring pages, and engraving.
Why does my photo outline look noisy?
Photos contain texture — skin, fabric, grass, JPEG artifacts — that a direct trace reads as thousands of edges. The fix is to blur and remove specks before tracing, then raise the threshold so only the strongest contours survive. This “reduce detail first, trace second” order is the secret to clean outlines.
Can I use an image-to-outline SVG with Cricut or a laser cutter?
Absolutely. An outline SVG is exactly what cutters and engravers want: a single clean path with no fill. Upload it to Cricut Design Space, Silhouette Studio, or LightBurn, and it imports as a cut or engrave line ready to use. Just keep the line as a stroke rather than a filled shape.
Turn Your Photos into Clean Outline Vectors
Try Super Vectorizer Pro free trial to preview vectorization results, then export crisp, editable outline SVGs for stickers, engraving, and more.
Compatible with macOS 10.10+ (M1/M2/M3) & Windows 7/8/10/11
Related Articles
Try These Free Online Tools
No download required — convert, compress & optimize SVGs right in your browser
PNG to SVG Converter
Convert PNG, JPG, BMP images to scalable vector graphics instantly
PNG to SVG ConverterSVG Compressor (Mini)
Reduce SVG file size by up to 80% without losing quality
SVG Compressor OnlineSVG Optimizer
Clean up SVG code, remove redundant data and optimize for web
SVG Optimizer OnlineJPG to SVG Converter
Turn JPEG photos into crisp vector artwork in seconds
JPG to SVG ConverterEPS to SVG Converter
Convert EPS vector files to web-friendly SVG format
EPS to SVG ConverterAll Free Tools
Browse our complete collection of free online conversion tools
Browse All Free Tools