
Pixel art is having a huge revival — indie games, retro branding, and "bitmoji" style avatars all lean on that chunky, grid-based charm. The catch is that pixel art is the one image type where ordinary vectorization is the wrong tool. When you convert pixel art to SVG with a standard auto-tracer, it smooths the hard square edges into curves, anti-aliases the corners, and quietly erases the very aesthetic you wanted to keep. The trick is to choose the right conversion method for the result you actually want. For authentic retro graphics, Super Vectorizer Pro and similar smooth vectorizers have their place — but only when you deliberately want a cleaned-up, scalable version rather than the original grid.
Want a clean, scalable vector version of your sprite? Try Super Vectorizer Pro free trial to preview vectorization results.
Compatible with macOS 10.10+ (M1/M2/M3) & Windows 7/8/10/11
Our Verdict: Pick the Method by the Look You Want
There is no single "best" way to convert pixel art to SVG — there is the way that preserves the grid, and the way that polishes it. Decide first: do you want the authentic blocky pixels, or a smooth, brand-ready asset? The table below and the two methods show exactly when each wins.
Pixel-Preserving Converter
- Turns each pixel into a sharp rectangle — grid stays intact
- Zero anti-aliasing, zero smoothing
- Tiny files when same-color pixels are merged
- Scales to any size without blur
- Best for authentic sprites, game assets, retro logos
Smooth Vectorizer (Super Vectorizer Pro)
- Rebuilds edges as clean Bézier curves
- Great when you want a polished, modern asset
- Free trial available to preview the result
- Softens the pixel steps intentionally
- Best for a pixel-art logo that must read as "clean"
Why Ordinary Tracing Ruins Pixel Art
Standard vectorization is built to do one thing well: take a smooth photo or logo and reproduce its curves as mathematically perfect paths. Pixel art has almost no curves — it is a grid of same-sized squares. When a tracer sees those stair-stepped edges, it tries to "correct" them, snapping jagged lines into smooth slopes and blending color steps into gradients. The result is technically a vector, but it has lost the crisp, deliberate blockiness that made the art read as pixel art in the first place.
Worse, a tracer usually adds thousands of tiny anchor points to follow every stair step, producing a file that is both larger and harder to edit than the original. For pixel art, the smarter move is almost always a converter that respects the grid rather than one that fights it.
Method 1: Pixel-Preserving Conversion (Keep the Grid)
This is the method to reach for when you want the authentic look. A pixel-preserving converter treats the image as a grid and emits one rectangle per pixel (or one merged rectangle per run of same-colored pixels). The outcome scales infinitely while keeping every hard edge exactly where the artist placed it.
- Export a clean, small PNG. Pixel art should be saved at its native resolution with no resampling and no transparency compression artifacts. 16×16 to 128×128 is typical for sprites.
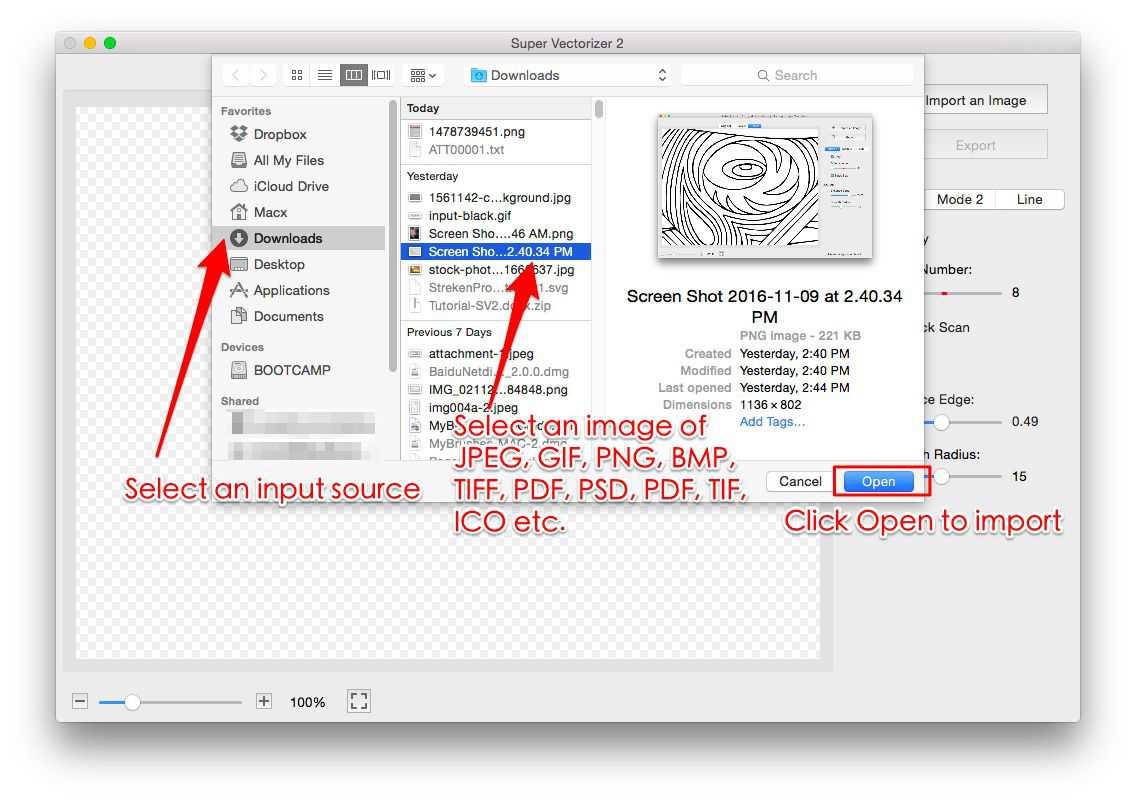
- Load it into a pixel-preserving tool. Many free online converters accept paste, drag-and-drop, or browse for PNG, GIF, BMP, or WebP.
- Enable "merge same-color pixels." Adjacent pixels of one color become a single rectangle, which can shrink the file size by 50% or more with no visible change.
- Download the SVG. You now have a vector that looks identical to the original at any zoom — no blur, no smoothing.
This approach is ideal for game sprites, favicon-style marks, retro app icons, and any design where the pixel grid is the point.
Method 2: Smooth Vectorization with Super Vectorizer Pro
There are real cases where you do not want the blocky grid. Suppose a client hands you a pixel-art style logo but expects a crisp, professional brand asset for business cards and signage. Here, a smooth vectorizer is the right call: it reads the pixel clusters and rebuilds them as clean vector paths, giving you a logo that scales perfectly and edits easily in any design tool.
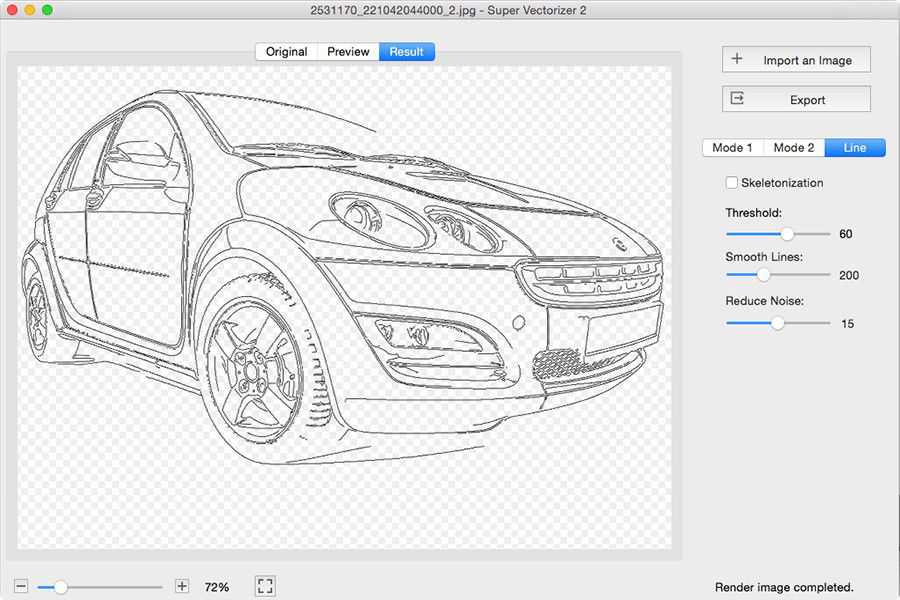
Super Vectorizer Pro takes a raster image — including a pixel-art PNG — and traces it into editable SVG paths you can preview with the free trial. The pixel steps soften into smooth shapes, which is exactly what you want for a polished mark. Just be aware this changes the aesthetic: you are converting the spirit of the art into a clean vector, not preserving the grid. Choose this when "clean and scalable" matters more than "authentically retro."
Pixel-Preserving vs Smooth: A Quick Comparison
| Factor | Pixel-Preserving | Smooth Vectorizer |
|---|---|---|
| Keeps the blocky grid | Yes | No (softens edges) |
| File size on complex art | Small (merged rects) | Can be large |
| Editability in design tools | Many rectangles | Clean paths |
| Best for | Retro / game art | Polished brand assets |
Preserving Pixel Aesthetics in SVG
The fundamental tension in pixel-art-to-SVG conversion is that pixel art derives its character from a fixed grid of square pixels, while SVG is designed for smooth, scalable curves. When you auto-trace pixel art, the tracer interprets each pixel edge as a vector boundary, producing paths that are technically correct but visually different from the original — the crisp step pattern becomes a slightly jagged outline that scales without aliasing but loses the deliberate blockiness that defines the aesthetic.
To preserve the pixel look, the best approach is to use a rect-based SVG where each pixel becomes a <rect> element. This produces larger files but maintains the exact appearance at any scale. Tools like pixel2svg and picosvg specialize in this approach. The trade-off is file size: a 32x32 sprite becomes 1,024 rectangles, which can be 50 KB or more in raw SVG.
If file size matters and you accept some visual compromise, auto-tracing with a high color threshold produces a reasonable middle ground. Set the smoothing to zero or minimum, disable curve fitting, and use straight-line segments only. This keeps the angular look of pixel art while reducing path count. The result is not pixel-perfect but is visually close and far smaller than a rect-based SVG.
For game sprites destined for web display, consider using the original PNG with image-rendering: pixelated CSS instead of converting to SVG. This preserves the exact pixel grid at any zoom level without any conversion artifacts. SVG conversion makes the most sense when you need to recolor, animate, or edit the artwork at the path level.
For retro game developers, another consideration is tile-based design. Instead of converting one large sprite, break the artwork into tiles and convert each tile separately. This produces a set of small, reusable SVG fragments that can be assembled via CSS background-position or SVG <pattern> elements, keeping the total payload small while maintaining the tiled aesthetic. This approach mirrors how original 8-bit and 16-bit games managed limited video memory, and it translates naturally to web performance budgets.
Pixel Art → SVG: Format-Specific Conversion Notes
- Pixel art's charm is its hard 1:1 blocks — the tracer can keep each pixel as a crisp square instead of smoothing it away.
- Avoid anti-aliasing in your source; blended edge pixels defeat the pixel-perfect look.
- Small sprites (16×16, 32×32) scale to huge, sharp vectors with zero blur — ideal for game assets and icons.
- Keep the palette tight; a few fixed colors trace to clean, separate layers you can recolor freely.
Frequently Asked Questions
Will a normal PNG-to-SVG converter keep my pixels sharp?
Usually no. A standard auto-tracer smooths stair-stepped edges and anti-aliases corners, which removes the pixel look. To keep the grid, use a pixel-preserving converter that emits one rectangle per pixel instead of tracing curves.
Why is my converted SVG file so large?
A tracer adds an anchor point for every stair step, and a naive pixel converter adds one rectangle per pixel. Turn on "merge same-color pixels" in a pixel tool to combine adjacent squares, often cutting the file size in half or more.
Can I scale pixel art SVG without it getting blurry?
Yes. Once the image is real vector geometry — whether rectangles or curves — it scales to any size with no blur. The blur only happens if you keep it as a bitmap (PNG) and enlarge that.
When should I use Super Vectorizer Pro on pixel art?
Use it when you want a cleaned-up, smooth vector rather than the authentic grid — for example, turning a pixel-style sketch into a professional logo. Preview the tracing with the free trial before you decide.
Get a Clean, Scalable Vector From Any Sprite
Convert raster art into smooth, editable SVG paths with Super Vectorizer Pro — preview the result with the free trial, then use it anywhere.
Compatible with macOS 10.10+ (M1/M2/M3) & Windows 7/8/10/11
Related Articles

Try These Free Online Tools
No download required — convert, compress & optimize SVGs right in your browser
PNG to SVG Converter
Turn PNG images into crisp vector artwork in seconds
Free OnlineSVG Compressor (Mini)
Reduce SVG file size by up to 80% without losing quality
Free OnlineJPG to SVG Converter
Convert JPEG photos to scalable vector format
Free OnlineEPS to SVG Converter
Convert EPS illustrations to scalable vector graphics
Free OnlineAll Free Tools
Browse our complete collection of free online conversion tools