
Converting PNG to SVG with color for Cricut means one specific thing: producing an SVG whose color regions are separate vector paths, so Cricut Design Space can split them into individual vinyl layers instead of flattening everything into a single cut outline. Uploading the PNG directly will never achieve that — a raster file has no path data, so Design Space simply removes the background and cuts one silhouette. The fix is to trace the image in a full-color vectorizer first, cap the palette at the number of vinyl sheets you actually own, smooth the paths for the blade, then upload the finished SVG. This guide walks through the whole workflow, compares the color-capable tools available in 2026, and covers the layering problems that trip up most crafters.
Need offline color tracing on your own machine? Try the Super Vectorizer Pro free trial to preview layered vector results before you cut.
Compatible with macOS 10.10+ (M1/M2/M3) & Windows 7/8/10/11
Why Design Space Flattens Your Colored PNG
Cricut Design Space has a built-in upload tool for raster images, and it is genuinely useful — but it was designed for silhouettes, not color separation. When you upload a PNG, Design Space asks you to mark which areas are background, erases those pixels, and then traces a single outline around whatever survives. The result is one cut layer in one color, no matter how many colors the original artwork contained.
That happens because a PNG is a grid of pixels with no geometry. There is nothing in the file that says "this red shape is an object and this blue shape is a different object" — only millions of individually colored dots. An SVG is the opposite: it is a list of shapes, each with its own outline and fill color. Design Space reads those shapes as layers, which is why a color-separated SVG behaves like a proper multi-vinyl cut file and a PNG never will.
- PNG upload: background removal + one cut outline. Fine for a solid-color monogram or a simple silhouette.
- SVG upload: every path is preserved with its fill color, so Ungroup reveals each color as an independent layer on its own mat.
- Print Then Cut: keeps all the colors but prints them rather than cutting them — a different technique entirely, covered further down.
What "Color" Actually Means in a Cricut Cut File
In a cut file, a color is not a shade — it is a physical sheet of vinyl. Every distinct fill color in your SVG becomes a layer you have to cut, weed, align, and press. That reframes the whole conversion: your goal is not maximum color fidelity, it is the smallest number of clean, closed shapes that still reads as the original design.
Two consequences follow. First, flat spot colors cut beautifully and gradients do not. A tracer asked to reproduce a gradient will generate dozens of thin bands, each of which becomes a hair-thin vinyl sliver that is impossible to weed. Second, anti-aliasing is the enemy. The soft blended pixels along every edge of a web-resolution PNG get read as intermediate colors, producing ghost "halo" layers around your real shapes.
How to Convert PNG to SVG with Color for Cricut (Step by Step)
This is the workflow that produces a genuinely layered file. It takes about ten minutes for a typical design.
- Start with the cleanest PNG you have. Aim for at least 1000 pixels on the longest edge, ideally 300 DPI at final size, with a transparent background. Re-export from the original source if you can rather than upscaling a small web copy.
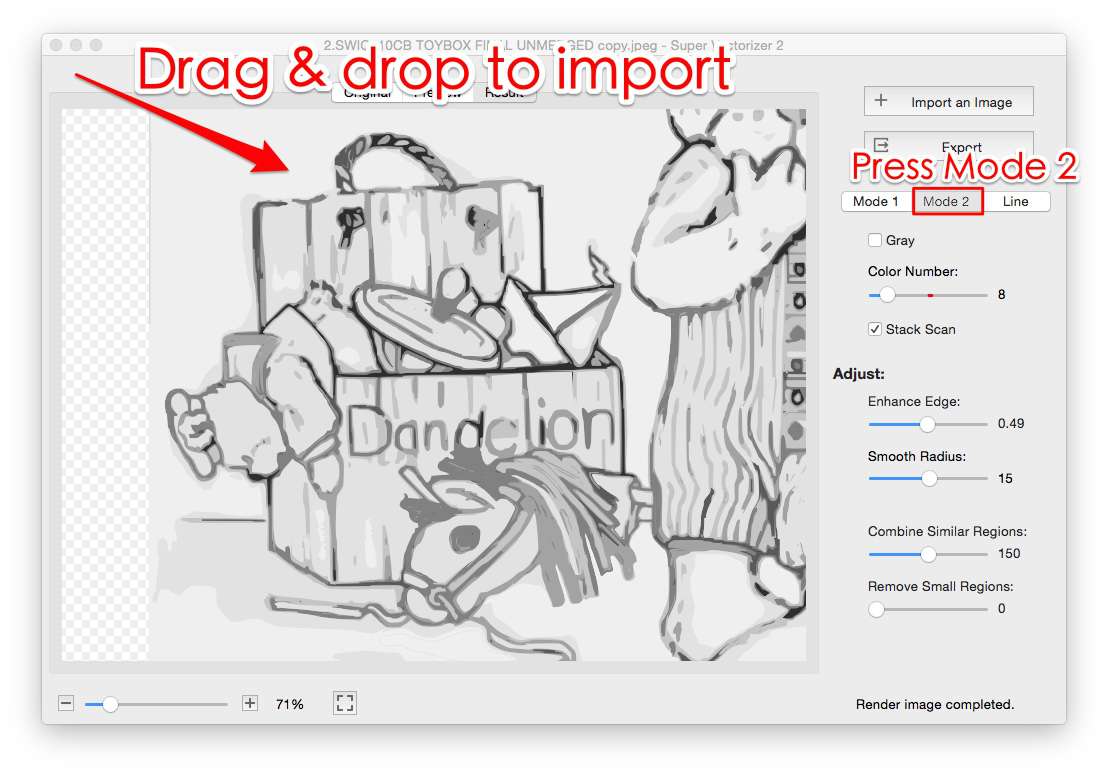
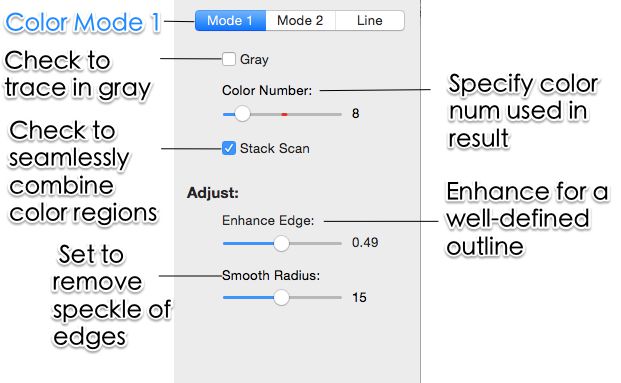
- Open it in a color-capable vectorizer. Choose full-color tracing, not black-and-white line art. In Super Vectorizer Pro this is the Full Color mode; each color region is traced as a separate closed path rather than merged into one outline.
- Set the color count to match your vinyl. Three to six is the practical range. This single slider does more for cut quality than anything else, because it forces the tracer to consolidate similar shades instead of inventing new layers.
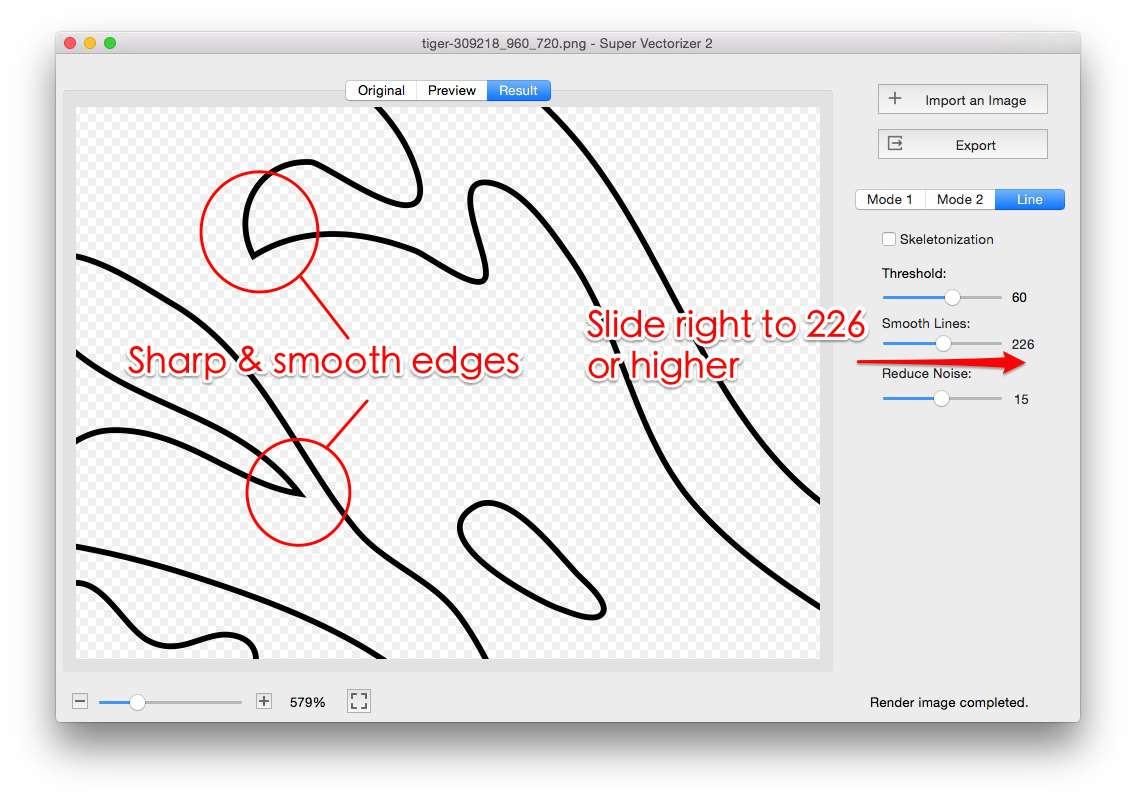
- Raise smoothing and tune the corner threshold. More smoothing means the blade follows gentle curves instead of pixel stair-steps; a lower corner threshold keeps genuine sharp points crisp. Super Vectorizer Pro handles one image at a time, so you can dial these in per design and watch the preview update.
- Preview each layer and remove specks. Step through the traced colors and delete stray fragments, halo rings, and any background shape you do not want cut. A minimum-area or noise-removal setting will drop most of them automatically.
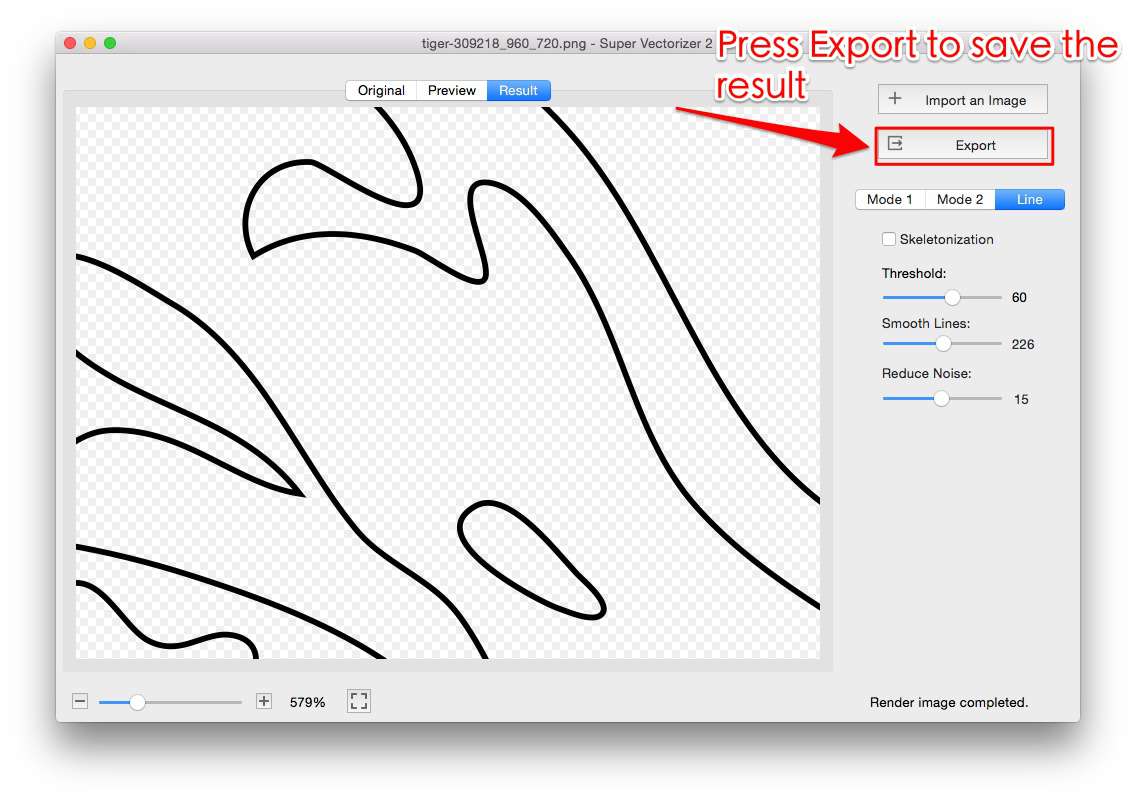
- Export as SVG and upload. In Design Space choose Upload, Browse, pick the SVG, then Add to Canvas. Right-click and Ungroup to expose the color layers, assign each to a vinyl color, and Attach or Weld as needed before cutting.
If you would rather test the idea in a browser before installing anything, the online image vectorizer will give you a quick sense of how your artwork traces. For a Cricut-specific starting point, the image vectorizer for Cricut page covers the material side of the workflow.
Best Tools for PNG to SVG with Color for Cricut (2026)
Not every converter separates colors. Several popular "PNG to SVG" tools simply embed the original bitmap inside an SVG wrapper, which looks fine on screen and cuts as a single rectangle. These five genuinely produce path-based color output.
| Tool | Price | Platform | Offline | Batch | Color Layer Control | Best For |
|---|---|---|---|---|---|---|
| Super Vectorizer Pro | $29.99 one-time (free trial to preview) | Mac & Windows | Yes | No (one at a time) | Adjustable color count, smoothing, corner threshold Most Control | Layered vinyl cut files made offline |
| Cricut Design Space upload | Included with a Cricut | Web, Mac, Windows, iOS, Android | No | No | None — flattens to one cut outline | Simple single-color silhouettes |
| Vectorizer.AI | Free credits, then paid | Web | No | No | Strong automatic color separation, limited manual tuning | Quick online color traces |
| Adobe Illustrator | Subscription | Mac, Windows | Yes | Possible, but awkward | Image Trace with color presets and path editing | Subscribers who also need to redraw paths |
| Inkscape | Free (open source) | Mac, Windows, Linux | Yes | No | Multi-scan color tracing, manual and fiddly | Zero-budget multi-color tracing |
Note that none of these offers a true batch mode for color cut files. That is less of a limitation than it sounds: color count and speck removal are judgment calls that differ from design to design, so a one-at-a-time workflow generally produces cleaner layers than bulk processing followed by manual repair. If you want a wider survey of free options, the free SVG converter for Cricut guide compares them in more depth.
Getting Clean Cut Lines: Color Count, Smoothing, and Nodes
Three settings decide whether your layered file cuts cleanly or shreds on the mat.
Color count
Start low and increase only if the design loses meaning. A four-color trace of a six-color illustration usually still reads correctly, and it saves two sheets of vinyl plus two alignment steps. If a specific detail collapses, raise the count by one rather than jumping to sixteen.
Smoothing and corner threshold
Smoothing controls how aggressively the tracer replaces pixel steps with curves. Too little and every diagonal edge cuts as a saw blade; too much and lettering loses its serifs. Corner threshold protects genuine sharp angles from being rounded off, so lower it for geometric logos and raise it for organic shapes.
Node count
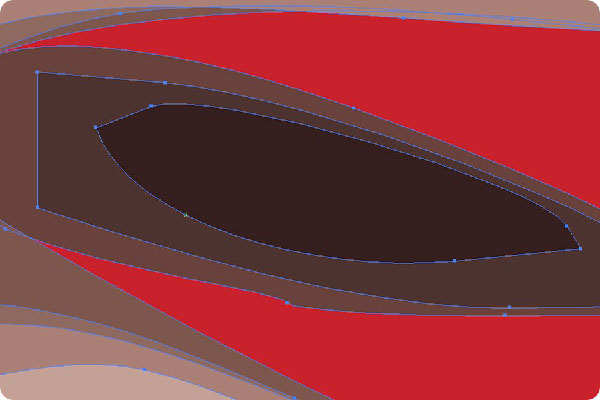
Every anchor point is a place where the blade changes direction. A path with 4000 nodes on a 3-inch shape will cut slowly and vibrate; the same shape with 200 well-placed nodes cuts smoothly. Most vectorizers expose this indirectly through a simplify or path-detail setting — reduce it until the outline visibly deviates, then back off one step.
Uploading Your Layered SVG to Cricut Design Space
Once the SVG exists, Design Space handles it as a vector file with no tracing step at all:
- Open a new project and click Upload in the left sidebar.
- Choose Browse and select your SVG. Design Space skips the background-removal screens because vectors need no cleanup.
- Select the uploaded file and click Add to Canvas.
- Right-click the object and choose Ungroup. Each color now appears as its own entry in the Layers panel.
- Click each layer's color swatch and set it to the vinyl you plan to use, so the mat preview matches reality.
- Resize the whole group before ungrouping if you can, to keep every layer in proportion. Use Attach to hold small pieces in position on the mat.
If the design has photographic detail, gradients, or more colors than you can realistically layer, Print Then Cut is the better route: it prints the artwork and cuts a single outline. Layered vinyl wins on richness and durability for shirts and hard surfaces, which is exactly the case where a color-separated SVG pays off. Our Cricut SVG converter guide covers both paths in more detail.
Common Problems When Converting PNG to SVG with Color for Cricut
Almost every failure traces back to one of these five causes.
- Everything arrives as one layer. The SVG contains an embedded bitmap rather than real paths. Re-convert with a true vectorizer; if the file size is close to the original PNG's, it is almost certainly an embedded raster.
- Dozens of hair-thin slivers. The color count was too high, or the source had a gradient. Drop the palette to your vinyl count and flatten gradients to spot colors before tracing.
- Faint halo shapes around every element. Anti-aliasing from a low-resolution PNG. Use a larger source, or raise the noise-removal threshold so blended edge pixels are absorbed into the nearest color.
- Jagged, stepped cut edges. Smoothing set too low, or the source was upscaled. Increase smoothing and, if the artwork was enlarged from a small file, start again from the original.
- A white rectangle cuts around the design. The PNG had an opaque white background that got traced as a shape. Delete that layer after tracing, or export the PNG with transparency first — the transparent background PNG to SVG guide walks through it.
Once the workflow is dialed in, the same settings will carry across most of your library. If you also cut on other machines, the approach transfers directly — see the SVG for Brother Scan N Cut guide or the SVG for laser cutting guide for machine-specific differences.
The Bottom Line
To convert PNG to SVG with color for Cricut, the tool has to trace color regions into separate paths and let you control how many of them there are. A desktop vectorizer gives you that control offline; Design Space's own uploader does not, and cloud tracers trade tuning for convenience.
Desktop Color Tracing
- Color count you set to match your vinyl
- Smoothing and corner control for cuttable curves
- Runs offline — files never leave your computer
- One-time licence, no subscription
- One-at-a-time tuning per design
Design Space Upload / Cloud Tracers
- No install, works from any browser
- Design Space upload flattens to a single layer
- Cloud tracers separate colors automatically
- Credit limits and uploads required
- Little control over layer count or nodes
PNG → SVG: Format-Specific Conversion Notes
- Cricut Design Space needs separate, filled paths per color — use the Spot Color approach so each hue becomes its own cut layer.
- Lock your palette to the vinyl colors you actually have; the converter can snap output to a fixed color set instead of free gradients.
- Avoid tiny sliver paths between colors — they cut poorly on a mat; raise Filter speckles to merge micro-gaps before exporting.
- Keep text as clean vector fills (not outlined strokes) so the Cricut reads each letter as one cuttable shape.
Frequently Asked Questions
Can you convert PNG to SVG with color for Cricut?
Yes. You need a vectorizer that traces in full-color mode so every color region becomes its own vector path. When you upload that SVG to Cricut Design Space it arrives as a grouped object; right-click and Ungroup and each color appears as a separate layer you can assign to a different vinyl sheet. A PNG uploaded directly cannot do this because a raster file has no path data for Design Space to split.
Why does my colored PNG upload to Cricut as a single layer?
Cricut Design Space treats an uploaded PNG as one flat image. Its own upload tool only removes background pixels and produces a single cut outline around whatever is left, so all your colors collapse into one shape. To get real layers you must convert the PNG to SVG with color separation before uploading.
Does Super Vectorizer Pro support batch conversion?
No — Super Vectorizer Pro processes one image at a time. It does not have a batch mode. For layered Cricut files that is rarely a drawback, because color count, smoothing, and speck removal need to be tuned per design rather than applied blindly to a whole folder.
How many colors should a Cricut SVG have?
Match the color count to the vinyl you own, which usually means three to six layers. Each extra color is another sheet to cut, weed, align, and press. Anything above eight layers becomes very difficult to register accurately by hand, and gradients should be flattened to a few spot colors rather than traced literally.
Do I need Print Then Cut instead of layered vinyl?
Print Then Cut is the better choice when a design has photographic detail, gradients, or more colors than you can realistically layer. It prints the artwork on paper or printable vinyl and cuts a single outline. Layered vinyl gives richer, more durable color for shirts and hard surfaces, so use a color-separated SVG when the design has a limited flat palette.
What resolution should the PNG be before tracing?
Aim for at least 1000 pixels on the longest edge, and 300 DPI at final print size if you know the dimensions. Low-resolution PNGs carry heavy anti-aliasing, and the tracer reads those blended edge pixels as extra colors, producing halo layers and jagged cut lines that have to be cleaned up by hand.
Trace Color Layers on Your Own Machine
Download Super Vectorizer Pro and preview full-color vector output on Mac or Windows before you commit vinyl to the mat — no upload, no account, works offline.
Compatible with macOS 10.10+ (M1/M2/M3) & Windows 7/8/10/11
Related SVG Workflows
- Cricut SVG Converter Guide
- PNG to SVG With Color Guide
- How to Convert PNG to SVG for Cricut
- How to Make SVG Files for Cricut
- SVG for Cricut Design Space
- Free SVG Files for Cricut
- PNG to SVG AI Reddit Community Guide
- Super Vectorizer Pro vs Canva 2026
- PNG to SVG Online
- PNG to SVG with Color Free 2026: 6 Free Tools That Keep Color — free tools that convert PNG to SVG while keeping color intact.
Try These Free Online Tools
No download required — convert, compress & optimize SVGs right in your browser
PNG to SVG Converter
Turn PNG images into crisp vector artwork in seconds
Free OnlineSVG Compressor (Mini)
Reduce SVG file size by up to 80% without losing quality
Free OnlineJPG to SVG Converter
Convert JPEG photos to scalable vector format
Free OnlineEPS to SVG Converter
Convert EPS illustrations to scalable vector graphics
Free OnlineAll Free Tools
Browse our complete collection of free online conversion tools
Related SVG Workflows
- ›Cricut Image to SVG — Cut files ready for Cricut machines.
- ›Spot Color SVG — Lock your palette to fixed colors.
- ›Clipart to SVG — Vectorize illustrations cleanly.
- ›PNG to SVG AI — Auto-trace PNGs with smart presets.
- ›Best PNG to SVG Converters — Compare the top PNG-to-SVG tools.
- ›Stencil Maker — Make cutout stencils from any image.